Epson 2000/XP- Manuals
Epson 2000/XP– User Manual in PDF format online.
Manuals:
User Manual Epson 2000/XP


Summary
This Quick Start Guide is designed to assist in the basic installation and setup of IMAGE PRINT . The complete IMAGE PRINT manual is provided in PDF format on the enclosed CD-ROM. Please read the manual for a comprehensive explanation of IMAGE PRINT and its powerful toolset. You are also encouraged ...
INSTALLING IMAGE PRINT IMPORTANT: DO NOT INSERT THE USB DONGLE UNTIL INSTRUCTED TO DO SO. THE SOFTWARE WILL NOT INSTALL PROPERLY IF THE STEPS ARE NOT FOLLOWED IN THE ORDER PRESENTED . Before installing IMAGE PRINT, verify that the printer is operating properly and that there is proper communication ...
Insert the IMAGE PRINT CD into your CD-ROM drive. The autoplay disc will launch the Installer program. Follow the on- screen instructions until the IPInstall window appears. If you’re using one computer and one printer, do not change the Printer Host . If you have multiple printers and computers you...
Epson Manuals
-
 Epson V11HA52820
User Manual
Epson V11HA52820
User Manual
-
Epson V11HA67820
User Manual
-
 Epson V12H004UA3
User Manual
Epson V12H004UA3
User Manual
-
Epson V12H004UA3
Troubleshooting Guide
-
 Epson V11HA85020
Installation Manual
Epson V11HA85020
Installation Manual
-
 Epson C11CK65201
User Manual
Epson C11CK65201
User Manual
-
 Epson V11H980020
Manual
Epson V11H980020
Manual
-
 Epson HOME CINEMA 3200
Manual
Epson HOME CINEMA 3200
Manual
-
 Epson HOME CINEMA 3800
User Manual
Epson HOME CINEMA 3800
User Manual
-
Epson HOME CINEMA 3800
Manual
-
 Epson B11B252201
User Manual
Epson B11B252201
User Manual
-
Epson C11CJ91201
User Manual
-
 Epson WF 7210
Installation Manual
Epson WF 7210
Installation Manual
-
Epson WF 7210
Manual
-
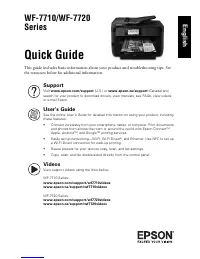 Epson WF 7720
User Manual
Epson WF 7720
User Manual
-
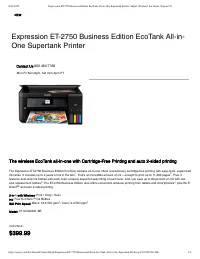 Epson ET 2750
User Manual
Epson ET 2750
User Manual
-
 Epson ET 7700
User Manual
Epson ET 7700
User Manual
-
Epson ET 7700
Manual
-
Epson ET 7700
Troubleshooting Guide
-
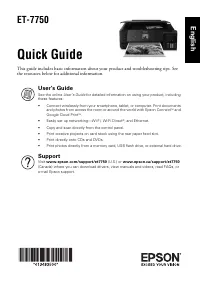 Epson ET 7750
Troubleshooting Guide
Epson ET 7750
Troubleshooting Guide