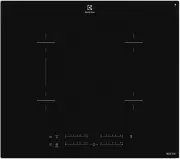
Electrolux EHX6455FHK - Manuals
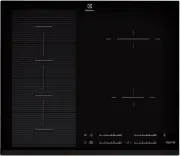
User Manual Electrolux EHX6455FHK


Summary
CONTENTS 1. SAFETY INFORMATION....................................................................................2 2. CONDITIONS OF USE....................................................................................... 4 3. SAFETY INSTRUCTIONS.......................................................
result of incorrect installation or usage. Always keep the instructions in a safe and accessible location for future reference. 1.1 Children and vulnerable people safety • This appliance can be used by children aged 8 years and above and by persons with reduced capabilities provided that they have b...
• CAUTION: The cooking process has to be supervised. A short term cooking process has to be supervised continuously. • WARNING: Danger of fire: Do not store items on the cooking surfaces. • Metallic objects such as knives, forks, spoons and lids should not be placed on the hob surface since they can...
Electrolux Hobs Manuals
-
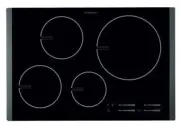
 Electrolux CIL61443C
User Manual
Electrolux CIL61443C
User Manual
-
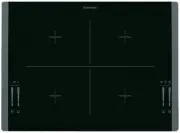
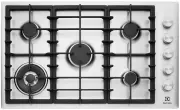
 Electrolux EHC 320 X
User Manual
Electrolux EHC 320 X
User Manual
-
 Electrolux EHD 6671 P
User Manual
Electrolux EHD 6671 P
User Manual
-
 Electrolux EHD80170P
User Manual
Electrolux EHD80170P
User Manual
-
 Electrolux EHD90230P
User Manual
Electrolux EHD90230P
User Manual
-
 Electrolux EHE 631 X
User Manual
Electrolux EHE 631 X
User Manual
-
 Electrolux EHET66CS
User Manual
Electrolux EHET66CS
User Manual
-
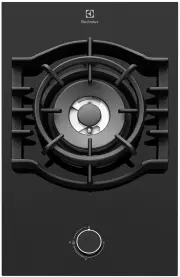
 Electrolux EHG 6415
User Manual
Electrolux EHG 6415
User Manual
-
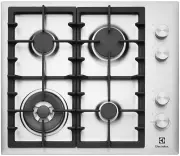
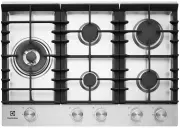
Electrolux EHG 6815 X
User Manual
-
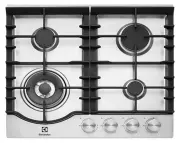
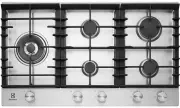
Electrolux EHG 6833
User Manual
-
Electrolux EHG 6835 W
User Manual
-
 Electrolux EHG313BA
User Manual
Electrolux EHG313BA
User Manual
-
 Electrolux EHG643BA
User Manual
Electrolux EHG643BA
User Manual
-
 Electrolux EHG643SA
User Manual
Electrolux EHG643SA
User Manual
-
 Electrolux EHG645SA
User Manual
Electrolux EHG645SA
User Manual
-
 Electrolux EHG755SA
User Manual
Electrolux EHG755SA
User Manual
-
 Electrolux EHG953SA
User Manual
Electrolux EHG953SA
User Manual
-
 Electrolux EHG955SA
User Manual
Electrolux EHG955SA
User Manual
-
 Electrolux EHI645BA
User Manual
Electrolux EHI645BA
User Manual
-
 Electrolux EHI645BB
User Manual
Electrolux EHI645BB
User Manual