Danby SBC057D1BSS - Manuals
Danby SBC057D1BSS Wine Cooler – User Manual in PDF format online.
Manuals:
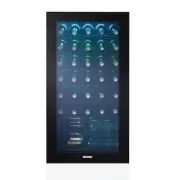
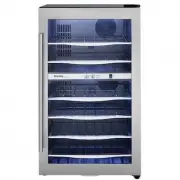
User Manual Danby SBC057D1BSS


Summary
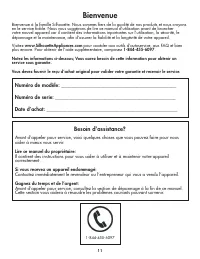
1 Model Number: ________________________________________________ Serial Number: ________________________________________________ Date of Purchase: ______________________________________________ Need Help? Before you call for service, here are a few things you can do to help us serve you better. Read...
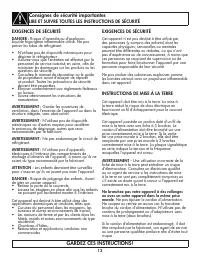
2 SAFETY REQUIREMENTS DANGER: Risk of fi re or explosion. Flammable refrigerant used. Do not puncture refrigerant tubing. • Do not use mechanical devices to defrost refrigerator. • Ensure that servicing is done by factory authorized service personnel, to minimize product damage or safety issues. • Co...
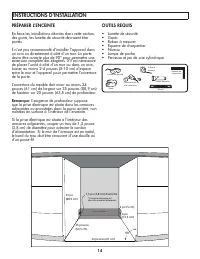
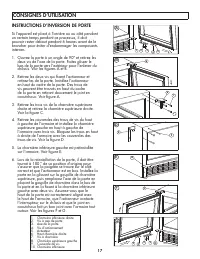
3 INSTALLATION INSTRUCTIONS LOCATION • Two people should be used when moving the appliance. • Remove interior and exterior packaging prior to installation. Wipe the outside of the appliance with a soft, dry cloth and the inside with a lukewarm wet cloth. • Place the appliance on a fl oor that is stro...
Danby Wine Coolers Manuals
-
 Danby DBC026A1BSSDB
User Manual
Danby DBC026A1BSSDB
User Manual
-
 Danby DBC045L1SS
User Manual
Danby DBC045L1SS
User Manual
-
 Danby DBC117A2BSSDD-6
User Manual
Danby DBC117A2BSSDD-6
User Manual
-
 Danby DWC036A2BDB-6
User Manual
Danby DWC036A2BDB-6
User Manual
-
 Danby DWC040A3BSSDD
User Manual
Danby DWC040A3BSSDD
User Manual
-
 Danby DWC047D1BSSPR
User Manual
Danby DWC047D1BSSPR
User Manual
-
 Danby DWC114BLSDD
User Manual
Danby DWC114BLSDD
User Manual
-
Danby DWC114BLSDD
Manual
-
 Danby DWC350BLP
User Manual
Danby DWC350BLP
User Manual
-
 Danby DWC94L1B
User Manual
Danby DWC94L1B
User Manual
-
 Danby SBC051D1BSS
User Manual
Danby SBC051D1BSS
User Manual
-
 Danby SPRBC047D1SS
User Manual
Danby SPRBC047D1SS
User Manual
-
 Danby SPRBC056D1SS
User Manual
Danby SPRBC056D1SS
User Manual
-
 Danby SPRWC031D1SS
User Manual
Danby SPRWC031D1SS
User Manual
-
 Danby SPRWC053D1SS
User Manual
Danby SPRWC053D1SS
User Manual
-
 Danby SPRWC140D1SS
User Manual
Danby SPRWC140D1SS
User Manual
-
 Danby SRVBC050L
User Manual
Danby SRVBC050L
User Manual
-
 Danby SRVWC050L
User Manual
Danby SRVWC050L
User Manual
-
 Danby SSWC056D1B-S
User Manual
Danby SSWC056D1B-S
User Manual
-
 Danby SWC057D1BSS
User Manual
Danby SWC057D1BSS
User Manual