Brio CLPOU720UVRO4 - Manuals
User Manual Brio CLPOU720UVRO4


Summary
2 2 Table of Contents Safety Information . . . . . . . . . . . . . . . . . . . . . . . . . . . . . . . . . . . . . . . . . . . . . . . . . . . . . . . . . . . . . . . . . . . . 3 Intended Use . . . . . . . . . . . . . . . . . . . . . . . . . . . . . . . . . . . . . . . . . . . . . . . . . . . . . . ...
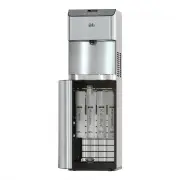
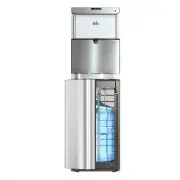
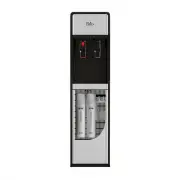
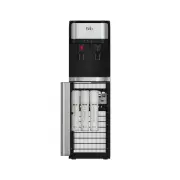
4 4 Product Features 1 2 35 678 9 10 4 11 13 15 14 12 16 Part Description Part Description 1 Touch panel display 9 RO pump 2 Water tap 10 Filter reset switch 3 Drip tray 11 Cold water switch 4 Filter cabinet 12 Hot water switch 5 Sediment filter 13 Condenser 6 Carbon block filter 14 Drain outlet 7 R...
Touch Panel Description 1 . Up arrow button – Press to set the time on the clock and increase temperature settings. 2 . PCB indicator – Indicates the PP+C1+C2 filter lifetime. 3 . RO indicator – Indicates the RO filter lifetime. 4 . Clock/Temperature display – Shows the time and water temperature se...
Brio Water Dispensers Manuals
-
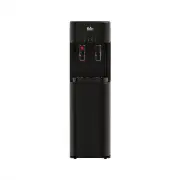
 Brio CL520CV
User Manual
Brio CL520CV
User Manual
-
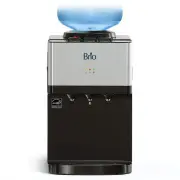
 Brio CLBL320BSCP
User Manual
Brio CLBL320BSCP
User Manual
-
 Brio CLBL320SCP
User Manual
Brio CLBL320SCP
User Manual
-
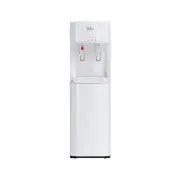 Brio CLBL320WSCP
User Manual
Brio CLBL320WSCP
User Manual
-
 Brio CLBL420V2
User Manual
Brio CLBL420V2
User Manual
-
 Brio CLBL520SC
User Manual
Brio CLBL520SC
User Manual
-
 Brio CLBL520SCBLK
User Manual
Brio CLBL520SCBLK
User Manual
-
 Brio CLBL720SC
User Manual
Brio CLBL720SC
User Manual
-
 Brio CLBL720SCBLK
User Manual
Brio CLBL720SCBLK
User Manual
-
 Brio CLBL720SCX
User Manual
Brio CLBL720SCX
User Manual
-
 Brio CLCTPOU320UVF3P
User Manual
Brio CLCTPOU320UVF3P
User Manual
-
 Brio CLCTPOU620UVF2
User Manual
Brio CLCTPOU620UVF2
User Manual
-
 Brio CLCTPOU720UVF3
User Manual
Brio CLCTPOU720UVF3
User Manual
-
 Brio CLCTTL520
User Manual
Brio CLCTTL520
User Manual
-
 Brio CLNLPOU520SCF2B
User Manual
Brio CLNLPOU520SCF2B
User Manual
-
 Brio CLPOU320BSLUV2P
User Manual
Brio CLPOU320BSLUV2P
User Manual
-
 Brio CLPOU320BUVF3P
User Manual
Brio CLPOU320BUVF3P
User Manual
-
 Brio CLPOU320BUVF4P
User Manual
Brio CLPOU320BUVF4P
User Manual
-
 Brio CLPOU320SLUVF2P
User Manual
Brio CLPOU320SLUVF2P
User Manual
-
 Brio CLPOU320UVF3P
User Manual
Brio CLPOU320UVF3P
User Manual