Breville BOV450XL - Manuals
Breville BOV450XL Toaster – User Manual, Manual in PDF format online.
Manuals:
User Manual Breville BOV450XL


Summary
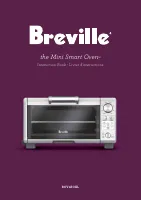
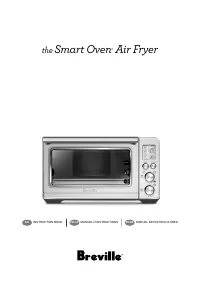
BOV450XL the Mini Smart Oven ™ Instruction Book - Livret d’instructions
CONGRATULATIONS On the purchase of your new Breville Mini Smart Oven ™ * Registering is not a substitute for proof of purchase when submitting a Warranty Claim. USA Consumers: www.brevilleusa.com Canadian Consumers: www.breville.ca Register online for product support and exclusive offers. *
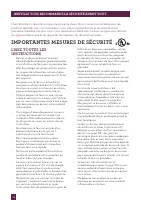
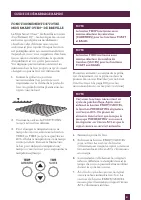
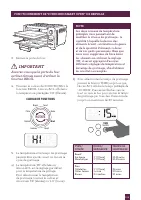
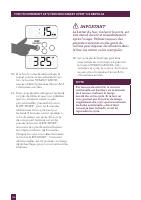
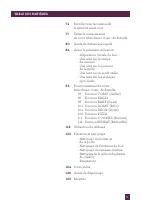
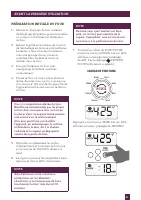
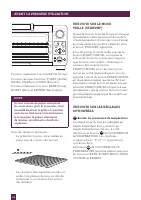
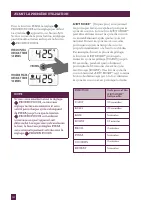
3 CONTENTS 4 Breville recommends safety fi rst 7 Know your Breville Mini Smart Oven ™ 10 Quick Start Guide 14 Before fi rst use - Preparing the oven for use- A note on cooking times- A note on rack height positions- A note on STANDBY mode- A note on optional settings 22 Operating your Breville Mini Sm...
Manual Breville BOV450XL


Summary
BOV450XL the Mini Smart Oven ™ Instruction Book - Livret d’instructions
CONGRATULATIONS On the purchase of your new Breville Mini Smart Oven ™ * Registering is not a substitute for proof of purchase when submitting a Warranty Claim. USA Consumers: www.brevilleusa.com Canadian Consumers: www.breville.ca Register online for product support and exclusive offers. *
3 CONTENTS 4 Breville recommends safety fi rst 7 Know your Breville Mini Smart Oven ™ 10 Quick Start Guide 14 Before fi rst use - Preparing the oven for use- A note on cooking times- A note on rack height positions- A note on STANDBY mode- A note on optional settings 22 Operating your Breville Mini Sm...
Breville Toasters Manuals
-
 Breville BOV650XL
User Manual
Breville BOV650XL
User Manual
-
Breville BOV650XL
Manual
-
 Breville BOV800XL
User Manual
Breville BOV800XL
User Manual
-
Breville BOV800XL
Manual
-
 Breville BOV860BSS1BUS1
User Manual
Breville BOV860BSS1BUS1
User Manual
-
 Breville BTA440BSS
User Manual
Breville BTA440BSS
User Manual
-
 Breville BTA630XL
User Manual
Breville BTA630XL
User Manual
-
Breville BTA630XL
Manual
-
 Breville BTA720XL
User Manual
Breville BTA720XL
User Manual
-
Breville BTA720XL
Manual
-
 Breville BTA730BSS
User Manual
Breville BTA730BSS
User Manual
-
Breville BTA730XL
User Manual
-
Breville BTA730XL
Manual
-
 Breville BTA820XL
User Manual
Breville BTA820XL
User Manual
-
Breville BTA820XL
Manual
-
 Breville BTA825
User Manual
Breville BTA825
User Manual
-
Breville BTA825
Manual
-
 Breville BTA830
User Manual
Breville BTA830
User Manual
-
Breville BTA830
Manual
-
 Breville BTA830BSS
User Manual
Breville BTA830BSS
User Manual