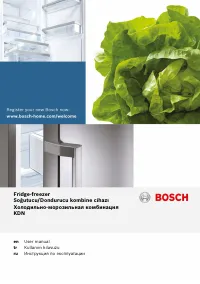
Bosch KDN 46NW20N - Manuals
Bosch KDN 46NW20N Refrigerator – User Manual in PDF format online.
Manuals:
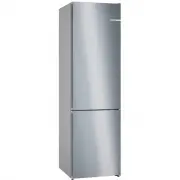
User Manual Bosch KDN 46NW20N


Summary
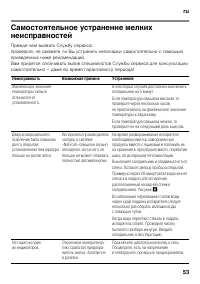
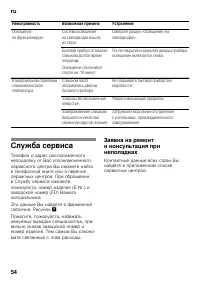
ru Co ep a e a a o e o ac oc pe y pe e .............................. 35 a a o y a ................... 39 O e oc a .................................. 40 Te epa ypa o py a e cpe e ........................................ 40 ... 41 . 42 ....... 43 c a o a e epa yp .................... 43 o e o e ........
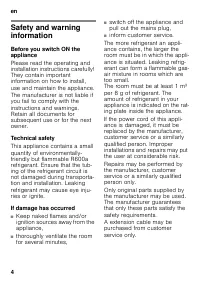
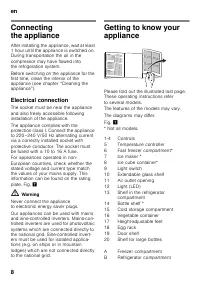
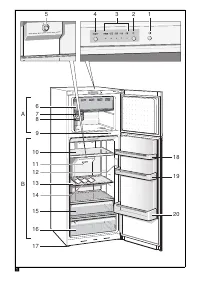
en 4 enTable of Contents enInstruction for Use Safety and warning information Before you switch ON the appliance Please read the operating and installation instructions carefully! They contain important information on how to install, use and maintain the appliance.The manufacturer is not liable if y...
en 6 ■ Never put frozen food straight from the freezer compartment into your mouth. Risk of low-temperature burns! ■ Avoid prolonged touching of frozen food, ice or the evaporator pipes, etc. Risk of low-temperature burns! Children in the household ■ Keep children away from packaging and its parts. ...
Bosch Refrigerators Manuals
-
 Bosch B09IB91NSP
User Manual
Bosch B09IB91NSP
User Manual
-
Bosch B09IB91NSP
Manual
-
 Bosch B10CB81NVB
User Manual
Bosch B10CB81NVB
User Manual
-
Bosch B10CB81NVB
Manual
-
 Bosch B10CB81NVW
User Manual
Bosch B10CB81NVW
User Manual
-
Bosch B10CB81NVW
Manual
-
 Bosch B11CB50SSS
User Manual
Bosch B11CB50SSS
User Manual
-
Bosch B11CB50SSS
Manual
-
Bosch B11CB50SSS
Installation Manual
-
 Bosch B11CB81SSS
User Manual
Bosch B11CB81SSS
User Manual
-
Bosch B11CB81SSS
Manual
-
 Bosch B24CB50ESS
User Manual
Bosch B24CB50ESS
User Manual
-
Bosch B24CB50ESS
Manual
-
Bosch B24CB50ESS
Installation Manual
-
 Bosch B24CB80ESB
User Manual
Bosch B24CB80ESB
User Manual
-
Bosch B24CB80ESB
Manual
-
Bosch B24CB80ESS
User Manual
-
Bosch B24CB80ESS
Manual
-
Bosch B24CB80ESS
Installation Manual
-
Bosch B24CB80ESW
User Manual