Bertazzoni PROF365CTXV - Manuals
Bertazzoni PROF365CTXV Hob – User Manual in PDF format online.
Manuals:
User Manual Bertazzoni PROF365CTXV
1
2

3

4

5
6

7

8

9

10

11

12

13

14

15

16

17

18

19

20

21
22

23

24

25

26

27

28

29

30

31

32

33
34
35
36
37
38
39
40

41
42
43
44
45
46
47
48
49
50
51
52
53
54
55
56
57
58

59
60
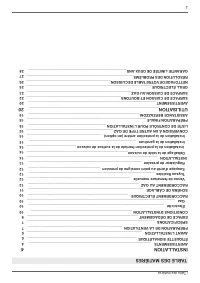
Summary
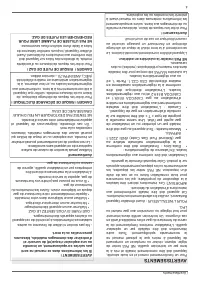
Page 4 - WARNINGS; DO NOT install this range outdoors.; To avoid risk of property damage, personal; re or explosion may; fl
4 / Warnings WARNINGS To ensure proper and safe operation, the applian-ce must be properly installed and grounded by a quali fi ed technician. DO NOT attempt to adjust, repair, service, or replace any part of your ap-pliance unless it is speci fi cally recommended in this manual. All other servicing...
Page 5 - WARNING
5 / Warnings WARNING : Cancer and Reproductiv Harm- www.P65Warnings.ca.gov .
Page 6 - Type of gas; DATA RATING LABEL
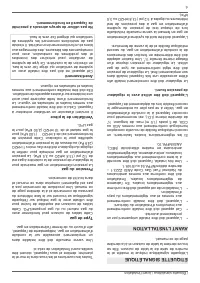
6 / Data rating label / Before installation The data rating label shows the model and serial number of the cooktop. It is located under the ran-getop and in the last page of this manual. • This appliance shall only be installed by an authorized professi onal. • This appliance shall be installed in a...
Bertazzoni Hobs Manuals
-
 Bertazzoni CB36 6 00 X
User Manual
Bertazzoni CB36 6 00 X
User Manual
-
 Bertazzoni CB36500X
User Manual
Bertazzoni CB36500X
User Manual
-
Bertazzoni CB36500X
Manual
-
 Bertazzoni CB486G00X
User Manual
Bertazzoni CB486G00X
User Manual
-
 Bertazzoni MAST304QBXT
User Manual
Bertazzoni MAST304QBXT
User Manual
-
Bertazzoni MAST304QXE
User Manual
-
 Bertazzoni MAST365IRTXT
User Manual
Bertazzoni MAST365IRTXT
User Manual
-
Bertazzoni MAST365QBXT
User Manual
-
Bertazzoni MAST365QXE
User Manual
-
Bertazzoni MAST366QBXT
User Manual
-
 Bertazzoni MAST366RTBXT
User Manual
Bertazzoni MAST366RTBXT
User Manual
-
Bertazzoni MAST366RTXE
User Manual
-
Bertazzoni MAST486GRTBXT
User Manual
-
 Bertazzoni P302IB2NE
User Manual
Bertazzoni P302IB2NE
User Manual
-
 Bertazzoni P304IAE
User Manual
Bertazzoni P304IAE
User Manual
-
 Bertazzoni P365IAE
User Manual
Bertazzoni P365IAE
User Manual
-
 Bertazzoni P603IC1B2GNEE
User Manual
Bertazzoni P603IC1B2GNEE
User Manual
-
 Bertazzoni P603IC1B2NEE
User Manual
Bertazzoni P603IC1B2NEE
User Manual
-
 Bertazzoni P604IC1B2NEE
User Manual
Bertazzoni P604IC1B2NEE
User Manual
-
 Bertazzoni P604IC2B2NEE
User Manual
Bertazzoni P604IC2B2NEE
User Manual