Beko BFLB904ADW - Manuals

User Manual Beko BFLB904ADW


Summary
EN / 2 Table of Contents 1 Safety Instructions ........................ 4 1.1 Intended Use ................................ 4 1.2 Safety of Children, Vulnerable Per-sons and Pets .............................. 4 1.3 Electrical Safety ............................ 5 1.4 Handling Safety ..................
EN / 3 Please read this user manual first! Dear Customer,Thank you for choosing Beko product. We hope that you get the best results from yourproduct which has been manufactured with high quality and state-of-the-art technology.Therefore, please read this entire user manual and all other accompanying...
EN / 5 with, climb on top or inside theproduct. Check inside theproduct before use. • Use child lock to prevent chil- dren from intervening with theproduct. • Do not forget to close the loading door when leaving theroom where the product islocated. Children and petsmay get locked inside anddrown. • ...
Beko Washing Machines Manuals
-
 Beko BFL1010W
User Manual
Beko BFL1010W
User Manual
-
 Beko BFL103ADW
User Manual
Beko BFL103ADW
User Manual
-
 Beko BFL104ADW
User Manual
Beko BFL104ADW
User Manual
-
 Beko BFL7510W
User Manual
Beko BFL7510W
User Manual
-
 Beko BFL8510W
User Manual
Beko BFL8510W
User Manual
-
 Beko BFL853ADW
User Manual
Beko BFL853ADW
User Manual
-
 Beko BFLB8020W
User Manual
Beko BFLB8020W
User Manual
-
 Beko BFLB902ADW
User Manual
Beko BFLB902ADW
User Manual
-
 Beko BWD7541IG
User Manual
Beko BWD7541IG
User Manual
-
 Beko BWD7541W
User Manual
Beko BWD7541W
User Manual
-
 Beko EV 5100
User Manual
Beko EV 5100
User Manual
-
 Beko EV 5600
User Manual
Beko EV 5600
User Manual
-
 Beko EV 5800
User Manual
Beko EV 5800
User Manual
-
 Beko EV 6100
User Manual
Beko EV 6100
User Manual
-
 Beko EV 6800
User Manual
Beko EV 6800
User Manual
-
 Beko WKE 13560 D
User Manual
Beko WKE 13560 D
User Manual
-
 Beko WKE 14560 D / WKE 14580 D
User Manual
Beko WKE 14560 D / WKE 14580 D
User Manual
-
 Beko WKE 15080 D
User Manual
Beko WKE 15080 D
User Manual
-
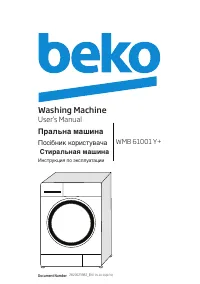 Beko WMB 61001 Y+
User Manual
Beko WMB 61001 Y+
User Manual
-
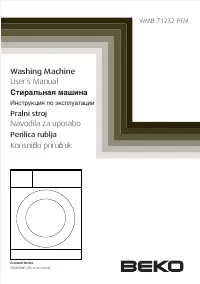 Beko WMB 71232 PTM
User Manual
Beko WMB 71232 PTM
User Manual