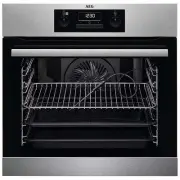
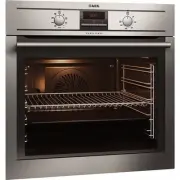
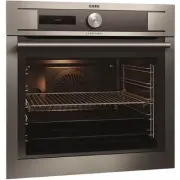
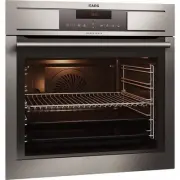
AEG KS8100001M - Manuals
AEG KS8100001M Oven – User Manual in PDF format online.
Manuals:
User Manual AEG KS8100001M


Summary
CONTENTS 1. SAFETY INFORMATION . . . . . . . . . . . . . . . . . . . . . . . . . . . . . . . . . . . . . . . . . . . . . . . . . . . . . . 3 2. SAFETY INSTRUCTIONS . . . . . . . . . . . . . . . . . . . . . . . . . . . . . . . . . . . . . . . . . . . . . . . . . . . . . . 4 3. PRODUCT DESCRIPTION . ....
scratch the surface, which may result in shattering ofthe glass. • To remove the shelf supports first pull the front of the shelf support and then the rear end away from theside walls. Install the shelf supports in the oppositesequence. 2. SAFETY INSTRUCTIONS 2.1 Installation WARNING! Only a qualifi...
• Before replacing the lamp, disconnect the appliance from the power supply. • Only use lamps with the same specifi- cations. 2.5 Disposal WARNING! Risk of injury or suffocation. • Disconnect the appliance from the mains supply. • Cut off the mains cable and discard it.• Remove the door catch to pre...
AEG Ovens Manuals
-
 AEG BER352110M
User Manual
AEG BER352110M
User Manual
-
 AEG KM8403001M
User Manual
AEG KM8403001M
User Manual
-
 AEG KS7415001M
User Manual
AEG KS7415001M
User Manual
-
 AEG KE8404001M
User Manual
AEG KE8404001M
User Manual
-
 AEG E6831-4-M
User Manual
AEG E6831-4-M
User Manual
-
 AEG E5701-4-M
User Manual
AEG E5701-4-M
User Manual
-
 AEG BE6915001M
User Manual
AEG BE6915001M
User Manual
-
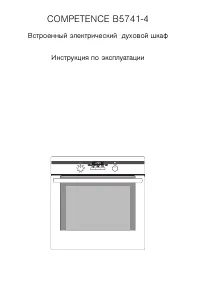 AEG B5741-4-M
User Manual
AEG B5741-4-M
User Manual
-
 AEG KM5840302M
Quick Guide
AEG KM5840302M
Quick Guide
-
 AEG BEM455120M
User Manual
AEG BEM455120M
User Manual
-
 AEG BES331111M
User Manual
AEG BES331111M
User Manual
-
 AEG BP5013001M
Manual
AEG BP5013001M
Manual
-
 AEG BCR742350W
User Manual
AEG BCR742350W
User Manual
-
 AEG BE3003001M
User Manual
AEG BE3003001M
User Manual
-
 AEG BY9314001M
Manual
AEG BY9314001M
Manual
-
 AEG BE7314401M
User Manual
AEG BE7314401M
User Manual
-
 AEG BE3002021B
User Manual
AEG BE3002021B
User Manual