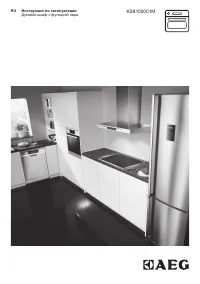
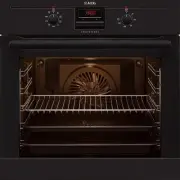
AEG BCR742350W - Manuals
User Manual AEG BCR742350W


Summary
CONTENTS 1. SAFETY INFORMATION............................................................................................. 3 2. SAFETY INSTRUCTIONS.............................................................................................4 3. PRODUCT DESCRIPTION......................................
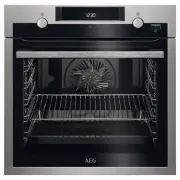
• Always use oven gloves to remove or put in accessories or ovenware. • Before carrying out any maintenance, disconnect the appliance from the power supply. • Ensure that the appliance is switched off before replacing the lamp to avoid the possibility of electric shock. • Do not use a steam cleaner ...
• Always use a correctly installed shockproof socket. • Do not use multi-plug adapters and extension cables. • Make sure not to cause damage to the mains plug and to the mains cable. Should the mains cable need to be replaced, this must be carried out by our Authorised Service Centre. • Do not let m...
AEG Ovens Manuals
-
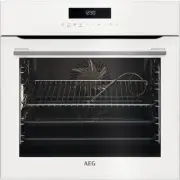
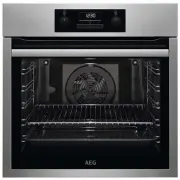
 AEG BER352110M
User Manual
AEG BER352110M
User Manual
-
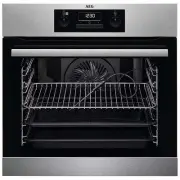
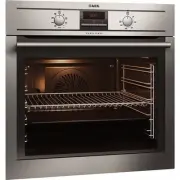
 AEG KM8403001M
User Manual
AEG KM8403001M
User Manual
-
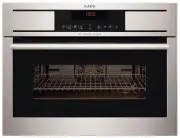
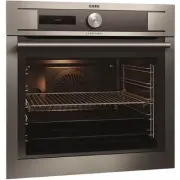
 AEG KS8100001M
User Manual
AEG KS8100001M
User Manual
-
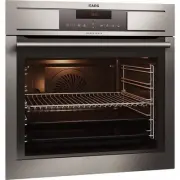
 AEG KS7415001M
User Manual
AEG KS7415001M
User Manual
-
 AEG KE8404001M
User Manual
AEG KE8404001M
User Manual
-
 AEG E6831-4-M
User Manual
AEG E6831-4-M
User Manual
-
 AEG E5701-4-M
User Manual
AEG E5701-4-M
User Manual
-
 AEG BE6915001M
User Manual
AEG BE6915001M
User Manual
-
 AEG B5741-4-M
User Manual
AEG B5741-4-M
User Manual
-
 AEG KM5840302M
Quick Guide
AEG KM5840302M
Quick Guide
-
 AEG BEM455120M
User Manual
AEG BEM455120M
User Manual
-
 AEG BES331111M
User Manual
AEG BES331111M
User Manual
-
 AEG BP5013001M
Manual
AEG BP5013001M
Manual
-
 AEG BE3003001M
User Manual
AEG BE3003001M
User Manual
-
 AEG BY9314001M
Manual
AEG BY9314001M
Manual
-
 AEG BE7314401M
User Manual
AEG BE7314401M
User Manual
-
 AEG BE3002021B
User Manual
AEG BE3002021B
User Manual