Bort BSS-1415-W - User Manual
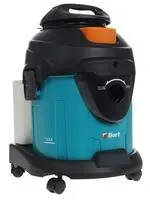
Bort BSS-1415-W Workshop Vacuum – User Manual, read for free online in PDF format. We hope this helps you resolve any issues you may have. If you have further questions, please contact us through the contact form.

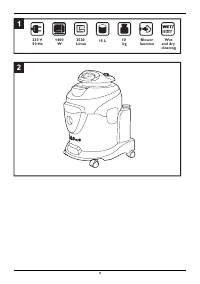
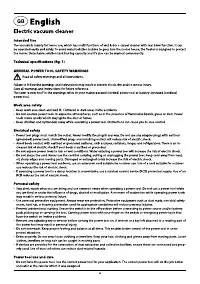
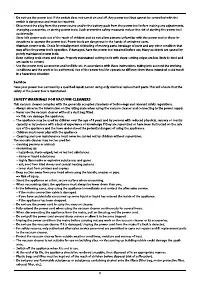
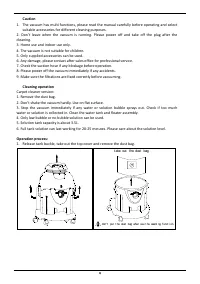
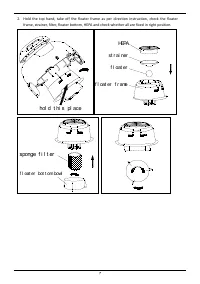
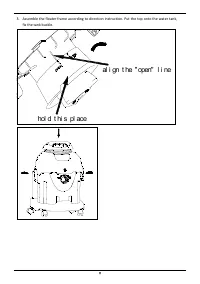
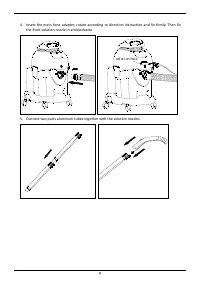
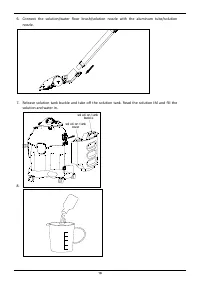
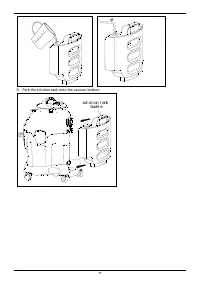
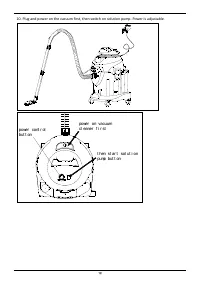
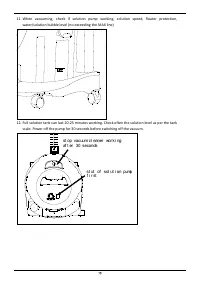
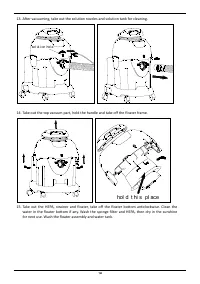
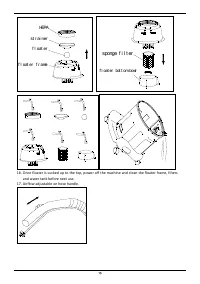
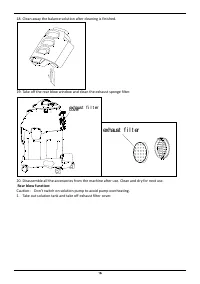
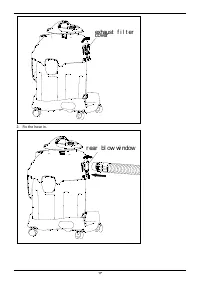
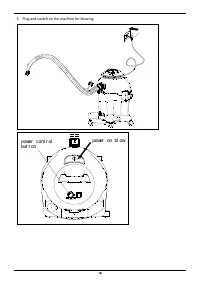
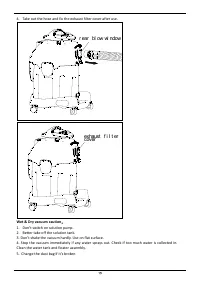
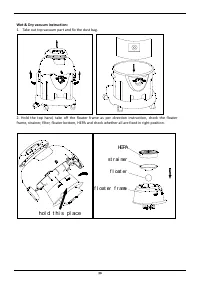
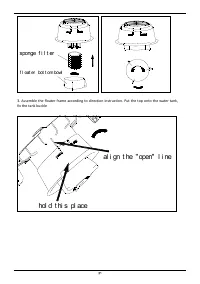
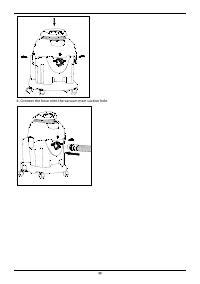
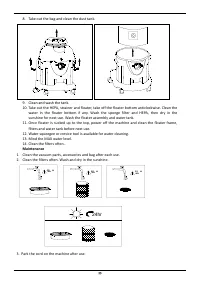
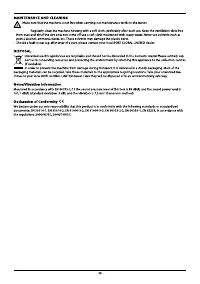
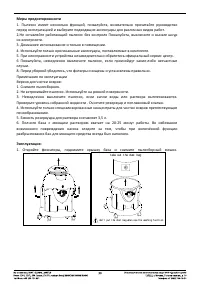
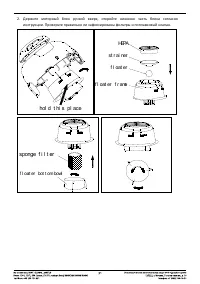
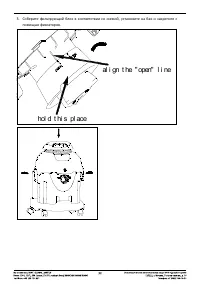
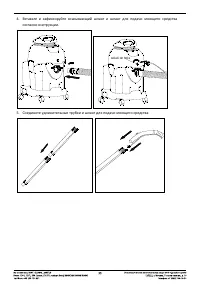
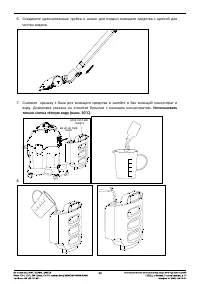
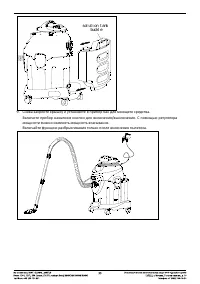
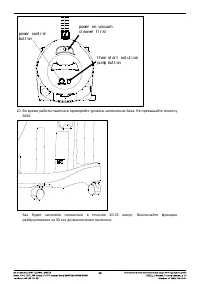
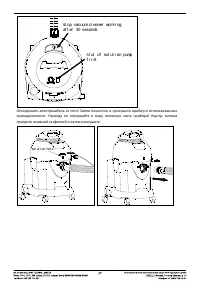
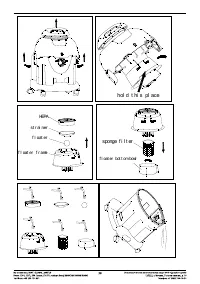
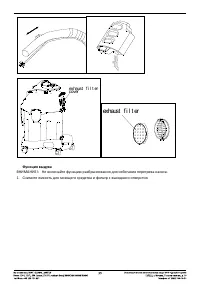
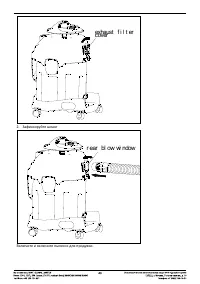
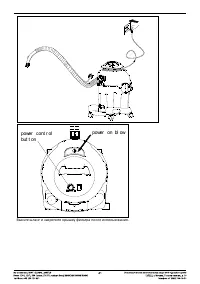
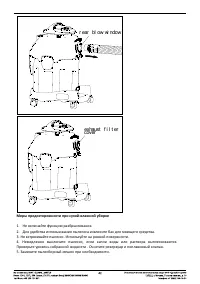
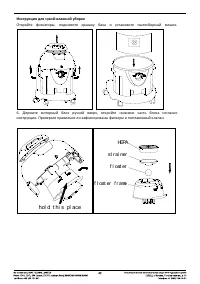
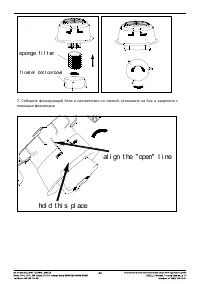
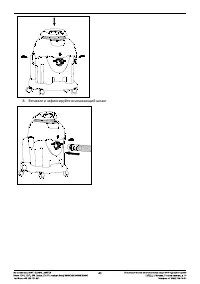



Table of Contents:
- Page 6 – Caution; suitable accessories for different cleaning purposes.; Cleaning operation; Carpet cleaner version
- Page 7 – hol d t hi s pl ace; HEPA; sponge f i l t er; f l oat er bot t om bowl
- Page 8 – fix the tank buckle.
- Page 9 – the front solution nozzle in anticlockwise.
- Page 10 – solution and water in.
- Page 11 – Park the solution tank onto the vacuum bottom.
- Page 15 – f l oat er bot t om bowl; and water tank before next use.
- Page 16 – Clean away the balance solution after cleaning is finished.; exhaust f i l t er; Rear blow function:
- Page 17 – r ear bl ow wi ndow
- Page 18 – Plug and switch on the machine for blowing.; power on bl ow
- Page 19 – Take out the hose and fix the exhaust filter cover after use.; Wet & Dry vacuum caution
- Page 20 – Take out top vacuum part and fix the dust bag.
- Page 22 – Connect the hose onto the vacuum main suction hole.
- Page 25 – Maintenance; Park the cord on the machine after use.
- Page 36 – MAX
- Page 39 – ʦʻhʺʤʻhʫ
"Loading the manual" means you need to wait until the file loads and becomes available for online reading. Some manuals are very large, and the time they take to appear depends on your internet speed.
Was this manual helpful?
About this manual
- Brand
- Bort
- Model
- BSS-1415-W
- Document type
- User Manual
- Category
- Workshop Vacuum
- Language(s)
- English, Russian
- Pages
- 64
- File size
- 10.8 MB
- Format
Summary
Caution 1. The vacuum has multi functions, please read the manual carefully before operating and select suitable accessories for different cleaning purposes. 2. Don’t leave when the vacuum is running. Please power off and take off the plug after the cleaning. 3. Home use and indoor use only. 4. The ...
2. Hold the top hand, take off the floater frame as per direction instruction, check the floater frame, strainer, filter, floater bottom, HEPA and check whether all are fixed in right position. hol d t hi s pl ace HEPA st r ai ner f l oat er f l oat er f r ame sponge f i l t er f l oat er bot t om b...
3. Assemble the floater frame according to direction instruction. Put the top onto the water tank, fix the tank buckle. al i gn t he " open" l i ne hol d t hi s pl ace
Ask a question
Related manuals
More Bort Workshop Vacuums models


Other Bort appliances
 Bort BAB-10,8X User Manual
 Bort BAB-10.8N-Li User Manual
 Bort BBS-801N User Manual
 Bort BCT-140 User Manual
 Bort BDR-1500-RR User Manual
 Bort BDR-2300-R User Manual
 Bort BDR-2500-RR User Manual
 Bort BDR-2500-RR-Iron User Manual
 Bort BDR-2700-R User Manual
 Bort BDR-5000 Turbo User Manual
 Bort BHD-700-P User Manual
 Bort BHD-800N User Manual
 Bort BHR-2000-Pro User Manual
 Bort BHR-2500R-Pro User Manual
 Bort BOF-1600N User Manual
 Bort BSM-250 User Manual
 Bort BSM-250 98295641 User Manual