Maytag MAT20PRAWW - User Manual
Maytag MAT20PRAWW Washing Machine – User Manual, read for free online in PDF format. We hope this helps you resolve any issues you may have. If you have further questions, please contact us through the contact form.
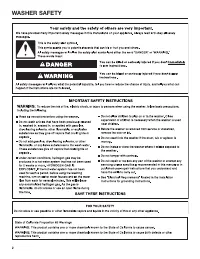


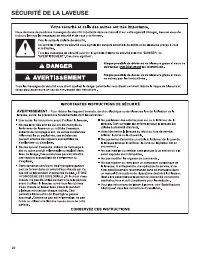
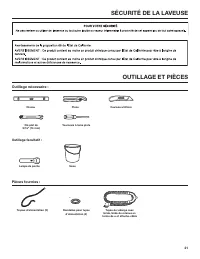
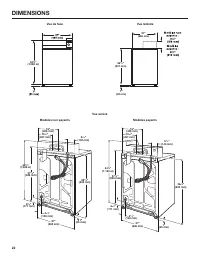
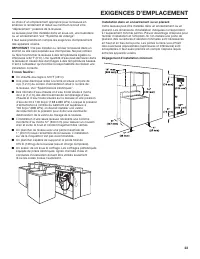
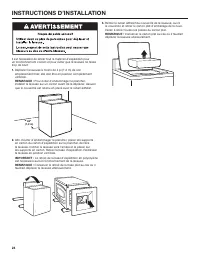
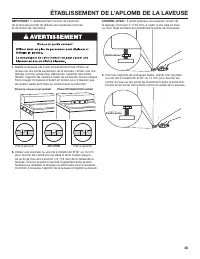
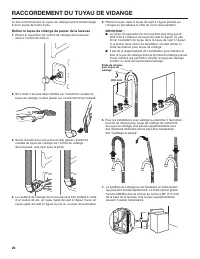
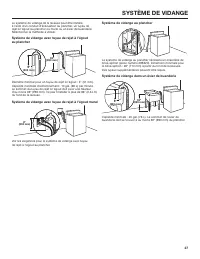
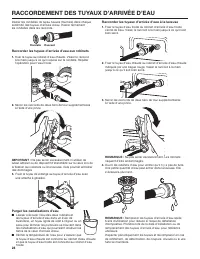
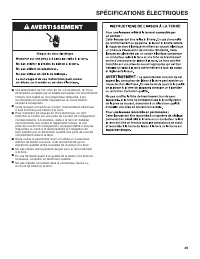

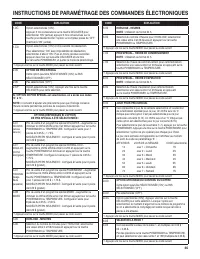
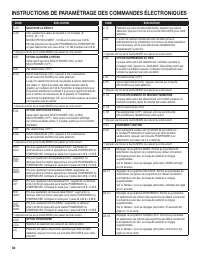
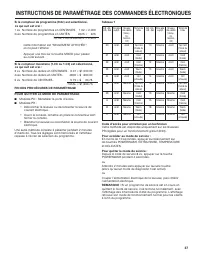


Table of Contents:
- Page 2 – WASHER SAFETY
- Page 4 – DIMENSIONS
- Page 5 – LOCATION REQUIREMENTS
- Page 6 – INSTALLATION INSTRUCTIONS
- Page 7 – LEVEL WASHER
- Page 8 – CONNECT DRAIN HOSE
- Page 9 – DRAIN SYSTEM
- Page 10 – CONNECT INLET HOSES
- Page 11 – ELECTRICAL REQUIREMENTS
- Page 12 – INSTALLING COIN SLIDE AND COIN BOX; COMPLETE INSTALLATION
- Page 13 – WASHER MAINTENANCE; Operating Tips
- Page 15 – ELECTRONIC CONTROLS SET-UP INSTRUCTIONS; Basic Operation of Commercial Washer
- Page 16 – Control Set-Up Procedures
- Page 20 – SÉCURITÉ DE LA LAVEUSE
- Page 21 – Outillage nécessaire :
- Page 23 – EXIGENCES D’EMPLACEMENT
- Page 24 – INSTRUCTIONS D’INSTALLATION
- Page 25 – ÉTABLISSEMENT DE L’APLOMB DE LA LAVEUSE
- Page 26 – RACCORDEMENT DU TUYAU DE VIDANGE
- Page 27 – SYSTÈME DE VIDANGE
- Page 28 – RACCORDEMENT DES TUYAUX D’ARRIVÉE D’EAU
- Page 29 – SPÉCIFICATIONS ÉLECTRIQUES
- Page 30 – INSTALLATION DE LA GLISSIÈRE ET DE LA BOÎTE À MONNAIE
- Page 31 – ENTRETIEN DE LA LAVEUSE; Conseils d’utilisation
- Page 33 – INSTRUCTIONS DE PARAMÉTRAGE DES COMMANDES ÉLECTRONIQUES; Laveuse commerciale – opérations de base
- Page 34 – Procédures de réglage des systèmes
- Page 38 – NOTES
- Page 40 – GARANTIE LIMITÉE POUR LES PRODUITS
W10837721A
W10861220A – SP
TABLE DES MATIÈRES
Page
Sécurité de la laveuse ........................................................... 20
Outillage et pièces ................................................................. 21
Dimensions ............................................................................ 22
Exigences d’emplacement ................................................... 23
Instructions d’installation ..................................................... 24
Établissement de l’aplomb de la laveuse ............................ 25
Raccordement du tuyau de vidange .................................... 26
Système de vidange .............................................................. 27
Raccordement des tuyaux d’arrivée d’eau ......................... 28
Spécifications électriques .................................................... 29
Achever l’installation ............................................................. 30
Installation de la glissière et de la boîte à monnaie ........... 30
Taille typique des charges complètes ................................. 30
Entretien de la laveuse .......................................................... 31
Si vous avez besoin d’assistance ........................................ 32
Pièces supplémentaires et accessoires .............................. 32
Instructions de paramétrage des commandes
électroniques ......................................................................... 33
Garantie .................................................................................. 40
INSTALLATION
INSTRUCTIONS
C
ommerCial
W
asher
www.maytagcommerciallaundry.com
INSTRUCTIONS
D’INSTALLATION
l
aveuse
CommerCiale
TABLE OF CONTENTS
Page
Washer Safety .......................................................................... 2
Tools & Parts ............................................................................ 3
Dimensions .............................................................................. 4
Location Requirements ........................................................... 5
Installation instructions .......................................................... 6
Level Washer ............................................................................ 7
Connect Drain Hose ................................................................ 8
Drain System ............................................................................ 9
Connect Inlet Hoses .............................................................. 10
Electrical Requirements........................................................ 11
Complete Installation ............................................................ 12
Installing Coin Slide and Coin Box ....................................... 12
Typical Full Load Sizes .......................................................... 12
Washer Maintenance............................................................. 13
If You Need Assistance ......................................................... 14
Alternate Parts & Accessories ............................................. 14
Electronic Controls Set-Up Instructions ............................. 15
Warranty ................................................................................. 19
"Loading the manual" means you need to wait until the file loads and becomes available for online reading. Some manuals are very large, and the time they take to appear depends on your internet speed.
Summary
4 DIMENSIONS Front View Back View Non-coin-operated models Coin-operated models 27" (686 mm) 36 3 / 4 " (933 mm) 4 1 / 4 " (108 mm) 1" (25 mm) 6 3 / 4 " (171 mm) 37 1 / 4 " (946 mm) 10 1 / 2 " (267 mm) 16" (406 mm) 5 1 / 2 " (140 mm) 42 1 / 2 " (1.080 m) Side ...
5 Selecting the proper location for your washer improves performance and minimizes noise and possible washer “walk.” Your washer can be installed in a basement, laundry room, or recessed area. See “Drain System.” Companion appliance location requirements should also be considered. IMPORTANT: Do not ...