Hyundai H-CD7004 - User Manual
Hyundai H-CD7004 Portable Audio Player – User Manual, read for free online in PDF format. We hope this helps you resolve any issues you may have. If you have further questions, please contact us through the contact form.
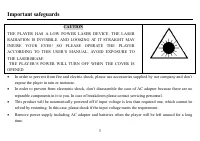
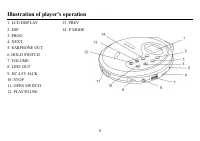
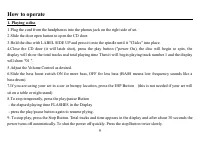
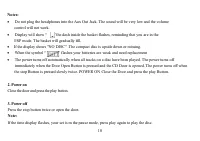
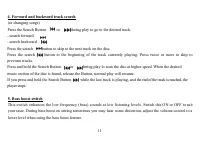
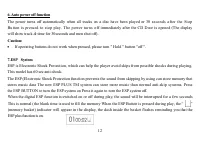


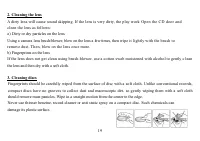
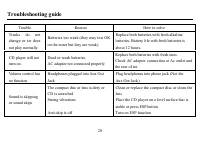
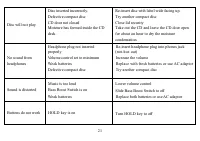
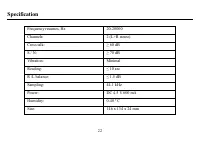
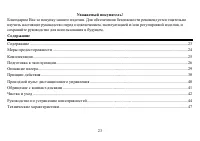
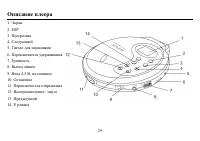
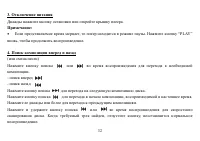
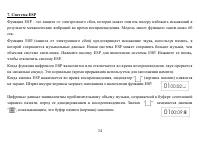
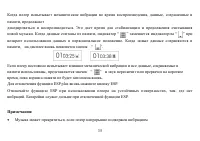
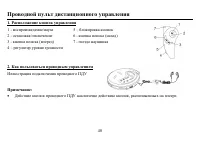
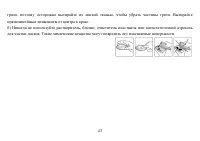
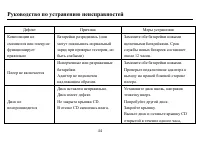
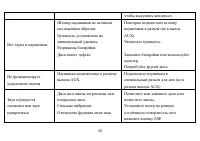
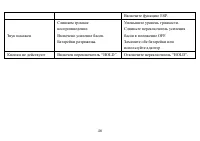
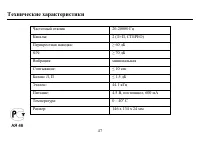
Table of Contents:
- Page 2 – Table of contents; Table
- Page 3 – Important safeguards; CAUTION
- Page 4 – Accessories; pc
- Page 5 – Preparation; Listening with earphones; DO NOT PLUG THE EARPHONES INTO THE AUX OUT JACK!; Connecting to home stereo; made on our audio system.
- Page 6 – Inserting the batteries; Close the battery cover.
- Page 7 – You can enjoy music while charging.
- Page 8 – Illustration of player s operation; LCD
- Page 9 – How to operate
- Page 11 – Forward and backward track search; Press the Search Button or during play to go to the desired track.
- Page 12 – Auto power off function
- Page 15 – Programming your playing; Sequence programmed play
- Page 17 – Wired controller; Location of controls; Illustration for how to connect Wired Controller
- Page 18 – Handling compact discs; Dirty, scratched or warped discs may cause skip ping or noise.; Cleaning; Cleaning the cabinet
- Page 20 – Troubleshooting guide; Trouble
- Page 22 – Specification; Frequency resumes, Hz
- Page 32 – PLAY
- Page 34 – ESP
- Page 36 – CD
- Page 39 – PROGRAM
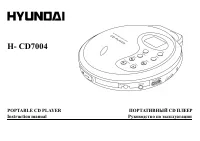
H- CD7004
POPTABLE
CD
PLAYER
CD
Instruction
manual
"Loading the manual" means you need to wait until the file loads and becomes available for online reading. Some manuals are very large, and the time they take to appear depends on your internet speed.
Summary
2 Dear customer! Thank you for purchasing our product. For safety, it is strongly recommended to read this manual carefullybefore connecting, operating and/or adjusting the product and keep the manual for reference in the future. Table of contents Table of contents .....................................
3 Important safeguards · In order to prevent from fire and electric shock, please use accessories supplied by our company and don texpose the player in rain or moisture. · In order to prevent from electronic shock, don t disassemble the case of AC adaptor because there are noreparable components in ...
4 · AC adaptor will power the player automatically when the adaptor and dry batteries are used at the sametime. · Don t use AC adaptor that is supplied not by our company because it may cause damage. · Do not connect the player to the power supply if you have just moved it from a cold to a warm envi...