De Dietrich DTI 1177 X - User Manual
De Dietrich DTI 1177 X Hob – User Manual, read for free online in PDF format. We hope this helps you resolve any issues you may have. If you have further questions, please contact us through the contact form.

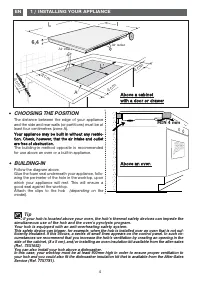
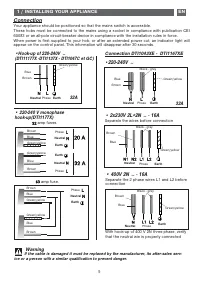
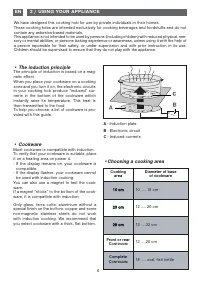
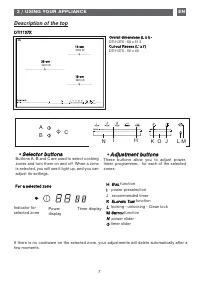
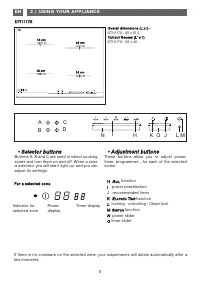
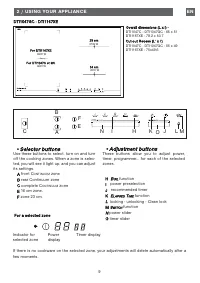
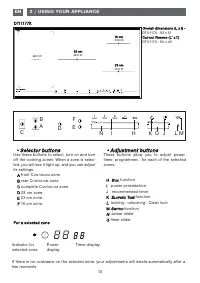
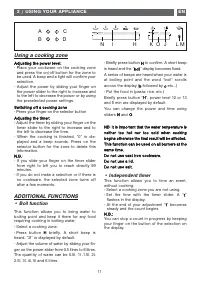
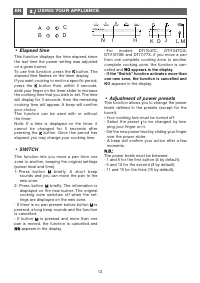
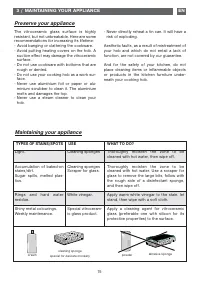
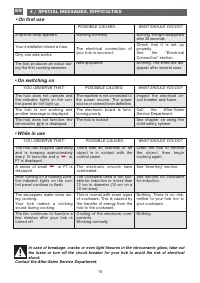
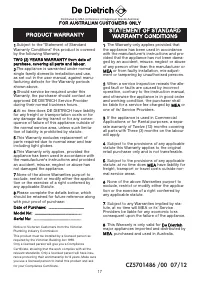
Table of Contents:
- Page 3 – Warning
- Page 4 – CHOOSING THE POSITION; Above an oven; MIN 4 mm; Tip; simultaneous use of the hob and the oven’s pyrolysis program.; / INSTALLING YOUR APPLIANCE
- Page 5 – Connection; ice or a person with a similar qualification to prevent danger.
- Page 6 – / USING YOUR APPLIANCE; •Choosing a cooking area; - If the display flashes, your cookware cannot
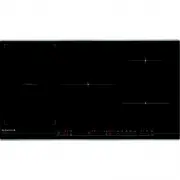
- Page 7 – Description of the top; L M
- Page 8 – Adjustment buttons; Selector buttons
- Page 11 – • Independent timer; Using a cooking zone; • Boil function
- Page 12 – • Elapsed time; appears in the display.; • Adjustment of power presets
- Page 13 – • Child safety; and the indicator goes out.; • Clean lock; and the indicator will start flashing.
- Page 14 – Safety when operating; •Residual heat
- Page 15 – / MAINTAINING YOUR APPLIANCE; Preserve your appliance; TYPES OF STAINS/SPOTS
- Page 16 – Contact the After-Sales Service Department.; •While in use
- Page 17 – PRODUCT WARRANTY; FOR AUSTRALIAN CUSTOMERS ONLY; STATEMENT OF STANDARD
EN
GUIDE TO INSTALLATION AND USE
Cooking Hob
"Loading the manual" means you need to wait until the file loads and becomes available for online reading. Some manuals are very large, and the time they take to appear depends on your internet speed.
Summary
3 EN CONTENTS 1 / INSTALLING YOUR APPLIANCE • Installation _________________________________________________________ 4 • Connection _________________________________________________________ 5 2 / USING YOUR APPLIANCE • The induction principle _______________________________________________ 6 • Descr...
4 EN • CHOOSING THE POSITION The distance between the edge of your applianceand the side and rear walls (or partitions) must be atleast four centimetres (zone A).Your appliance may be built in without any restric-tion. Check, however, that the air intake and outletare free of obstruction.The buildin...
EN 5 1 / INSTALLING YOUR APPLIANCE Your appliance should be positioned so that the mains switch is accessible.These hobs must be connected to the mains using a socket in compliance with publication CEI60083 or an all-pole circuit-breaker device in compliance with the installation rules in force.When...