Whirlpool WOS52ES4MZ - Manuals
Whirlpool WOS52ES4MZ Oven – User Manual, Installation Manual, Manual in PDF format online.
Manuals:
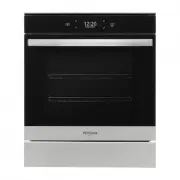
User Manual Whirlpool WOS52ES4MZ


Summary
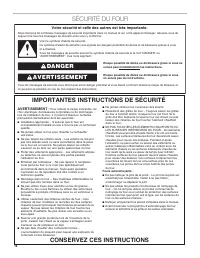
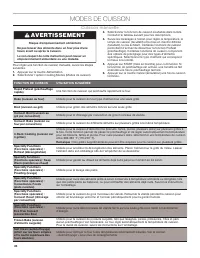
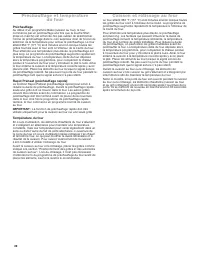
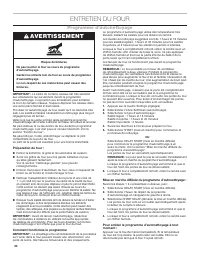
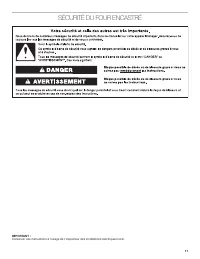
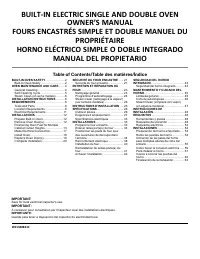
2 OVEN SAFETY You can be killed or seriously injured if you don't immediately You can be killed or seriously injured if you don't follow All safety messages will tell you what the potential hazard is, tell you how to reduce the chance of injury, and tell you what canhappen if the instructions are no...
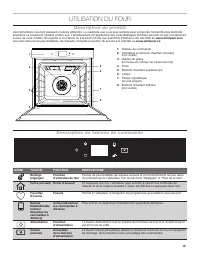
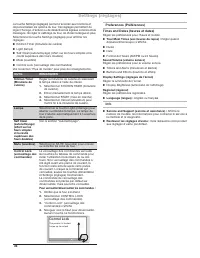
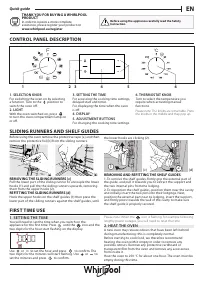
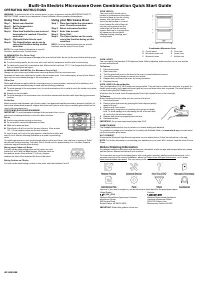
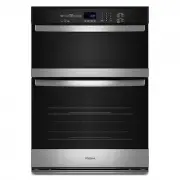
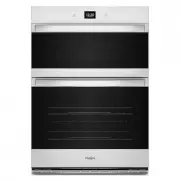
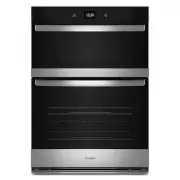
3 OVEN USE Product Description These instructions cover several different models. The range you have purchased may have some or all of the items listed. The locations and appearances of the features shown here may not match those of your model. Refer to this manual or the Frequently Asked Questions ...
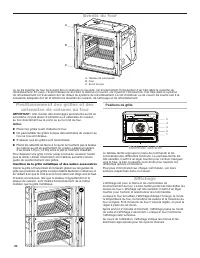
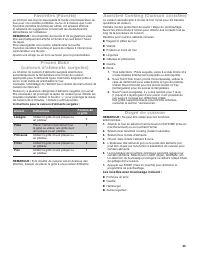
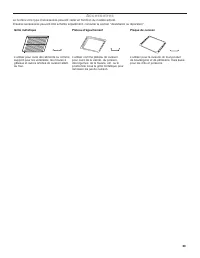
4 Positioning Racks and Bakeware IMPORTANT: To avoid permanent damage to the porcelain finish, do not place food or bakeware directly on the oven door or bottom. Racks ■ Position racks before turning on the oven. ■ Do not position racks with bakeware on them. ■ Make sure racks are level. ■ Place foo...
Installation Manual Whirlpool WOS52ES4MZ


Manual Whirlpool WOS52ES4MZ


Summary
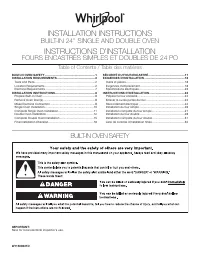
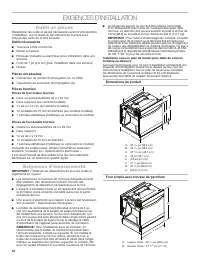
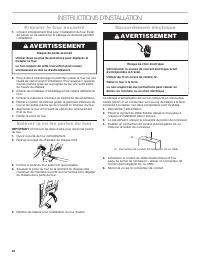
2 INSTALLATION REQUIREMENTS Tools and Parts Gather the required tools and parts before starting installation. Read and follow the instructions provided with any tools listed here. Tools needed ■ Phillips screwdriver ■ Measuring tape ■ Hand or electric drill (for wall cabinet installations) ■ 1" ...
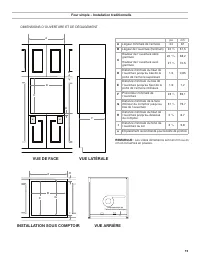
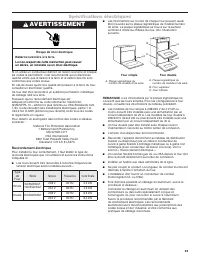
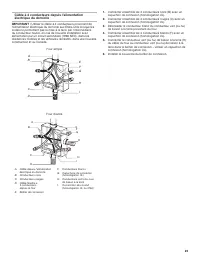
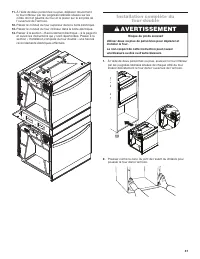
3 FRONT VIEW SIDE VIEW A H I C B G Power Supply Location UNDER COUNTER INSTALLATION BACK VIEW in cm A Width of cabinet (minimum) 24 61 B Width of cutout (minimum) 22 5 ⁄ 8 57.5 C Height of cutout without trim Height of cutout with trim 22 15 ⁄ 16 27 3 ⁄ 4 58.2 70.5 D Top of cutout to bottom of upper...
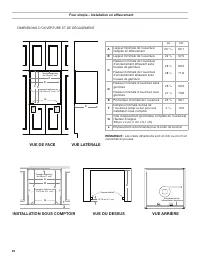
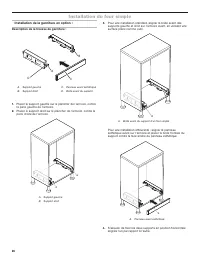
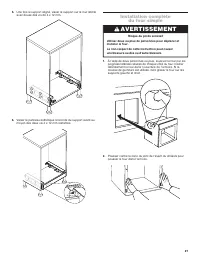
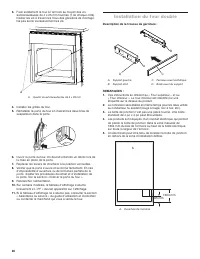
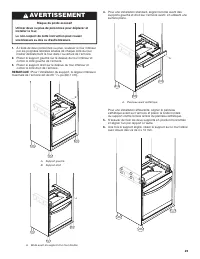
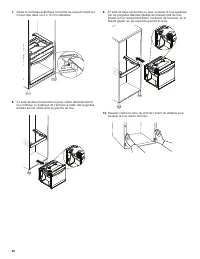
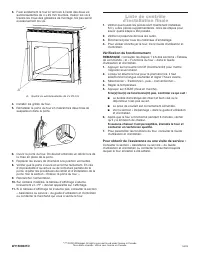
Single Oven - Flush Installation FRONT VIEW 3/8 " (1 cm) Top Cleat* 13/16 " (2.1 cm) Side Cleat* AB C D G F 13/16" (2.1 cm) Side Cleat* E Power Supply Location UNDER COUNTER INSTALLATION BACK VIEW TOP VIEW in cm A Width of flush inset cutout (minimum) 23 11 ⁄ 16 60.1 B Width of opening (...
Whirlpool Ovens Manuals
-
 Whirlpool AKP3534HIXAUS
User Manual
Whirlpool AKP3534HIXAUS
User Manual
-
 Whirlpool AKP3840PIXAUS
User Manual
Whirlpool AKP3840PIXAUS
User Manual
-
 Whirlpool OASKC8V1SWBLG
User Manual
Whirlpool OASKC8V1SWBLG
User Manual
-
 Whirlpool WOC54EC0HS
User Manual
Whirlpool WOC54EC0HS
User Manual
-
 Whirlpool WOC75EC0HS
User Manual
Whirlpool WOC75EC0HS
User Manual
-
Whirlpool WOC75EC0HS
Manual
-
Whirlpool WOC75EC0HS
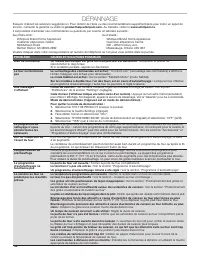
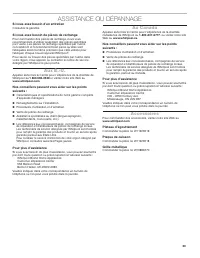
Troubleshooting Guide
-
 Whirlpool WOD51EC0HS
User Manual
Whirlpool WOD51EC0HS
User Manual
-
 Whirlpool WOD52ES4MB
Installation Manual
Whirlpool WOD52ES4MB
Installation Manual
-
 Whirlpool WOD52ES4MW
User Manual
Whirlpool WOD52ES4MW
User Manual
-
Whirlpool WOD52ES4MW
Installation Manual
-
 Whirlpool WOD52ES4MZ
User Manual
Whirlpool WOD52ES4MZ
User Manual
-
Whirlpool WOD52ES4MZ
Installation Manual
-
Whirlpool WOD52ES4MZ
Manual
-
 Whirlpool WOD77EC0HS
User Manual
Whirlpool WOD77EC0HS
User Manual
-
 Whirlpool WOEC3030LS
User Manual
Whirlpool WOEC3030LS
User Manual
-
Whirlpool WOEC3030LS
Installation Manual
-
Whirlpool WOEC3030LS
Manual
-
 Whirlpool WOEC5027LW
User Manual
Whirlpool WOEC5027LW
User Manual
-
 Whirlpool WOEC5027LZ
User Manual
Whirlpool WOEC5027LZ
User Manual