Whirlpool FDLR70210 - Manuals
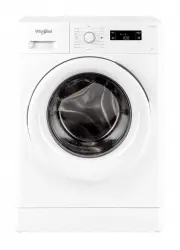
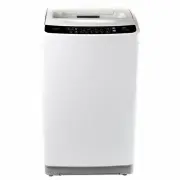
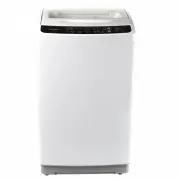
User Manual Whirlpool FDLR70210


Summary
2 HEALTH & SAFETY GUIDE . . . . . . . . . . . . . . . . . . . . . . . . . . . . . . . . . . . . . . . . . . . . . . . . . . . . . . . . . . . . . . . . . 3 Safety Instructions . . . . . . . . . . . . . . . . . . . . . . . . . . . . . . . . . . . . . . . . . . . . . . . . . . . . . . . . . . . . ...
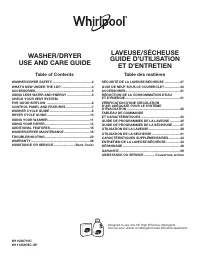
EN Health & Safety guide 3 SAFETY INSTRUCTIONS IMPORTANT TO BE READ AND OBSERVED Before using the appliance, read these safety instructions . Keep them nearby for future reference . These instructions and the appliance itself provide important safety warnings, to be observed at all times . The m...
Health & Safety guide 4 Use only new hoses to connect the appliance to the water supply . The old hose-sets should not be reused . The supply water pressure must be in the 01-1 Mpa range . ELECTRICAL WARNINGS It must be possible to disconnect the appliance from the power supply by unplugging it ...
Whirlpool Washing Machines Manuals
-
 Whirlpool AWG 263
User Manual
Whirlpool AWG 263
User Manual
-
 Whirlpool CAE2745FQ
User Manual
Whirlpool CAE2745FQ
User Manual
-
 Whirlpool CAE2795FQ
User Manual
Whirlpool CAE2795FQ
User Manual
-
 Whirlpool CHW9150GW
User Manual
Whirlpool CHW9150GW
User Manual
-
Whirlpool CHW9150GW
Manual
-
 Whirlpool CHW9160GW
User Manual
Whirlpool CHW9160GW
User Manual
-
 Whirlpool FDLR80210
User Manual
Whirlpool FDLR80210
User Manual
-
 Whirlpool FDLR80250
User Manual
Whirlpool FDLR80250
User Manual
-
 Whirlpool FSCR12420
User Manual
Whirlpool FSCR12420
User Manual
-
 Whirlpool WB10037
User Manual
Whirlpool WB10037
User Manual
-
 Whirlpool WB70803
User Manual
Whirlpool WB70803
User Manual
-
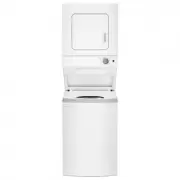
 Whirlpool WET4024HW
User Manual
Whirlpool WET4024HW
User Manual
-
Whirlpool WET4024HW
Manual
-
 Whirlpool WET4027HW
User Manual
Whirlpool WET4027HW
User Manual
-
Whirlpool WET4027HW
Manual
-
Whirlpool WET4027HW
Installation Manual
-
Whirlpool WET4027HW
Troubleshooting Guide
-
 Whirlpool WET4124HW
User Manual
Whirlpool WET4124HW
User Manual
-
Whirlpool WET4124HW
Manual
-
Whirlpool WET4124HW
Troubleshooting Guide