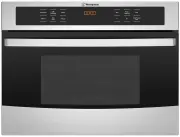
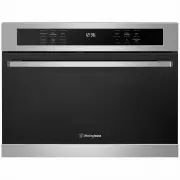
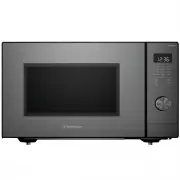
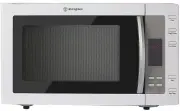
Westinghouse WMC4207GA - Manuals
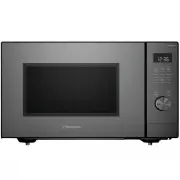
User Manual Westinghouse WMC4207GA


Summary
2 Please read the user manual carefully and store in a handy place for later reference. The symbols you will see in this booklet have these meanings: WARNING This symbol indicates information concerning your personal safety. CAUTION This symbol indicates information on how to avoid damaging the appl...
3 PRECAUTIONS TO AVOID POSSIBLE EXPOSURE TO EXCESSIVE MICROWAVE ENERGY (a) Do not attempt to operate this oven with the door open since this can result in harmful exposure to microwave energy. It is important not to break or tamper with the safety interlocks. (b) Do not place any object between the ...
4 • The rear surface of appliances shall be placed against a wall. • WARNING:When the appliance is operated in the combination mode, children should only use the oven under adult supervision due to the temperatures generated. READ CAREFULLY AND KEEP FOR FUTURE REFERENCE Specifications Model WMC4207G...
Westinghouse Microwaves Manuals
-
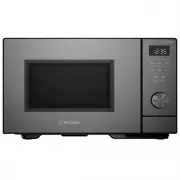
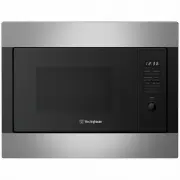 Westinghouse WMB2522SC
User Manual
Westinghouse WMB2522SC
User Manual
-
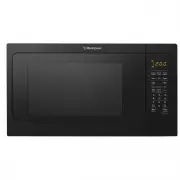
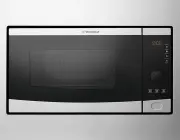 Westinghouse WMB2802SA
User Manual
Westinghouse WMB2802SA
User Manual
-
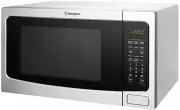
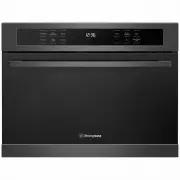 Westinghouse WMB4425DSC
User Manual
Westinghouse WMB4425DSC
User Manual
-
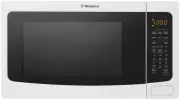
 Westinghouse WMB4425SA
User Manual
Westinghouse WMB4425SA
User Manual
-
 Westinghouse WMB4425SC
User Manual
Westinghouse WMB4425SC
User Manual
-
 Westinghouse WMF2302SA
User Manual
Westinghouse WMF2302SA
User Manual
-
 Westinghouse WMF2302WA
User Manual
Westinghouse WMF2302WA
User Manual
-
 Westinghouse WMF2905GA
User Manual
Westinghouse WMF2905GA
User Manual
-
 Westinghouse WMF4102BA
User Manual
Westinghouse WMF4102BA
User Manual
-
 Westinghouse WMF4102SA
User Manual
Westinghouse WMF4102SA
User Manual
-
 Westinghouse WMF4102WA
User Manual
Westinghouse WMF4102WA
User Manual
-
 Westinghouse WMF4505GA
User Manual
Westinghouse WMF4505GA
User Manual
-
 Westinghouse WMG281SB
User Manual
Westinghouse WMG281SB
User Manual
-
 Westinghouse WMG281SF
User Manual
Westinghouse WMG281SF
User Manual
-
Westinghouse WMG281SF
Manual
-
 Westinghouse WMS281SB
User Manual
Westinghouse WMS281SB
User Manual
-
 Westinghouse WMS281SF
User Manual
Westinghouse WMS281SF
User Manual
-
Westinghouse WMS281SF
Manual
-
 Westinghouse WMS281WF
User Manual
Westinghouse WMS281WF
User Manual
-
Westinghouse WMS281WF
Manual