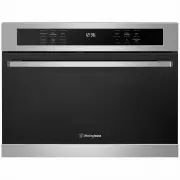
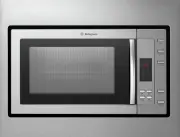
Westinghouse WMB4425SA - Manuals
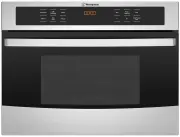
User Manual Westinghouse WMB4425SA


Summary
2 CONTENTS General warnings .................................................................................3Important safety instructions ....................................................... 4Product description ...........................................................................5Control...
3 GENERAL WARNINGS Please read the user manual carefully and store in a handy place for later reference. Pass the user manual on to possible new owners of the appliance. Read the following carefully to avoid damage or injury. NOTE: You must read these warnings carefully before installing or using th...
4 SAFETY INSTRUCTIONS SAFETY INSTRUCTIONS Installation WARNING WARNING Only a qualified person must install this appliance. • Remove all the packaging. • Do not install or use a damaged appliance. • Obey the installation instructions supplied with the appliance. • Always be careful when you move the...
Westinghouse Microwaves Manuals
-
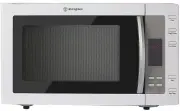
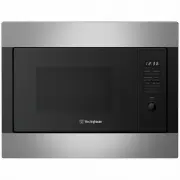 Westinghouse WMB2522SC
User Manual
Westinghouse WMB2522SC
User Manual
-
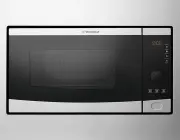 Westinghouse WMB2802SA
User Manual
Westinghouse WMB2802SA
User Manual
-
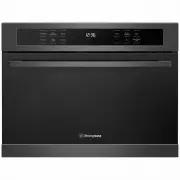 Westinghouse WMB4425DSC
User Manual
Westinghouse WMB4425DSC
User Manual
-
 Westinghouse WMB4425SC
User Manual
Westinghouse WMB4425SC
User Manual
-
 Westinghouse WMF2302SA
User Manual
Westinghouse WMF2302SA
User Manual
-
 Westinghouse WMF2302WA
User Manual
Westinghouse WMF2302WA
User Manual
-
 Westinghouse WMF2905GA
User Manual
Westinghouse WMF2905GA
User Manual
-
 Westinghouse WMF4102BA
User Manual
Westinghouse WMF4102BA
User Manual
-
 Westinghouse WMF4102SA
User Manual
Westinghouse WMF4102SA
User Manual
-
 Westinghouse WMF4505GA
User Manual
Westinghouse WMF4505GA
User Manual
-
 Westinghouse WMG281SF
Manual
Westinghouse WMG281SF
Manual
-
 Westinghouse WMS281SB
User Manual
Westinghouse WMS281SB
User Manual
-
 Westinghouse WMS281WF
Manual
Westinghouse WMS281WF
Manual