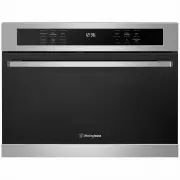
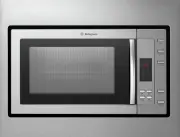
Westinghouse WMB2522SC - Manuals
User Manual Westinghouse WMB2522SC


Summary
2 CONTENTS General warnings.................................................................................3Important safety instructions ....................................................... 4Product description ...........................................................................5Utensils...
3 GENERAL WARNINGS Please read the user manual carefully and store in a handy place for later reference. Pass the user manual on to possible new owners of the appliance. Read the following carefully to avoid damage or injury. Children and vulnerable people safety WARNING WARNING Risk of suffocation,...
4 SAFETY INSTRUCTIONS SAFETY INSTRUCTIONS Installation WARNING WARNING Only a qualified person must install this appliance. • Remove all the packaging. • Do not install or use a damaged appliance. • Obey the installation instructions supplied with the appliance. • Always be careful when you move the...
Westinghouse Microwaves Manuals
-
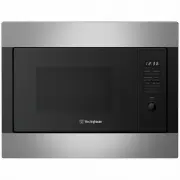
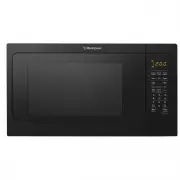
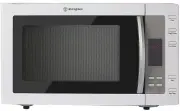
 Westinghouse WMB2802SA
User Manual
Westinghouse WMB2802SA
User Manual
-
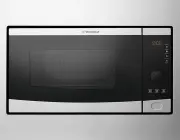
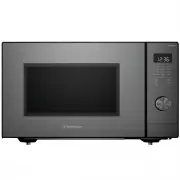
 Westinghouse WMB4425DSC
User Manual
Westinghouse WMB4425DSC
User Manual
-
 Westinghouse WMB4425SA
User Manual
Westinghouse WMB4425SA
User Manual
-
 Westinghouse WMB4425SC
User Manual
Westinghouse WMB4425SC
User Manual
-
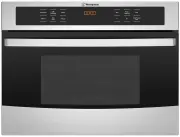
 Westinghouse WMF2302SA
User Manual
Westinghouse WMF2302SA
User Manual
-
 Westinghouse WMF2302WA
User Manual
Westinghouse WMF2302WA
User Manual
-
 Westinghouse WMF2905GA
User Manual
Westinghouse WMF2905GA
User Manual
-
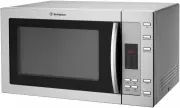
 Westinghouse WMF4102BA
User Manual
Westinghouse WMF4102BA
User Manual
-
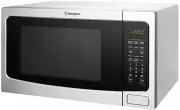 Westinghouse WMF4102SA
User Manual
Westinghouse WMF4102SA
User Manual
-
 Westinghouse WMF4505GA
User Manual
Westinghouse WMF4505GA
User Manual
-
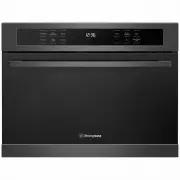
 Westinghouse WMG281SF
Manual
Westinghouse WMG281SF
Manual
-
 Westinghouse WMS281SB
User Manual
Westinghouse WMS281SB
User Manual
-
 Westinghouse WMS281WF
Manual
Westinghouse WMS281WF
Manual