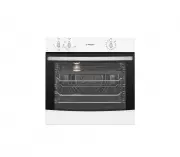
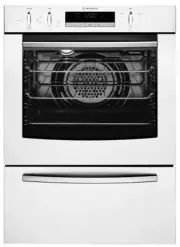
Westinghouse WLG517WA - Manuals
User Manual Westinghouse WLG517WA


Summary
2 CONTENTS Important safety instructions �������������������������������������������������������������������3Operating for the first time ����������������������������������������������������������������������� 5Installing oven accessories �������������������������������������������������������������...
3 IMPORTANT SAFETY INSTRUCTIONS IMPORTANT SAFETY INSTRUCTIONS WARNING WARNING To avoid an electric shock or fire This appliance is NOT intended for use by persons (including children) with reduced physical, sensory or mental capability, or lack of experience and knowledge, unless they have been give...
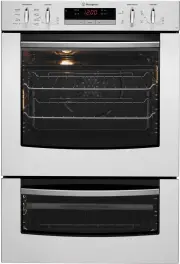
4 APPLIANCE DESCRIPTION Electric Separate Grill Oven depicted� Control panel Removable spill tray (radiant hotplate models only) Grill with removable grill dish side supports, grill dish & rack (where fitted) Grill door (where fitted) Removable shelves Removable inner glass Kick panel Front adju...
Westinghouse Ovens Manuals
-
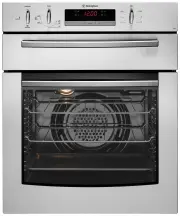
 Westinghouse DSP635S
User Manual
Westinghouse DSP635S
User Manual
-
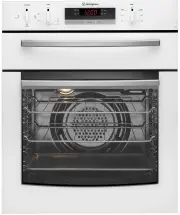
 Westinghouse DSP635W
User Manual
Westinghouse DSP635W
User Manual
-
 Westinghouse GEK1385RW
User Manual
Westinghouse GEK1385RW
User Manual
-
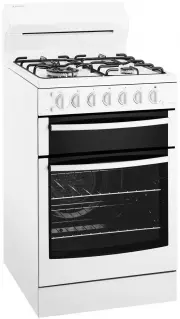
 Westinghouse GGR475S
User Manual
Westinghouse GGR475S
User Manual
-
 Westinghouse GGR475SLPG
User Manual
Westinghouse GGR475SLPG
User Manual
-
 Westinghouse GGR475WLPG
User Manual
Westinghouse GGR475WLPG
User Manual
-
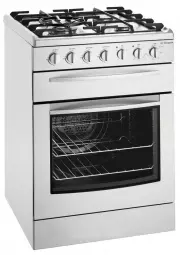
 Westinghouse GOR474S
User Manual
Westinghouse GOR474S
User Manual
-
 Westinghouse GOR474SLPG
User Manual
Westinghouse GOR474SLPG
User Manual
-
 Westinghouse GOR476S
User Manual
Westinghouse GOR476S
User Manual
-
 Westinghouse GOR476SLPG
User Manual
Westinghouse GOR476SLPG
User Manual
-
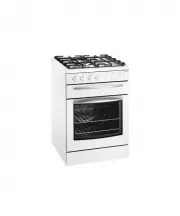
 Westinghouse GOR476W
User Manual
Westinghouse GOR476W
User Manual
-
 Westinghouse GSP625WLPG
User Manual
Westinghouse GSP625WLPG
User Manual
-
 Westinghouse GXR650S
User Manual
Westinghouse GXR650S
User Manual
-
 Westinghouse GXR650W
User Manual
Westinghouse GXR650W
User Manual
-
 Westinghouse GXR650WLPG
User Manual
Westinghouse GXR650WLPG
User Manual
-
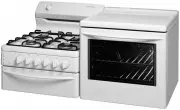
 Westinghouse PAK557W
User Manual
Westinghouse PAK557W
User Manual
-
 Westinghouse PAK804W
User Manual
Westinghouse PAK804W
User Manual
-
 Westinghouse PAK806W
User Manual
Westinghouse PAK806W
User Manual
-
 Westinghouse PAK808W
User Manual
Westinghouse PAK808W
User Manual
-
 Westinghouse PDR790S
User Manual
Westinghouse PDR790S
User Manual