Westinghouse PSP632S - Manuals
User Manual Westinghouse PSP632S


Summary
TIPS & INFORMATION IMpORTANT – CHECK FOR ANY DAMAGE OR MARKS. If you find the appliance is damaged or marked, you must report it within 7 days if you wish to claim for damage/ marks under the manufacturer’s warranty. This does not affect your statutory rights. ENVIRONMENTAL TIPS Information on d...
3 OvEN • During use the appliance becomes hot. Care should be taken to avoid touching the hot surfaces inside the oven. • Switch the appliance off before removing the oven light glass for globe replacement. • To avoid an accident, ensure that oven shelves and fittings are always inserted into the ap...
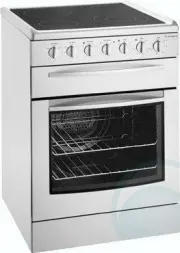
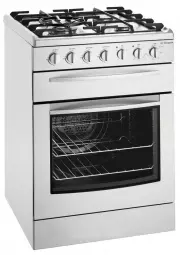
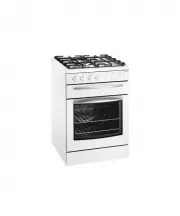
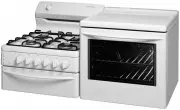
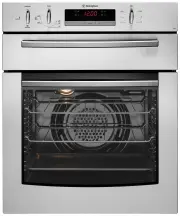
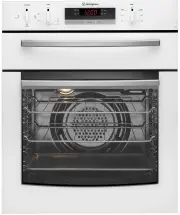
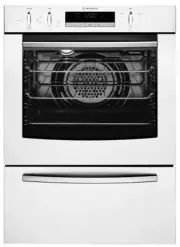
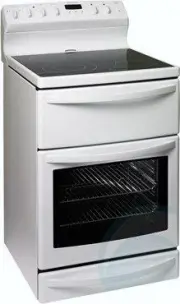
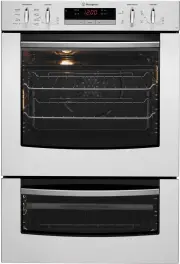
DESCRIpTION OF YOUR AppLIANCE DESCRIpTION MODEL pSp632 MODEL pSp632 MODEL GSp625 MODEL GSp627 Hotplate power on indicator lamp Hotplate controls Hotplate controls Hotplate controls Hotplate controls Dual ring hotplate control Grill temperature selector Grill temperature selector Grill temperature se...
Westinghouse Ovens Manuals
-
 Westinghouse DSP635S
User Manual
Westinghouse DSP635S
User Manual
-
 Westinghouse DSP635W
User Manual
Westinghouse DSP635W
User Manual
-
 Westinghouse GEK1385RW
User Manual
Westinghouse GEK1385RW
User Manual
-
 Westinghouse GGR475S
User Manual
Westinghouse GGR475S
User Manual
-
 Westinghouse GGR475SLPG
User Manual
Westinghouse GGR475SLPG
User Manual
-
 Westinghouse GGR475WLPG
User Manual
Westinghouse GGR475WLPG
User Manual
-
 Westinghouse GOR474S
User Manual
Westinghouse GOR474S
User Manual
-
 Westinghouse GOR474SLPG
User Manual
Westinghouse GOR474SLPG
User Manual
-
 Westinghouse GOR476S
User Manual
Westinghouse GOR476S
User Manual
-
 Westinghouse GOR476SLPG
User Manual
Westinghouse GOR476SLPG
User Manual
-
 Westinghouse GOR476W
User Manual
Westinghouse GOR476W
User Manual
-
 Westinghouse GSP625WLPG
User Manual
Westinghouse GSP625WLPG
User Manual
-
 Westinghouse GXR650S
User Manual
Westinghouse GXR650S
User Manual
-
 Westinghouse GXR650W
User Manual
Westinghouse GXR650W
User Manual
-
 Westinghouse GXR650WLPG
User Manual
Westinghouse GXR650WLPG
User Manual
-
 Westinghouse PAK557W
User Manual
Westinghouse PAK557W
User Manual
-
 Westinghouse PAK804W
User Manual
Westinghouse PAK804W
User Manual
-
 Westinghouse PAK806W
User Manual
Westinghouse PAK806W
User Manual
-
 Westinghouse PAK808W
User Manual
Westinghouse PAK808W
User Manual
-
 Westinghouse PDR790S
User Manual
Westinghouse PDR790S
User Manual