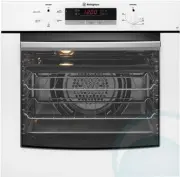
Westinghouse GGR475WLPG - Manuals
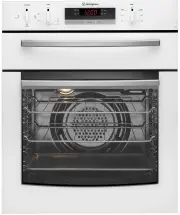
User Manual Westinghouse GGR475WLPG


Summary
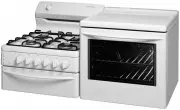
2 CONTENTS Important safety instructions . . . . . . . . . . . . . 3 Description of your appliance . . . . . . . . . . . . 4 GOR474 GOR476 GXR650 GGR475 Before operating your appliance for the first time . . . 5 Setting the time . . . . . . . . . . . . . . . . . . 5 Installing your oven accessories ...
3 SAFETY Please read the user manual carefully and store in a handy place for later reference . The symbols you will see in this booklet have these meanings: WARNING this symbol indicates information concerning your personal safety CAUTION this symbol indicates information on how to avoid damaging t...
5 OPERATION SEttING tHE tIME If you have purchased a model fitted with an electronic clock, you MUST set the time of day before you can operate your appliance . ELECtRONIC CLOCK • After the appliance has been electrically connected “12 .00” will be displayed and the “clock” indicator will flash . • ...
Westinghouse Ovens Manuals
-
 Westinghouse DSP635S
User Manual
Westinghouse DSP635S
User Manual
-
 Westinghouse DSP635W
User Manual
Westinghouse DSP635W
User Manual
-
 Westinghouse GEK1385RW
User Manual
Westinghouse GEK1385RW
User Manual
-
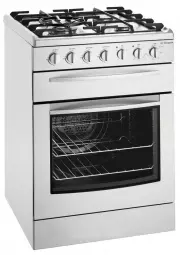
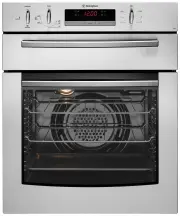 Westinghouse GGR475S
User Manual
Westinghouse GGR475S
User Manual
-
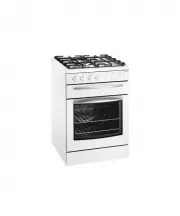
 Westinghouse GGR475SLPG
User Manual
Westinghouse GGR475SLPG
User Manual
-
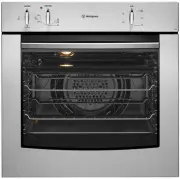 Westinghouse GOR474S
User Manual
Westinghouse GOR474S
User Manual
-
 Westinghouse GOR474SLPG
User Manual
Westinghouse GOR474SLPG
User Manual
-
 Westinghouse GOR476S
User Manual
Westinghouse GOR476S
User Manual
-
 Westinghouse GOR476SLPG
User Manual
Westinghouse GOR476SLPG
User Manual
-
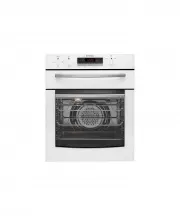
 Westinghouse GOR476W
User Manual
Westinghouse GOR476W
User Manual
-
 Westinghouse GSP625WLPG
User Manual
Westinghouse GSP625WLPG
User Manual
-
 Westinghouse GXR650S
User Manual
Westinghouse GXR650S
User Manual
-
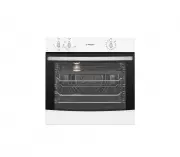
 Westinghouse GXR650W
User Manual
Westinghouse GXR650W
User Manual
-
 Westinghouse GXR650WLPG
User Manual
Westinghouse GXR650WLPG
User Manual
-
 Westinghouse PAK557W
User Manual
Westinghouse PAK557W
User Manual
-
 Westinghouse PAK804W
User Manual
Westinghouse PAK804W
User Manual
-
 Westinghouse PAK806W
User Manual
Westinghouse PAK806W
User Manual
-
 Westinghouse PAK808W
User Manual
Westinghouse PAK808W
User Manual
-
 Westinghouse PDR790S
User Manual
Westinghouse PDR790S
User Manual
-
 Westinghouse PDR790W
User Manual
Westinghouse PDR790W
User Manual