Viking EVGR530-4BWH - Manuals
User Manual Viking EVGR530-4BWH


Summary
Getting Started Warnings ____________________________________________________________________________________________3Before Using Range ____________________________________________________________________________________8 Product Controls Oven Functions and Settings ________________________________...
3 Warning and Important Safety Instructions appearing in this manual are not meant to cover all possible conditions andsituations that may occur. Common sense, caution, and care must be exercised when installing, maintaining, or operating theappliance. ALWAYS contact the manufacturer about problems ...
Warnings 4 To Prevent Fire or Smoke Damage • Be sure all packing materials are removed from the appliance before operating it.• Keep area around appliance clear and free from combustible materials, gasoline, and other flammable vapors and materials.• If appliance is installed near a window, proper p...
Viking Ranges Manuals
-
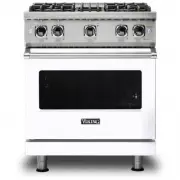
 Viking EVGR530-4BAB
User Manual
Viking EVGR530-4BAB
User Manual
-
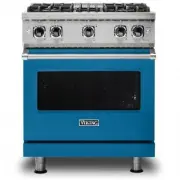
 Viking EVGR530-4BAG
User Manual
Viking EVGR530-4BAG
User Manual
-
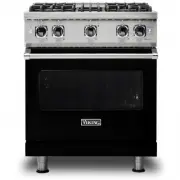 Viking EVGR530-4BBK
User Manual
Viking EVGR530-4BBK
User Manual
-
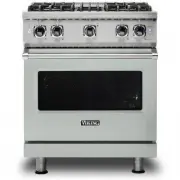
 Viking EVGR530-4BSS
User Manual
Viking EVGR530-4BSS
User Manual
-
 Viking RVDR33025BSS
User Manual
Viking RVDR33025BSS
User Manual
-
Viking RVDR33025BSSLP
User Manual
-
 Viking RVER3301-5BSS
User Manual
Viking RVER3301-5BSS
User Manual
-
 Viking RVER3301-5BWH
User Manual
Viking RVER3301-5BWH
User Manual
-
 Viking RVGR33025BRE
User Manual
Viking RVGR33025BRE
User Manual
-
Viking RVGR33025BSS
User Manual
-
Viking RVGR33025BSSLP
User Manual
-
Viking RVGR33025BWH
User Manual
-
 Viking TVDR4814GDG
User Manual
Viking TVDR4814GDG
User Manual
-
Viking TVDR4816BBW
User Manual
-
Viking TVDR4816BKA
User Manual
-
Viking TVDR6618BSB
User Manual
-
 Viking VDR5304BSB
User Manual
Viking VDR5304BSB
User Manual
-
Viking VDR5304BSS
User Manual
-
Viking VDR5304BSSLP
User Manual
-
Viking VDR5304BWH
User Manual