UNIQUE UGP-20G OF1 B - Manuals
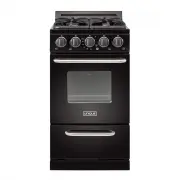
User Manual UNIQUE UGP-20G OF1 B


Summary
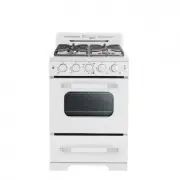
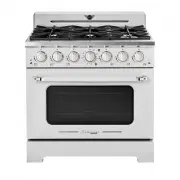
UNIQUE 20G CLASSIC MODEL OFF GRID GAS RANGE – LPG & NG CONVERTIBLE Installation and Owner’s Manual Read and Save These Instructions Important TO THE OWNER OF THE RANGE: Retain this owner’s manual for future reference. TO THE INSTALLER: Leave this owner’s manual with the range. How to Obtain Serv...
M A N U F A C T U R E D A N D C E R T I F I E D B Y Unique Gas Products Ltd 2245 Wyecroft Road #5 Oakville, Ontario Canada L6L 5L7 Ph: 905-827-6154 Toll Free: 1-877-427-2266 Fax: 905-827-2027 www.UniqueOffGrid.com A child or adult can tip the range and be killed. Install the anti-tip device to the s...
Table of Contents Contents Important Safeguards Page 1 - 7 Energy Saving Ideas Page 8 Installation Instructions Pages 9-12 Wall Clearances & Anti-Tip Location Page 13-14 NG Conversion Instructions Pages 15-19 Adjusting the Top Burner and Oven Flame Pages 20-21 Operation of Range Pages 22-24 Alig...
UNIQUE Ranges Manuals
-
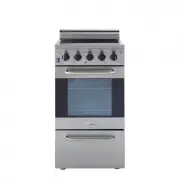 UNIQUE UGP-20V EC1 S/S
User Manual
UNIQUE UGP-20V EC1 S/S
User Manual
-
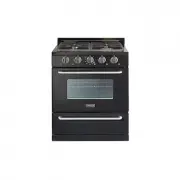
 UNIQUE UGP-24CR B
User Manual
UNIQUE UGP-24CR B
User Manual
-
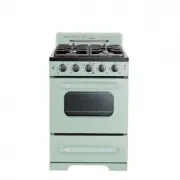 UNIQUE UGP-24CR LG
User Manual
UNIQUE UGP-24CR LG
User Manual
-
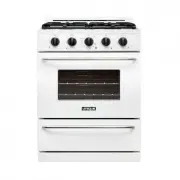
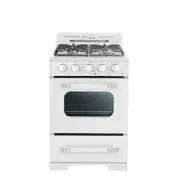 UNIQUE UGP-24CR OF1 W
User Manual
UNIQUE UGP-24CR OF1 W
User Manual
-
 UNIQUE UGP-24CR T
User Manual
UNIQUE UGP-24CR T
User Manual
-
 UNIQUE UGP-24CR W
User Manual
UNIQUE UGP-24CR W
User Manual
-
 UNIQUE UGP-24V EC S/S
User Manual
UNIQUE UGP-24V EC S/S
User Manual
-
 UNIQUE UGP-24V EC1 S/S
User Manual
UNIQUE UGP-24V EC1 S/S
User Manual
-
 UNIQUE UGP-24V PC1 S/S
User Manual
UNIQUE UGP-24V PC1 S/S
User Manual
-
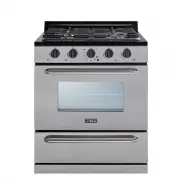
 UNIQUE UGP-30CR B
User Manual
UNIQUE UGP-30CR B
User Manual
-
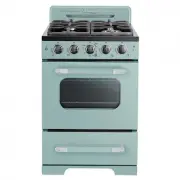
 UNIQUE UGP-30CR EC LG
User Manual
UNIQUE UGP-30CR EC LG
User Manual
-
 UNIQUE UGP-30CR LG
User Manual
UNIQUE UGP-30CR LG
User Manual
-
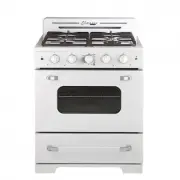 UNIQUE UGP-30CR OF1 W
User Manual
UNIQUE UGP-30CR OF1 W
User Manual
-
 UNIQUE UGP-30CR T
User Manual
UNIQUE UGP-30CR T
User Manual
-
 UNIQUE UGP-30CR W
User Manual
UNIQUE UGP-30CR W
User Manual
-
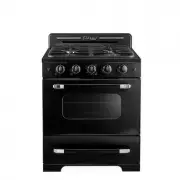
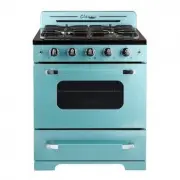
 UNIQUE UGP-30G OF1 B
User Manual
UNIQUE UGP-30G OF1 B
User Manual
-
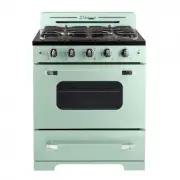
 UNIQUE UGP-30G OF1 W
User Manual
UNIQUE UGP-30G OF1 W
User Manual
-
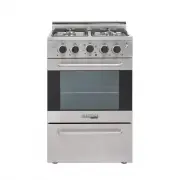
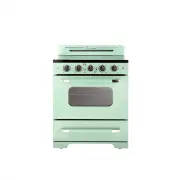
 UNIQUE UGP-30G OF2 S/S
User Manual
UNIQUE UGP-30G OF2 S/S
User Manual
-
 UNIQUE UGP-36CR W
User Manual
UNIQUE UGP-36CR W
User Manual