Trinity TRI64-64N05T - Manuals
User Manual Trinity TRI64-64N05T
1

2

3

4

5

6

7

8

9

10

11

12

13

14

15

16

17

18

19

20

21

22

23

24

25

26

27

28

29

30

31

Summary
Page 2 - Warning
1 ) The appliance is not to be used by persons (including children) with reduced physical, sensory or mental capabilities, or lack of experience and knowledge, unless they have been given supervision or instruction. children being supervised not to play with the appliance. 2 ) WARNING: If the surfac...
Page 8 - Congratulations
5 in a safe way and understand the hazards involved. • Children shall not play with the appliance. Cleaning and user maintenance shall not be made by children without supervision . • WARNING: Unattended cooking on a hob with fat or oil can be dangerous and may result in fire.NEVER try to extinguish ...
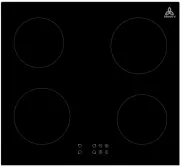
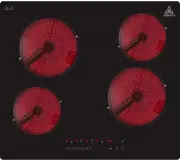
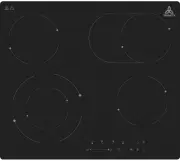
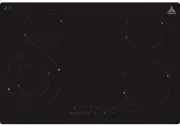
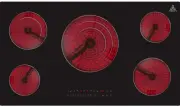
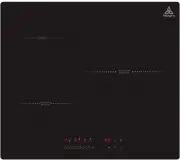
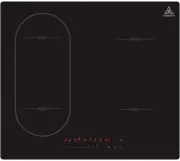
Page 9 - Product Overview; Top View
Product Overview Top View 1. max. 1800 W zone2. max. 1 4 00 W zone 3. max. 1800 W zone4. max. 1 4 00 W zone 5. Glass plate6. Control panel 6
Trinity Hobs Manuals
-
 Trinity TRC604
User Manual
Trinity TRC604
User Manual
-
 Trinity TRC605
User Manual
Trinity TRC605
User Manual
-
 Trinity TRC775
User Manual
Trinity TRC775
User Manual
-
 Trinity TRC900CT
User Manual
Trinity TRC900CT
User Manual
-
 Trinity TRCI603
User Manual
Trinity TRCI603
User Manual
-
 Trinity TRG302BK
User Manual
Trinity TRG302BK
User Manual
-
 Trinity TRG302SS
User Manual
Trinity TRG302SS
User Manual
-
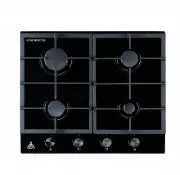 Trinity TRG604BK
User Manual
Trinity TRG604BK
User Manual
-
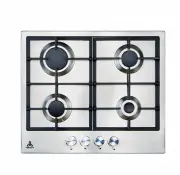 Trinity TRG604SS
User Manual
Trinity TRG604SS
User Manual
-
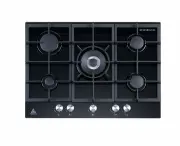 Trinity TRG700BK
User Manual
Trinity TRG700BK
User Manual
-
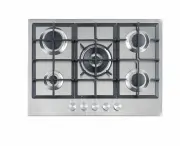 Trinity TRG700SS
User Manual
Trinity TRG700SS
User Manual
-
 Trinity TRG900BK
User Manual
Trinity TRG900BK
User Manual
-
 Trinity TRG900SS
User Manual
Trinity TRG900SS
User Manual
-
 Trinity TRI603
User Manual
Trinity TRI603
User Manual
-
 Trinity TRI604
User Manual
Trinity TRI604
User Manual
-
 Trinity TRI905
User Manual
Trinity TRI905
User Manual