Smeg SWC120X-1 - Manuals
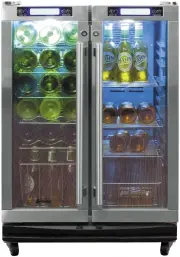
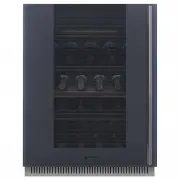
User Manual Smeg SWC120X-1


Summary
IMPORTANT SAFEGUARDS Read all instructions before using this appliance. When using this appliance, always exercise basic safety precautions, including the following: 1. Use this appliance only for its intended purpose as described in this instruction manual. 2. This Beverage Cooler must be properly ...
11.If the supply cord is damaged, it must be replaced by the manufacturer or its service agent or a similarly qualified person in order to avoid a hazard . WARNING : Keep ventilation openings, in the appliance enclosure or in the built-in structure, clear of obstruction WARNING : Do not use mechanic...
5. In order for the appliance to release heat quickly and to have sufficient ventilation, there should be enough space around the appliance. The appliance should be placed in a position with a minimum space of 100mm on all sides. 6. The appliance must be positioned so that the plug is accessible. El...
Smeg Refrigerators Manuals
-
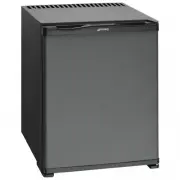 Smeg ABM32
User Manual
Smeg ABM32
User Manual
-
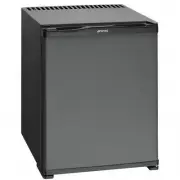 Smeg ABM32-1
User Manual
Smeg ABM32-1
User Manual
-
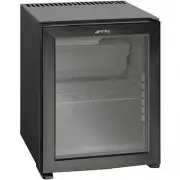 Smeg ABM32GD
User Manual
Smeg ABM32GD
User Manual
-
 Smeg ABM42
User Manual
Smeg ABM42
User Manual
-
 Smeg ABM42-1
User Manual
Smeg ABM42-1
User Manual
-
 Smeg ABM42-2
User Manual
Smeg ABM42-2
User Manual
-
 Smeg C8175TN2P
User Manual
Smeg C8175TN2P
User Manual
-
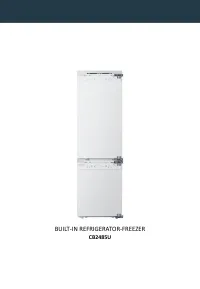 Smeg CB2485U
User Manual
Smeg CB2485U
User Manual
-
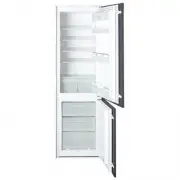
 Smeg CB300UI
User Manual
Smeg CB300UI
User Manual
-
 Smeg CPS115B3
User Manual
Smeg CPS115B3
User Manual
-
 Smeg CPS115G
User Manual
Smeg CPS115G
User Manual
-
 Smeg CR321A
User Manual
Smeg CR321A
User Manual
-
Smeg CR321A
Manual
-
 Smeg CR324PNF
User Manual
Smeg CR324PNF
User Manual
-
 Smeg CR327AV7
User Manual
Smeg CR327AV7
User Manual
-
 Smeg CVB20LNE
User Manual
Smeg CVB20LNE
User Manual
-
 Smeg CVI121G
User Manual
Smeg CVI121G
User Manual
-
 Smeg CVI129B3
User Manual
Smeg CVI129B3
User Manual
-
 Smeg CVI129G
User Manual
Smeg CVI129G
User Manual
-
 Smeg CVI138LG
User Manual
Smeg CVI138LG
User Manual