Smeg SUK62CMX8 - Manuals
User Manual Smeg SUK62CMX8


Summary
General instructions 4 1. INSTRUCTIONS FOR USE This manual is an integral part of the appliance. It must be kept in its entirety and in an accessible placefor the whole working life of the appliance. We recommend reading this manual and all the information itcontains carefully before using the appli...
General instructions 6 2. SAFETY PRECAUTIONS Consult the installation instructions for safety standards on electrical or gas appliances and forventilation functions. In your interests and for your safety the law requires that the installation andservicing of all electrical and gas appliances be carr...
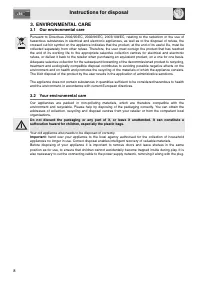
Instructions for disposal 8 3. ENVIRONMENTAL CARE 3.1 Our environmental care Pursuant to Directives 2002/95/EC, 2002/96/EC, 2003/108/EC, relating to the reduction of the use ofhazardous substances in electrical and electronic appliances, as well as to the disposal of refuse, thecrossed out bin symbo...
Smeg Ranges Manuals
-
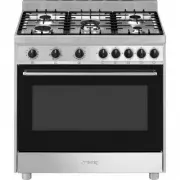
 Smeg A1C-6
User Manual
Smeg A1C-6
User Manual
-
 Smeg A1C-7
User Manual
Smeg A1C-7
User Manual
-
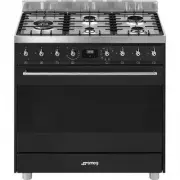
 Smeg A2-8
User Manual
Smeg A2-8
User Manual
-
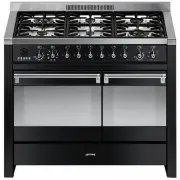 Smeg A2BL-8
User Manual
Smeg A2BL-8
User Manual
-
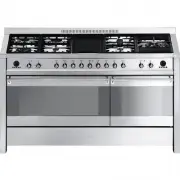 Smeg A5-8
User Manual
Smeg A5-8
User Manual
-
 Smeg B901GMXI9
User Manual
Smeg B901GMXI9
User Manual
-
 Smeg C95GMCA9-1
User Manual
Smeg C95GMCA9-1
User Manual
-
 Smeg CPF30UGGWH
User Manual
Smeg CPF30UGGWH
User Manual
-
 Smeg CPF36UGGWH
User Manual
Smeg CPF36UGGWH
User Manual
-
Smeg CPF36UGGX
User Manual
-
 Smeg CPF36UGMAN
User Manual
Smeg CPF36UGMAN
User Manual
-
 Smeg CPF48UGMBL
User Manual
Smeg CPF48UGMBL
User Manual
-
 Smeg CS19-7
User Manual
Smeg CS19-7
User Manual
-
 Smeg CS19A-7
User Manual
Smeg CS19A-7
User Manual
-
 Smeg CS19B-6
User Manual
Smeg CS19B-6
User Manual
-
 Smeg CS19P-6
User Manual
Smeg CS19P-6
User Manual
-
 Smeg CS19P-9
User Manual
Smeg CS19P-9
User Manual
-
 Smeg CS19RW-6
User Manual
Smeg CS19RW-6
User Manual
-
 Smeg CS19RW-7
User Manual
Smeg CS19RW-7
User Manual
-
 Smeg CX60ISVT9
User Manual
Smeg CX60ISVT9
User Manual