Smeg STO905 - Manuals
User Manual Smeg STO905


Summary
Contents 37 1. Safety and operating instructions __________________________ 38 2. Installation and hook-up__________________________________ 41 3. Description of the controls ________________________________ 45 4. Operating instructions ___________________________________ 54 5. Cleaning and maintena...
Safety instructions 38 1. Safety and operating instructions THIS MANUAL FORMS AN INTEGRAL PART OF THE APPLIANCE: IT MUST ALWAYS BE KEPT INTACT TOGETHER WITH THE DISHWASHER. BEFORE USING THE APPLIANCE, CAREFULLY READ ALL THE INSTRUCTIONS CONTAINED IN THIS MANUAL. INSTALLATION MUST BE PERFORMED BY A Q...
Safety instructions 39 THIS APPLIANCE IS MARKED ACCORDING TO THE EUROPEAN DIRECTIVE 2002/96/EC ON WASTE ELECTRICAL AND ELECTRONIC EQUIPMENT ( WEEE ). BY ENSURING THIS PRODUCT IS DISPOSED OF CORRECTLY, YOU WILL HELP PREVENT POTENTIAL NEGATIVE CONSEQUENCES FOR THE ENVIRONMENT AND HUMAN HEALTH, WHICH C...
Smeg Dishwashers Manuals
-
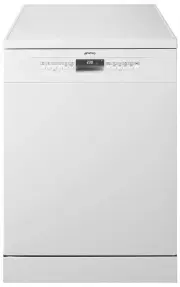
 Smeg CW511MDA-2
User Manual
Smeg CW511MDA-2
User Manual
-
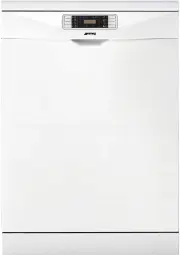
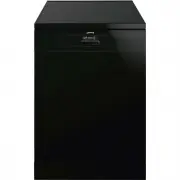
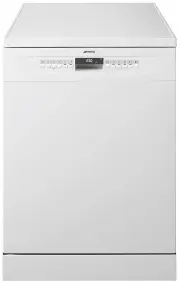
 Smeg DWA157B
User Manual
Smeg DWA157B
User Manual
-
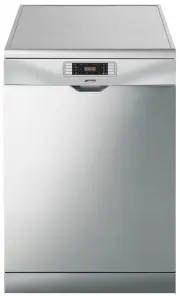
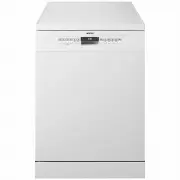
 Smeg DWA314W
User Manual
Smeg DWA314W
User Manual
-
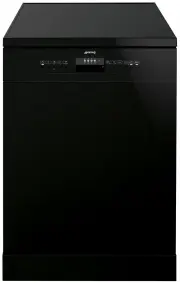
 Smeg DWA315B
User Manual
Smeg DWA315B
User Manual
-
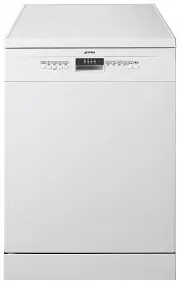
 Smeg DWA315W
User Manual
Smeg DWA315W
User Manual
-
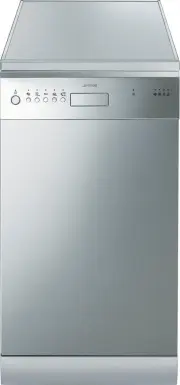
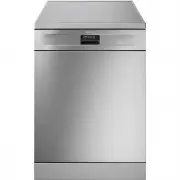
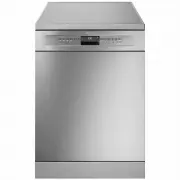
 Smeg DWA315X
User Manual
Smeg DWA315X
User Manual
-
 Smeg DWA4510X
User Manual
Smeg DWA4510X
User Manual
-
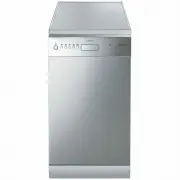 Smeg DWA4510X2
User Manual
Smeg DWA4510X2
User Manual
-
 Smeg DWA615DB3
User Manual
Smeg DWA615DB3
User Manual
-
 Smeg DWA615DX3
User Manual
Smeg DWA615DX3
User Manual
-
 Smeg DWA6214B2
User Manual
Smeg DWA6214B2
User Manual
-
 Smeg DWA6314B2
User Manual
Smeg DWA6314B2
User Manual
-
 Smeg DWA6314W2
User Manual
Smeg DWA6314W2
User Manual
-
 Smeg DWA6314X2
User Manual
Smeg DWA6314X2
User Manual
-
 Smeg DWA6315W
User Manual
Smeg DWA6315W
User Manual
-
 Smeg DWA6315W2
User Manual
Smeg DWA6315W2
User Manual
-
 Smeg DWA6315W3
User Manual
Smeg DWA6315W3
User Manual
-
 Smeg DWA6315X3
User Manual
Smeg DWA6315X3
User Manual
-
 Smeg DWA6D15X
User Manual
Smeg DWA6D15X
User Manual
-
 Smeg DWAFI152T
User Manual
Smeg DWAFI152T
User Manual