Page 3 - Risk of damaging the appliance
PRECAUTIONS - 27 91477A053/D e surfaces. • Before performing any work on the appliance, switch off the power supply. • Do not try to repair the appliance yourself or without the assistance of a qualified technician. • If the power cable becomes damaged, contact technical support immediately to arran...
Page 5 - Appliance purpose; This user manual; Manufacturer’s liability; Identification plate
PRECAUTIONS - 29 91477A053/D e qualified technician. • If the power cable becomes damaged, contact technical support immediately to arrange for it to be replaced in order to avoid possible hazards. • Always use any necessary/ required personal protective equipment (PPE) before performing any work on...
Page 7 - DESCRIPTION; General description
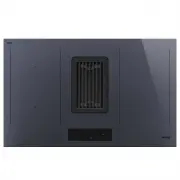
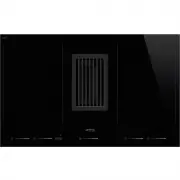
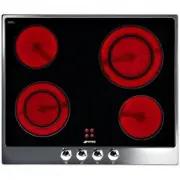
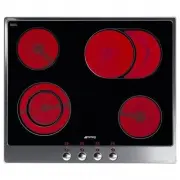
DESCRIPTION - 31 91477A053/D e DESCRIPTION General description • 1, 2,..., 6: Induction cooking zones• 7: Control panel• A: 38 cm models.• B: 60 cm models. • C: 80 cm models - 4 zones.• D: 80 cm models - 6 zones.• E: 90 cm models. Zone Dimensions H x L (mm) Max. power draw (W)* Power draw in booster...
Page 8 - Control panel
32 - DESCRIPTION 91477A053/D *Power levels are approximate and may vary according to the pan used or the settings made. Control panel Cooking zones area List of buttons Scroll bar: increases or decreases the power level of a cooking zone. Warming function button: activates the keep warm function. Li...
Page 9 - USE; Preliminary operations
USE - 33 91477A053/D e Advantages of induction cooking • Energy saving thanks to the direct transmission of energy to the pan (suitable magnetisable cookware is required) compared to traditional electric cooking. • Improved safety as the energy is only transmitted to the pan placed on the hob. • Hig...
Page 12 - Additional functions
36 - USE 91477A053/D Correct pan position INCORRECT pan position Examples of griddle position Additional functions Independent minute minder timer This function is used to set a timer that will emit a sound at the end of the set time. It does not stop the operation of the cooking zones but informs t...
Page 14 - Special functions; User menu
38 - USE 91477A053/D 2 Timed cooking. 3 Bridge Function. 4 Rapid heating. 5 Booster and Double Booster Functions.6 Controls lock. Special functions Warming Function To activate the Warming function, first turn on the hob, then:1. Place a pan on a cooking zone.2. Press the button to activate the func...
Page 16 - Safety features; Error notifications
40 - USE 91477A053/D 2 Press the button for at least two seconds. Changes will not be saved and the hob will restart, but it will still be powered. Safety features Limiting the cooking duration The appliance has an automatic device that limits the duration of use.If the cooking settings for a pan ar...
Page 17 - CLEANING AND MAINTENANCE; Cleaning the glass ceramic hob
CLEANING AND MAINTENANCE - 41 91477A053/D e overheating. If this occurs, you should switch off the appliance immediately, remove all pans and let it cool down. If these errors persist or if other errors appear, make a note of the code and contact Technical Support. CLEANING AND MAINTENANCE Cleaning ...
Page 18 - INSTALLATION; Electrical connection; Power limitation procedure
42 - INSTALLATION 91477A053/D Technical Support. INSTALLATION Electrical connection General information Check the mains characteristics against the data indicated on the plate.The identification plate bearing the technical data, serial number and brand name is visibly positioned on the appliance.Do ...
Page 19 - Section cut from the countertop
INSTALLATION - 43 91477A053/D e proposed, is marked with the code . The front and rear right zone displays indicate the numbers associated with the factory set power (expressed in kW - depending on the model): / Use the scroll bar on the right to modify the power: press the left part to decrease it ...
Page 20 - Mounting
44 - INSTALLATION 91477A053/D edge of the hob before assembly. In the case of flush mounting, after placing the adhesive seal (A) on the glass surface and after positioning and securing the hob, fill the edges with insulating silicone (B) and wipe off any excess. If for any reason the hob needs to b...
Page 21 - Fastening to the built-in cabinet
INSTALLATION - 45 91477A053/D e On an empty kitchen If there are other pieces of furniture under the hob, a double-layer wooden base must be installed at least 20 mm from the bottom of the hob to avoid any accidental contact. It must only be possible to remove the double-layer base using suitable eq...