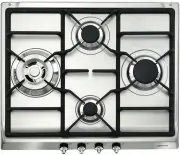
Smeg SEH530X1 - Manuals
User Manual Smeg SEH530X1


Summary
Instruction for proper use 19 1. INSTRUCTIONS FOR PROPER USE ELECTRICAL CONNECTION: PLEASE REFER TO INSTALLATION INSTRUCTIONS FOR THE GAS & ELECTRICAL SAFETY REGULATIONS AND THE VENTILATION REQUIREMENTS. IN YOUR OWN INTEREST, AND THAT OF SAFETY, IT IS THE LAW THAT ALL GAS AND ELECTRICAL APPLIANC...
Safety instruction 20 2. SAFETY INSTRUCTIONS INSTRUCTIONS FOR THE INSTALLER: THESE ARE INTENDED FOR THE QUALIFIED TECHNICIAN WHO MUST INSTALL THE APPLIANCE, SET IT FUNCTIONING AND CARRY OUT AN INSPECTION TEST. IT IS OBLIGATORY FOR THE ELECTRICAL SYSTEM TO BE GROUNDED ACCORDING TO THE METHODS REQUIRE...
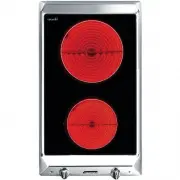
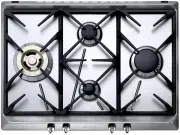
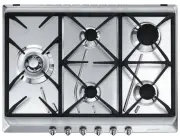
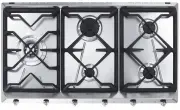
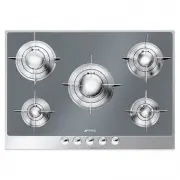
Instructions for the user 21 3. KNOW YOUR HOB Glass surface of the appliance Single cooking zone Dual oval cooking zone Dual round cooking zone Timer controls Control panel Triple cooking zone Heating zone NOT ALL COMPONENTS DESCRIBED ARE PRESENT ON ALL MODELS 4. BEFORE FIRST USE Do not leave the pa...
Smeg Hobs Manuals
-
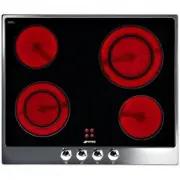
 Smeg CIR574X3
User Manual
Smeg CIR574X3
User Manual
-
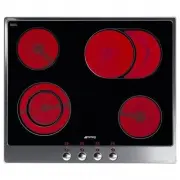
 Smeg CIR574XS3
User Manual
Smeg CIR574XS3
User Manual
-
 Smeg CIR575X
User Manual
Smeg CIR575X
User Manual
-
Smeg CIR575X
Manual
-
 Smeg CIR597XS
User Manual
Smeg CIR597XS
User Manual
-
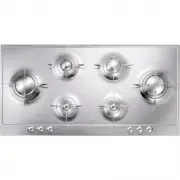
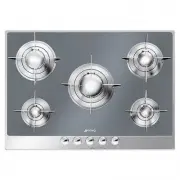
 Smeg CIR60X
User Manual
Smeg CIR60X
User Manual
-
Smeg CIR60X
Manual
-
 Smeg CIR60XS3
User Manual
Smeg CIR60XS3
User Manual
-
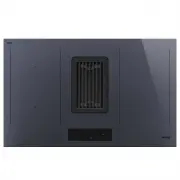 Smeg HOBD182DG
User Manual
Smeg HOBD182DG
User Manual
-
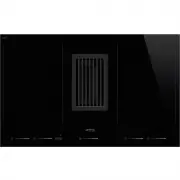 Smeg HOBD682D1
User Manual
Smeg HOBD682D1
User Manual
-
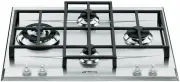
 Smeg P106
User Manual
Smeg P106
User Manual
-
Smeg P106
Manual
-
 Smeg P1641XA
User Manual
Smeg P1641XA
User Manual
-
 Smeg P64
User Manual
Smeg P64
User Manual
-
 Smeg P652
User Manual
Smeg P652
User Manual
-
Smeg P652
Manual
-
 Smeg P663-1
User Manual
Smeg P663-1
User Manual
-
 Smeg P705ES
User Manual
Smeg P705ES
User Manual
-
 Smeg P705VT
User Manual
Smeg P705VT
User Manual
-
Smeg P705VT
Manual