Smeg PSA906-4 - Manuals
User Manual Smeg PSA906-4


Summary
General instructions 4 1. INSTRUCTIONS FOR USE THIS MANUAL CONSTITUTES AN INTEGRAL PART OF THE APPLIANCE. THISMANUAL CONSTITUTES AN INTEGRAL PART OF THE APPLIANCE. IT SHOULD BEKEPT INTACT AND AT HAND FOR THE APPLIANCE’S ENTIRE LIFE CYCLE.IT IS IMPORTANT TO CAREFULLY READ THIS MANUAL AND ALL THEINSTR...
General instructions 6 2. SAFETY PRECAUTIONS REFER TO THE INSTALLATION INSTRUCTIONS FOR THE SAFETY REGULATIONSFOR ELECTRIC OR GAS APPLIANCES AND VENTILATION FUNCTIONS.IN YOUR INTERESTS AND FOR YOUR SAFETY THE LAW REQUIRES THAT THEINSTALLATION AND SERVICING OF ALL ELECTRICAL APPLIANCES IS CARRIEDOUT ...
Instructions for disposal 8 3. ENVIRONMENTAL RESPONSIBILITY Our products packing is made of non-polluting materials, which are thereforecompatible with the environment and recyclable. Please help by disposing of thepackaging correctly. You can obtain the addresses of collection, recycling anddisposa...
Smeg Hobs Manuals
-
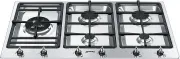
 Smeg CIR574X3
User Manual
Smeg CIR574X3
User Manual
-
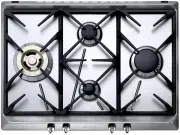 Smeg CIR574XS3
User Manual
Smeg CIR574XS3
User Manual
-
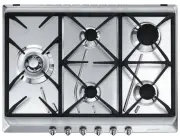 Smeg CIR575X
User Manual
Smeg CIR575X
User Manual
-
Smeg CIR575X
Manual
-
 Smeg CIR597XS
User Manual
Smeg CIR597XS
User Manual
-
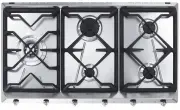
 Smeg CIR60X
User Manual
Smeg CIR60X
User Manual
-
Smeg CIR60X
Manual
-
 Smeg CIR60XS3
User Manual
Smeg CIR60XS3
User Manual
-
 Smeg HOBD182DG
User Manual
Smeg HOBD182DG
User Manual
-
 Smeg HOBD682D1
User Manual
Smeg HOBD682D1
User Manual
-
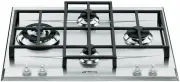
 Smeg P106
User Manual
Smeg P106
User Manual
-
Smeg P106
Manual
-
 Smeg P1641XA
User Manual
Smeg P1641XA
User Manual
-
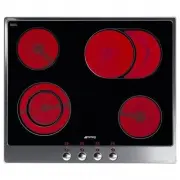
 Smeg P64
User Manual
Smeg P64
User Manual
-
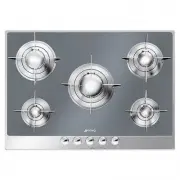
 Smeg P652
User Manual
Smeg P652
User Manual
-
Smeg P652
Manual
-
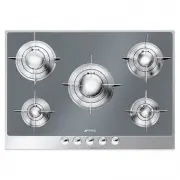
 Smeg P663-1
User Manual
Smeg P663-1
User Manual
-
 Smeg P705ES
User Manual
Smeg P705ES
User Manual
-
 Smeg P705VT
User Manual
Smeg P705VT
User Manual
-
Smeg P705VT
Manual