Smeg PGA32G - Manuals
User Manual Smeg PGA32G


Summary
PRECAUTIONS - 5 91477A688/C e when the appliance is in use: keep the natural ventilation openings open or install a mechanical ventilation device. • Intensive and prolonged use of the appliance may require additional ventilation, for example opening a window or more effective ventilation; for exampl...
PRECAUTIONS - 7 91477A688/C e it does not come into contact with the lower part of the hob or a built-in oven below it. • Be careful when connecting additional electrical appliances. Connection cables must not come into contact with hot cooking zones. • The tightening torque of the screws of the ter...
8 - DESCRIPTION 91477A688/C plate for any reason. Disposal To dispose of the appliance:• Cut the power cable and remove it.• Deliver the appliance to the appropriate recycling centre for electrical and electronic equipment waste, or return it to the retailer when purchasing an equivalent product, on...
Smeg Hobs Manuals
-
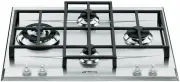
 Smeg CIR574X3
User Manual
Smeg CIR574X3
User Manual
-
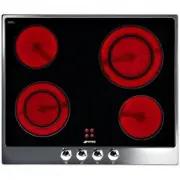
 Smeg CIR574XS3
User Manual
Smeg CIR574XS3
User Manual
-
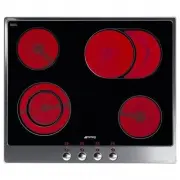
 Smeg CIR575X
User Manual
Smeg CIR575X
User Manual
-
Smeg CIR575X
Manual
-
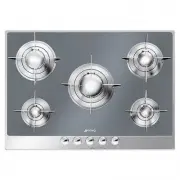
 Smeg CIR597XS
User Manual
Smeg CIR597XS
User Manual
-
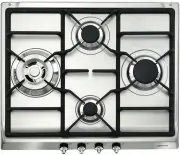
 Smeg CIR60X
User Manual
Smeg CIR60X
User Manual
-
Smeg CIR60X
Manual
-
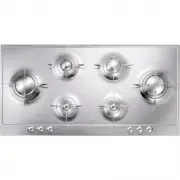
 Smeg CIR60XS3
User Manual
Smeg CIR60XS3
User Manual
-
 Smeg HOBD182DG
User Manual
Smeg HOBD182DG
User Manual
-
 Smeg HOBD682D1
User Manual
Smeg HOBD682D1
User Manual
-
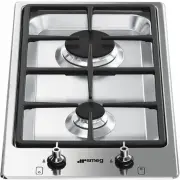
 Smeg P106
User Manual
Smeg P106
User Manual
-
Smeg P106
Manual
-
 Smeg P1641XA
User Manual
Smeg P1641XA
User Manual
-
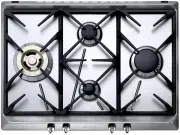
 Smeg P64
User Manual
Smeg P64
User Manual
-
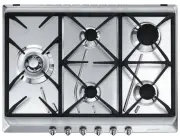
 Smeg P652
User Manual
Smeg P652
User Manual
-
Smeg P652
Manual
-
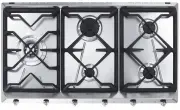
 Smeg P663-1
User Manual
Smeg P663-1
User Manual
-
 Smeg P705ES
User Manual
Smeg P705ES
User Manual
-
 Smeg P705VT
User Manual
Smeg P705VT
User Manual
-
Smeg P705VT
Manual