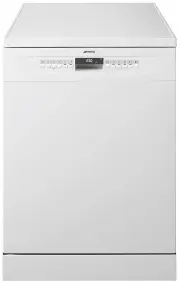
Smeg DWAU615DB3 - Manuals
User Manual Smeg DWAU615DB3


Summary
Installation instructions 2 1. Safety and operating instructions THIS MANUAL FORMS AN INTEGRAL PART OF THE APPLIANCE; IT MUST ALWAYS BE KEPT INTACT TOGETHER WITH THE DISHWASHER FOR FUTIRE REFERENCE. BEFORE USING THE APPLIANCE, CAREFULLY READ ALL THE INSTRUCTIONS CONTAINED IN THIS MANUAL. THEY CONTAI...
Installation instructions 3 THE APPLIANCE MUST BE PROVIDED WITH AN EARTH CONNECTION IN ACCORDANCE WITH THE ELECTRICAL SAFETY REGULATIONS IN FORCE. THE MANUFACTURER DECLINES ALL RESPONSIBILITY FOR DAMAGE TO PERSONS OR PROPERTY RESULTING FROM THE FAILURE TO EARTH THE APPLIANCE OR FROM A DEFECTIVE EART...
Installation instructions 4 IF THE APPLIANCE IS PROVIDED WITH A PLUGLESS SUPPLY CORD, A CIRCUIT BREAKER PROVIDING A FULL DISCONNECTION IN OVERVOLTAGE PROTECTION CLASS III MUST BE INSTALLED IN AN EASILY ACCESSIBLE POSITION ON THE SUPPLY LINE. THE DISHWASHER MUST ALWAYS BE CONNECTED TO THE WATER SYSTE...
Smeg Dishwashers Manuals
-
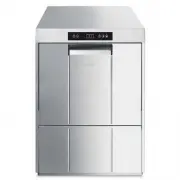 Smeg CW511MDA-2
User Manual
Smeg CW511MDA-2
User Manual
-
 Smeg DWA157B
User Manual
Smeg DWA157B
User Manual
-
 Smeg DWA314W
User Manual
Smeg DWA314W
User Manual
-
 Smeg DWA315B
User Manual
Smeg DWA315B
User Manual
-
 Smeg DWA315W
User Manual
Smeg DWA315W
User Manual
-
 Smeg DWA315X
User Manual
Smeg DWA315X
User Manual
-
 Smeg DWA4510X
User Manual
Smeg DWA4510X
User Manual
-
 Smeg DWA4510X2
User Manual
Smeg DWA4510X2
User Manual
-
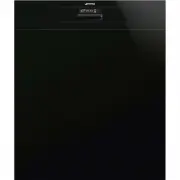
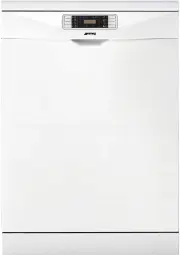
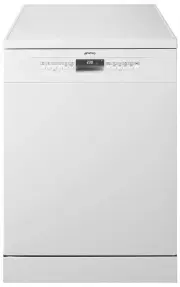
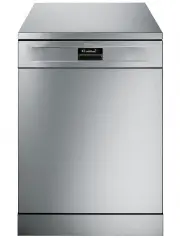
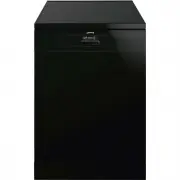 Smeg DWA615DB3
User Manual
Smeg DWA615DB3
User Manual
-
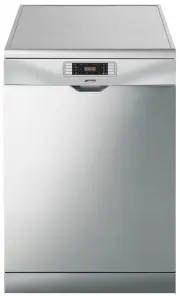
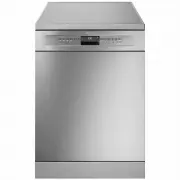
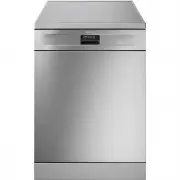 Smeg DWA615DX3
User Manual
Smeg DWA615DX3
User Manual
-
 Smeg DWA6214B2
User Manual
Smeg DWA6214B2
User Manual
-
 Smeg DWA6314B2
User Manual
Smeg DWA6314B2
User Manual
-
 Smeg DWA6314W2
User Manual
Smeg DWA6314W2
User Manual
-
 Smeg DWA6314X2
User Manual
Smeg DWA6314X2
User Manual
-
 Smeg DWA6315W
User Manual
Smeg DWA6315W
User Manual
-
 Smeg DWA6315W2
User Manual
Smeg DWA6315W2
User Manual
-
 Smeg DWA6315W3
User Manual
Smeg DWA6315W3
User Manual
-
 Smeg DWA6315X3
User Manual
Smeg DWA6315X3
User Manual
-
 Smeg DWA6D15X
User Manual
Smeg DWA6D15X
User Manual
-
 Smeg DWAFI152T
User Manual
Smeg DWAFI152T
User Manual