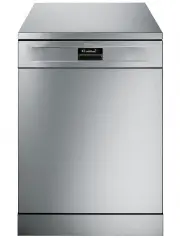
Smeg DWAFI314 - Manuals
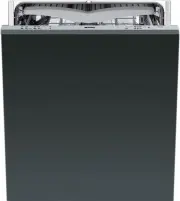
User Manual Smeg DWAFI314


Summary
Contents 1 1. Safety and operating instructions ___________________________ 2 2. Installation and hook-up __________________________________ 5 3. Description of the controls _______________________________ 10 4. Operating instructions ___________________________________ 18 5. Cleaning and maintenanc...
Safety instructions 2 1. Safety and operating instructions THIS MANUAL FORMS AN INTEGRAL PART OF THE APPLIANCE: IT MUST ALWAYS BE KEPT INTACT TOGETHER WITH THE DISHWASHER. BEFORE USING THE APPLIANCE, CAREFULLY READ ALL THE INSTRUCTIONS CONTAINED IN THIS MANUAL. INSTALLATION MUST BE PERFORMED BY A QU...
Installation instructions 5 2. Installation and hook-up Remove the polystyrene basket retainers. Position the appliance in the desired place of installation. The back or sides of the dishwasher may be placed up against walls or other furniture units. If the dishwasher is installed near a heat source...
Manual Smeg DWAFI314


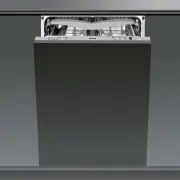
Smeg Dishwashers Manuals
-
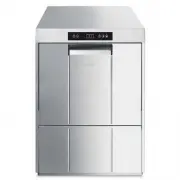 Smeg CW511MDA-2
User Manual
Smeg CW511MDA-2
User Manual
-
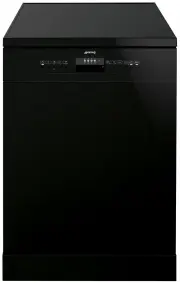
 Smeg DWA157B
User Manual
Smeg DWA157B
User Manual
-
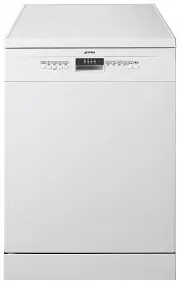
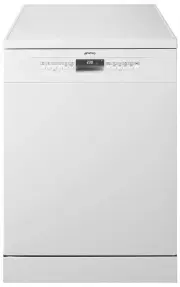
 Smeg DWA314W
User Manual
Smeg DWA314W
User Manual
-
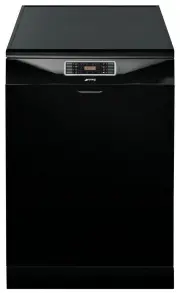
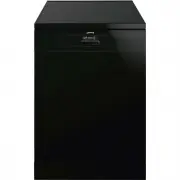
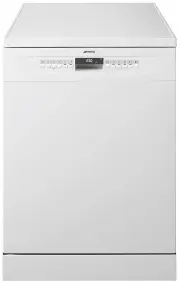
 Smeg DWA315B
User Manual
Smeg DWA315B
User Manual
-
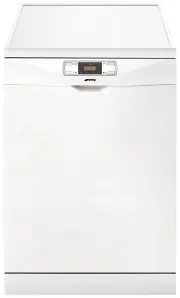
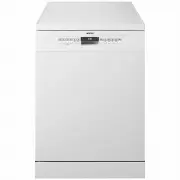
 Smeg DWA315W
User Manual
Smeg DWA315W
User Manual
-
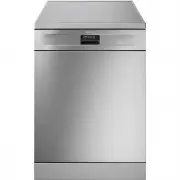
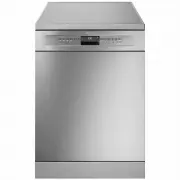
 Smeg DWA315X
User Manual
Smeg DWA315X
User Manual
-
 Smeg DWA4510X
User Manual
Smeg DWA4510X
User Manual
-
 Smeg DWA4510X2
User Manual
Smeg DWA4510X2
User Manual
-
 Smeg DWA615DB3
User Manual
Smeg DWA615DB3
User Manual
-
 Smeg DWA615DX3
User Manual
Smeg DWA615DX3
User Manual
-
 Smeg DWA6214B2
User Manual
Smeg DWA6214B2
User Manual
-
 Smeg DWA6314B2
User Manual
Smeg DWA6314B2
User Manual
-
 Smeg DWA6314W2
User Manual
Smeg DWA6314W2
User Manual
-
 Smeg DWA6314X2
User Manual
Smeg DWA6314X2
User Manual
-
 Smeg DWA6315W
User Manual
Smeg DWA6315W
User Manual
-
 Smeg DWA6315W2
User Manual
Smeg DWA6315W2
User Manual
-
 Smeg DWA6315W3
User Manual
Smeg DWA6315W3
User Manual
-
 Smeg DWA6315X3
User Manual
Smeg DWA6315X3
User Manual
-
 Smeg DWA6D15X
User Manual
Smeg DWA6D15X
User Manual
-
 Smeg DWAFI152T
User Manual
Smeg DWAFI152T
User Manual