Smeg DWA6D15X - Manuals
User Manual Smeg DWA6D15X


Summary
Contents 1 1. Safety and operating instructions ___________________________ 2 1. Installation and hook-up __________________________________ 7 2. Description of the controls _______________________________ 10 3. Operating instructions ___________________________________ 21 4. Cleaning and maintenanc...
Installation instructions 2 1. Safety and operating instructions THIS MANUAL FORMS AN INTEGRAL PART OF THE APPLIANCE; IT MUST ALW AYS BE KEPT INTACT TOGETHER W ITH THE DISHW ASHER FOR FUTIRE REFERENCE. BEFORE USING THE APPLIANCE, CAREFULLY READ ALL THE INSTRUCTIONS CONTAINED IN THIS MANUAL. THEY CON...
Installation instructions 3 THE APPLIANCE MUST BE PROVIDED WITH AN EARTH CONNECTION IN ACCORDANCE W ITH THE ELECTRICAL SAFET Y REGULATIONS IN FORCE. THE MANUFACTURER DECLINES ALL RESPONSIBILITY FOR DAMAGE TO PERSONS OR PROPERT Y RESULTING FROM THE FAILURE TO EARTH THE APPLIANCE OR FROM A DEFECTIVE E...
Smeg Dishwashers Manuals
-
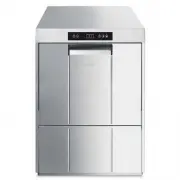 Smeg CW511MDA-2
User Manual
Smeg CW511MDA-2
User Manual
-
 Smeg DWA157B
User Manual
Smeg DWA157B
User Manual
-
 Smeg DWA314W
User Manual
Smeg DWA314W
User Manual
-
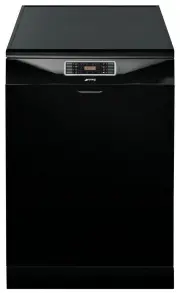
 Smeg DWA315B
User Manual
Smeg DWA315B
User Manual
-
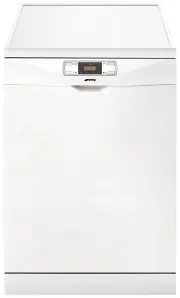
 Smeg DWA315W
User Manual
Smeg DWA315W
User Manual
-
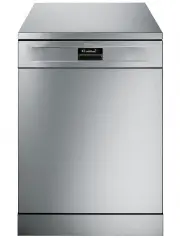
 Smeg DWA315X
User Manual
Smeg DWA315X
User Manual
-
 Smeg DWA4510X
User Manual
Smeg DWA4510X
User Manual
-
 Smeg DWA4510X2
User Manual
Smeg DWA4510X2
User Manual
-
 Smeg DWA615DB3
User Manual
Smeg DWA615DB3
User Manual
-
 Smeg DWA615DX3
User Manual
Smeg DWA615DX3
User Manual
-
 Smeg DWA6214B2
User Manual
Smeg DWA6214B2
User Manual
-
 Smeg DWA6314B2
User Manual
Smeg DWA6314B2
User Manual
-
 Smeg DWA6314W2
User Manual
Smeg DWA6314W2
User Manual
-
 Smeg DWA6314X2
User Manual
Smeg DWA6314X2
User Manual
-
 Smeg DWA6315W
User Manual
Smeg DWA6315W
User Manual
-
 Smeg DWA6315W2
User Manual
Smeg DWA6315W2
User Manual
-
 Smeg DWA6315W3
User Manual
Smeg DWA6315W3
User Manual
-
 Smeg DWA6315X3
User Manual
Smeg DWA6315X3
User Manual
-
 Smeg DWAFI152T
User Manual
Smeg DWAFI152T
User Manual
-
 Smeg DWAFI314
User Manual
Smeg DWAFI314
User Manual