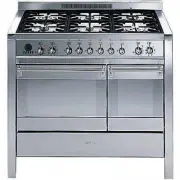
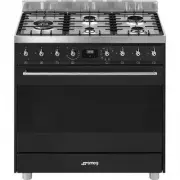
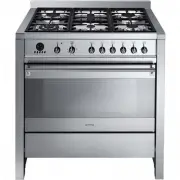
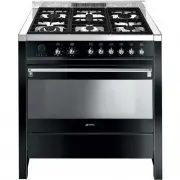
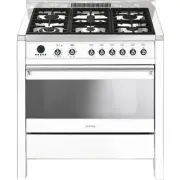
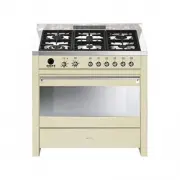
Smeg CS19P-6 - Manuals
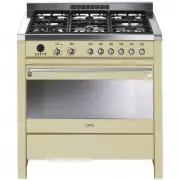
User Manual Smeg CS19P-6
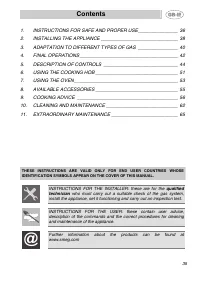


Summary
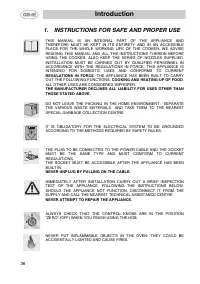
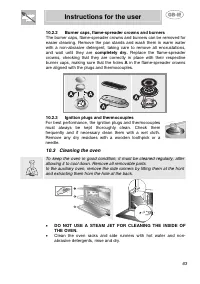
Introduction 1. INSTRUCTIONS FOR SAFE AND PROPER USE THIS MANUAL IS AN INTEGRAL PART OF THE APPLIANCE AND THEREFORE MUST BE KEPT IN ITS ENTIRETY AND IN AN ACCESSIBLE PLACE FOR THE WHOLE WORKING LIFE OF THE COOKER. WE ADVISE READING THIS MANUAL AND ALL THE INSTRUCTIONS THEREIN BEFORE USING THE COOKER...
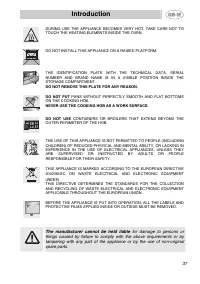
Introduction DURING USE THE APPLIANCE BECOMES VERY HOT. TAKE CARE NOT TO TOUCH THE HEATING ELEMENTS INSIDE THE OVEN. DO NOT INSTALL THIS APPLIANCE ON A RAISED PLATFORM. THE IDENTIFICATION PLATE WITH THE TECHNICAL DATA, SERIAL NUMBER AND BRAND NAME IS IN A VISIBLE POSITION INSIDE THE STORAGE COMPARTM...
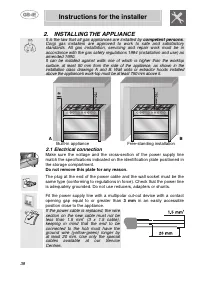
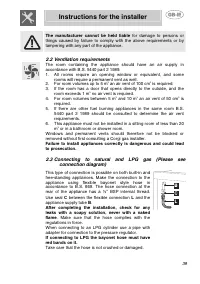
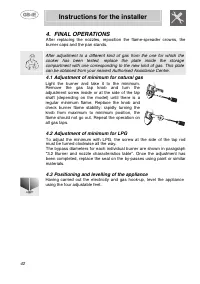
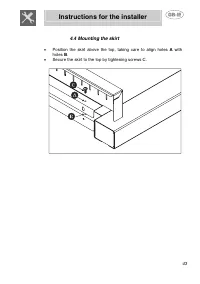
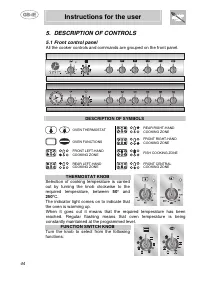
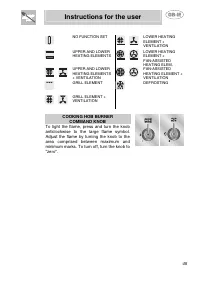
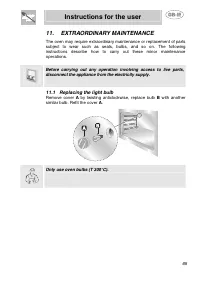
Instructions for the installer 38 2. INSTALLING THE APPLIANCE It is the law that all gas appliances are installed by competent persons . Corgi gas installers are approved to work to safe and satisfactory standards. All gas installation, servicing and repair work must be in accordance with the gas sa...
Smeg Ranges Manuals
-
 Smeg A1C-6
User Manual
Smeg A1C-6
User Manual
-
 Smeg A1C-7
User Manual
Smeg A1C-7
User Manual
-
 Smeg A2-8
User Manual
Smeg A2-8
User Manual
-
 Smeg A2BL-8
User Manual
Smeg A2BL-8
User Manual
-
 Smeg A5-8
User Manual
Smeg A5-8
User Manual
-
 Smeg B901GMXI9
User Manual
Smeg B901GMXI9
User Manual
-
 Smeg C95GMCA9-1
User Manual
Smeg C95GMCA9-1
User Manual
-
 Smeg CPF30UGGWH
User Manual
Smeg CPF30UGGWH
User Manual
-
 Smeg CPF36UGGWH
User Manual
Smeg CPF36UGGWH
User Manual
-
Smeg CPF36UGGX
User Manual
-
 Smeg CPF36UGMAN
User Manual
Smeg CPF36UGMAN
User Manual
-
 Smeg CPF48UGMBL
User Manual
Smeg CPF48UGMBL
User Manual
-
 Smeg CS19-7
User Manual
Smeg CS19-7
User Manual
-
 Smeg CS19A-7
User Manual
Smeg CS19A-7
User Manual
-
 Smeg CS19B-6
User Manual
Smeg CS19B-6
User Manual
-
 Smeg CS19P-9
User Manual
Smeg CS19P-9
User Manual
-
 Smeg CS19RW-6
User Manual
Smeg CS19RW-6
User Manual
-
 Smeg CS19RW-7
User Manual
Smeg CS19RW-7
User Manual
-
 Smeg CX60ISVT9
User Manual
Smeg CX60ISVT9
User Manual
-
 Smeg FS61XNG8-1
User Manual
Smeg FS61XNG8-1
User Manual