Smeg CIR574X3 - Manuals

User Manual Smeg CIR574X3


Summary
Introduction 1. INSTRUCTIONS FOR SAFE AND PROPER USE THIS MANUAL IS AN INTEGRAL PART OF THE APPLIANCE AND THEREFORE MUST BE KEPT IN ITS ENTIRETY AND IN AN ACCESSIBLE PLACE FOR THE WHOLE WORKING LIFE OF THE HOB. WE ADVISE READING THIS MANUAL AND ALL THE INSTRUCTIONS THEREIN BEFORE USING THE HOB. INST...
Instructions for the installer 2. POSITIONING OF THE HOB It is the law that all gas appliances are installed by authorised persons. Clearance around the appliance must comply with the requirements of AS5601. The following operation requires building and/or carpentry work so must be carried out by a ...
Instructions for the installer Overall dimensions: location of gas and electrical connection points (all measures in mm). 30 CM HOB 70 CM HOB A 60 120 B 90 90 C 30 30 D 90 70 2.2 Clearance above and around domestic appliances Extract from AS5601 7
Smeg Hobs Manuals
-
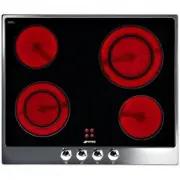
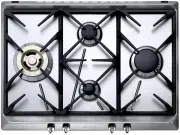 Smeg CIR574XS3
User Manual
Smeg CIR574XS3
User Manual
-
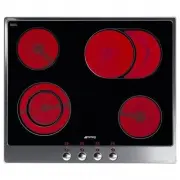
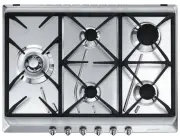 Smeg CIR575X
User Manual
Smeg CIR575X
User Manual
-
Smeg CIR575X
Manual
-
 Smeg CIR597XS
User Manual
Smeg CIR597XS
User Manual
-
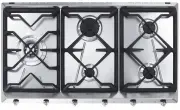
 Smeg CIR60X
User Manual
Smeg CIR60X
User Manual
-
Smeg CIR60X
Manual
-
 Smeg CIR60XS3
User Manual
Smeg CIR60XS3
User Manual
-
 Smeg HOBD182DG
User Manual
Smeg HOBD182DG
User Manual
-
 Smeg HOBD682D1
User Manual
Smeg HOBD682D1
User Manual
-
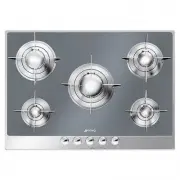
 Smeg P106
User Manual
Smeg P106
User Manual
-
Smeg P106
Manual
-
 Smeg P1641XA
User Manual
Smeg P1641XA
User Manual
-
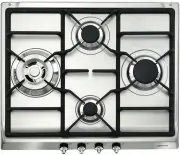
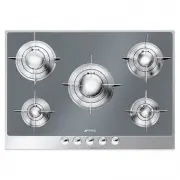
 Smeg P64
User Manual
Smeg P64
User Manual
-
 Smeg P652
User Manual
Smeg P652
User Manual
-
Smeg P652
Manual
-
 Smeg P663-1
User Manual
Smeg P663-1
User Manual
-
 Smeg P705ES
User Manual
Smeg P705ES
User Manual
-
 Smeg P705VT
User Manual
Smeg P705VT
User Manual
-
Smeg P705VT
Manual
-
 Smeg P75
User Manual
Smeg P75
User Manual