Samsung WW12H8420EW/EU - Manuals
User Manual Samsung WW12H8420EW/EU


Summary
English - 2 Content Safety information 3 What you need to know about the safety instructions . . . . . . . . . . . . . . . . . . . . . . . . . . . . . . . . 3Important safety symbols . . . . . . . . . . . . . . . . . . . . . . . . . . . . . . . . . . . . . . . . . . . . . . . . . . . . . 3Important ...
English - 3 SAFET Y INFORMA TION Safety information Congratulations on your new Samsung washing machine. This manual contains important information on the installation, use and care of your appliance. Please take some time to read this manual to take full advantage of your washing machine’s many ben...
English - 4 Important safety precautions WARNING: To reduce the risk of fire, electric shock, or injury to persons when using your appliance, follow basic precautions, including the following: 1. This appliance is not to be used by persons (including children) with reduced physical, sensory or menta...
Samsung Washing Machines Manuals
-
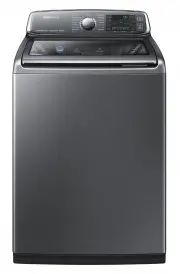
 Samsung WA10A8376GW
User Manual
Samsung WA10A8376GW
User Manual
-
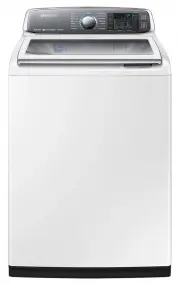
 Samsung WA10H7200GW
User Manual
Samsung WA10H7200GW
User Manual
-
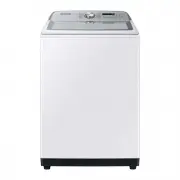
 Samsung WA10J7700GW
User Manual
Samsung WA10J7700GW
User Manual
-
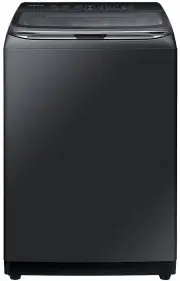
 Samsung WA10J8700GP
User Manual
Samsung WA10J8700GP
User Manual
-
 Samsung WA10J8700GW
User Manual
Samsung WA10J8700GW
User Manual
-
 Samsung WA11M8700GV
User Manual
Samsung WA11M8700GV
User Manual
-
 Samsung WA12A8376GW
User Manual
Samsung WA12A8376GW
User Manual
-
 Samsung WA13M8700GV
User Manual
Samsung WA13M8700GV
User Manual
-
 Samsung WA13M8700GW
User Manual
Samsung WA13M8700GW
User Manual
-
 Samsung WA14A8377GV
User Manual
Samsung WA14A8377GV
User Manual
-
 Samsung WA14A8377GW
User Manual
Samsung WA14A8377GW
User Manual
-
 Samsung WA40A3005AW
User Manual
Samsung WA40A3005AW
User Manual
-
 Samsung WA40A3005AW/A4
User Manual
Samsung WA40A3005AW/A4
User Manual
-
Samsung WA41A3000AW/A4
User Manual
-
 Samsung WA44A3205AW
User Manual
Samsung WA44A3205AW
User Manual
-
 Samsung WA44A3205AW/A4
User Manual
Samsung WA44A3205AW/A4
User Manual
-
 Samsung WA44A3405AP
User Manual
Samsung WA44A3405AP
User Manual
-
 Samsung WA44A3405AV
User Manual
Samsung WA44A3405AV
User Manual
-
 Samsung WA45T3200AW
User Manual
Samsung WA45T3200AW
User Manual
-
Samsung WA45T3200AW/A4
User Manual