Samsung HT-Q9 - Manuals
Samsung HT-Q9 Home Theater – Manual in PDF format online.
Manuals:
Manual Samsung HT-Q9


Summary
GB 2 Precautions Ensure that the AC power supply in your house complies with the identification sticker located on the back of your player. Install yourplayer horizontally, on a suitable base (furniture), with enough space around it for ventilation (7.5~10cm). Make sure the ventilationslots are not ...
4 3 Multi-Disc Playback & FM Tuner The HT-Q9 combines the convenience of multi-disc playback capability, including DVD-VIDEO, VCD, CD, MP3-CD, WMA-CD, DivX, CD-R/RW, and DVD-R/RW, with asophisticated FM tuner, all in a single player. Dolby Pro Logic II Dolby Pro Logic II is a new form of multi-c...
GB CD-R Discs • Some CD-R discs may not be playable depending on the disc recording device (CD-Recorder or PC) and the condition of the disc. • Use a 650MB/74 minute CD-R disc. Do not use CD-R discs over 700MB/80 minute as they may not be played back. • Some CD-RW (Rewritable) media, may not be play...
Samsung Home Theaters Manuals
-
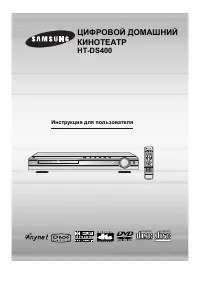 Samsung HT-DS400
Manual
Samsung HT-DS400
Manual
-
 Samsung HT-H6550WM
User Manual
Samsung HT-H6550WM
User Manual
-
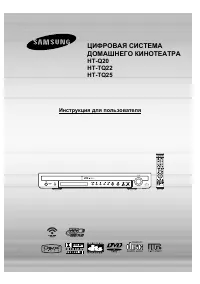 Samsung HT-Q20
Manual
Samsung HT-Q20
Manual
-
 Samsung HT-A100
User Manual
Samsung HT-A100
User Manual
-
Samsung HT-A100
Quick Guide
-
Samsung HT-A100
Manual
-
 Samsung HT-BD1255
User Manual
Samsung HT-BD1255
User Manual
-
Samsung HT-BD1255
Manual
-
 Samsung HT-C350
Manual
Samsung HT-C350
Manual
-
Samsung HT-C350
User Manual
-
 Samsung HT-C453
Manual
Samsung HT-C453
Manual
-
Samsung HT-C453
User Manual
-
 Samsung HT-C5200
User Manual
Samsung HT-C5200
User Manual
-
Samsung HT-C5200
Manual
-
 Samsung HT-C5500
User Manual
Samsung HT-C5500
User Manual
-
Samsung HT-C5550
User Manual
-
 Samsung HT-C5900
User Manual
Samsung HT-C5900
User Manual
-
 Samsung HT-C6930W
User Manual
Samsung HT-C6930W
User Manual
-
Samsung HT-C6930W
Manual
-
 Samsung HT-C720
User Manual
Samsung HT-C720
User Manual