Samsung HT-H4500R - Manuals
Samsung HT-H4500R Home Theater – User Manual in PDF format online.
Manuals:
User Manual Samsung HT-H4500R


Summary
| 2 English Safety Information WARNING • To reduce the risk of fire or electric shock, do not expose this appliance to rain or moisture. CAUTION • Apparatus shall not be exposed to dripping or splashing and no objects filled with liquids, such as vases, shall be placed on the apparatus. • The Mains ...
English 3 | 01 Safety Information • If the product makes an abnormal noise or produces a burning smell or smoke, turn off the power switch immediately and disconnect the power plug from the wall outlet. Then, contact the nearest customer service centre for technical assistance. Do not use the produc...
| 4 English Safety Information The terms HDMI and HDMI High-Definition Multimedia Interface, and the HDMI Logo are trademarks or registered trademarks of HDMI Licencing LLC in the United States and other countries. DLNA , the DLNA Logo and DLNA CERTIFIED are trademarks, service marks, or certificati...
Samsung Home Theaters Manuals
-
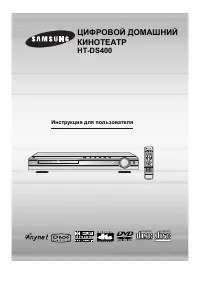 Samsung HT-DS400
Manual
Samsung HT-DS400
Manual
-
 Samsung HT-H6550WM
User Manual
Samsung HT-H6550WM
User Manual
-
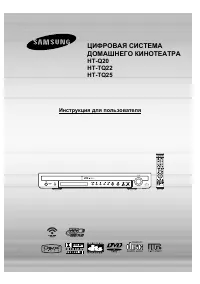 Samsung HT-Q20
Manual
Samsung HT-Q20
Manual
-
 Samsung HT-A100
User Manual
Samsung HT-A100
User Manual
-
Samsung HT-A100
Quick Guide
-
Samsung HT-A100
Manual
-
 Samsung HT-BD1255
User Manual
Samsung HT-BD1255
User Manual
-
Samsung HT-BD1255
Manual
-
 Samsung HT-C350
Manual
Samsung HT-C350
Manual
-
Samsung HT-C350
User Manual
-
 Samsung HT-C453
Manual
Samsung HT-C453
Manual
-
Samsung HT-C453
User Manual
-
 Samsung HT-C5200
User Manual
Samsung HT-C5200
User Manual
-
Samsung HT-C5200
Manual
-
 Samsung HT-C5500
User Manual
Samsung HT-C5500
User Manual
-
Samsung HT-C5550
User Manual
-
 Samsung HT-C5900
User Manual
Samsung HT-C5900
User Manual
-
 Samsung HT-C6930W
User Manual
Samsung HT-C6930W
User Manual
-
Samsung HT-C6930W
Manual
-
 Samsung HT-C720
User Manual
Samsung HT-C720
User Manual