QNap TS-673-4G - Manuals
QNap TS-673-4G Network Storage Unit – User Manual in PDF format online.
Manuals:
User Manual QNap TS-673-4G


Summary
Contents 1. Preface About This Guide.......................................................................................................................................... 3Audience.......................................................................................................................
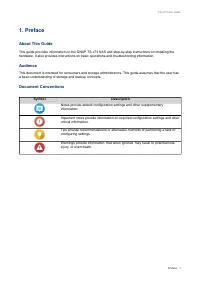
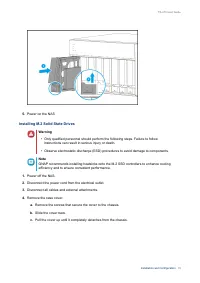
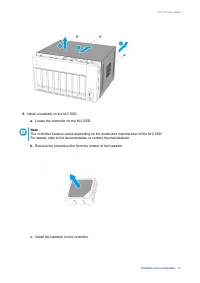
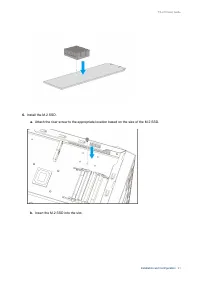
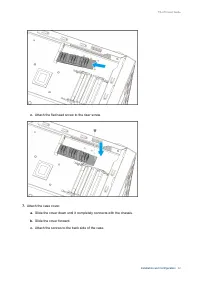
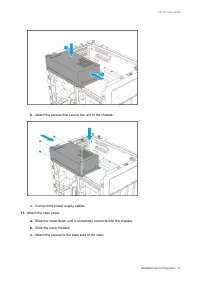
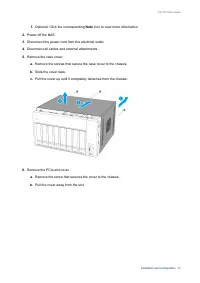
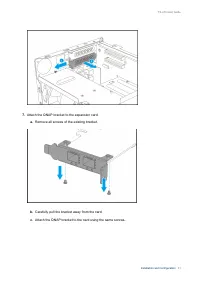
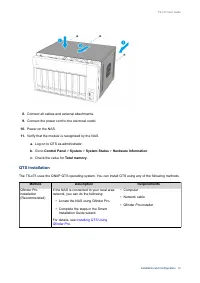
1. Preface About This Guide This guide provides information on the QNAP TS-x73 NAS and step-by-step instructions on installing thehardware. It also provides instructions on basic operations and troubleshooting information. Audience This document is intended for consumers and storage administrators. ...
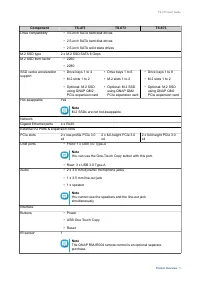
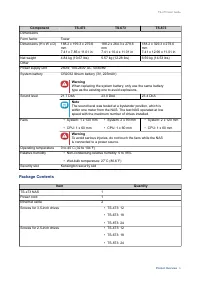
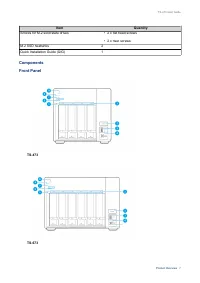
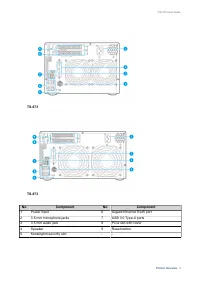
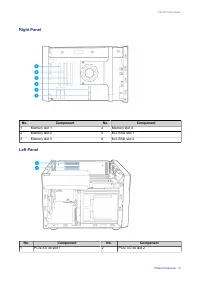
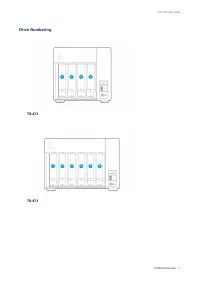
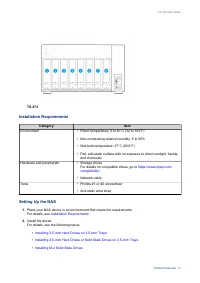
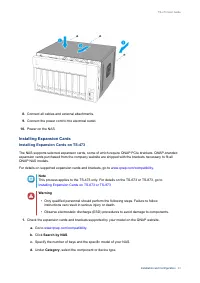
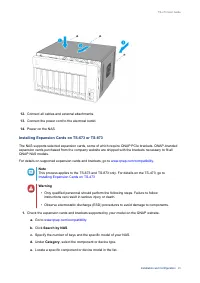
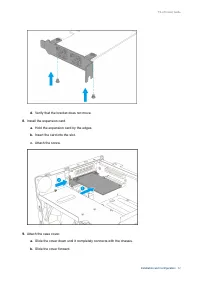
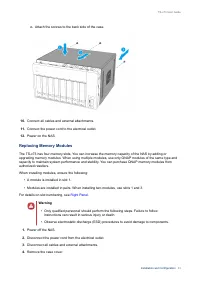
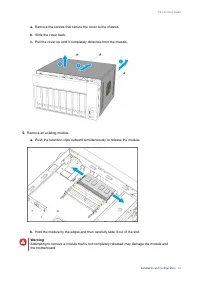
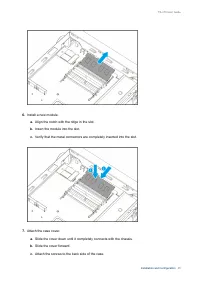
2. Product Overview This chapter provides basic information about the QNAP TS-x73 NAS. About the TS-x73 The TS-x73 is a high-performance and energy-efficient NAS solution powered by an AMD quad-coreprocessor, AES-NI hardware encryption engine, and up to 64 GB memory. Featuring an IR sensor,microphon...
QNap Network Storage Units Manuals
-
 QNap HS-264-8G (2.5GbE, HDMI, Gen2)
User Manual
QNap HS-264-8G (2.5GbE, HDMI, Gen2)
User Manual
-
 QNap TS-231K
User Manual
QNap TS-231K
User Manual
-
 QNap TS-251D-2G
User Manual
QNap TS-251D-2G
User Manual
-
 QNap TS-253D-4G
User Manual
QNap TS-253D-4G
User Manual
-
 QNap TS-328
User Manual
QNap TS-328
User Manual
-
 QNap TS-351-2G
User Manual
QNap TS-351-2G
User Manual
-
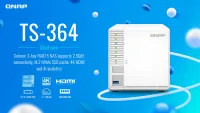 QNap TS-364-4G (2.5GbE, HDMI)
User Manual
QNap TS-364-4G (2.5GbE, HDMI)
User Manual
-
 QNap TS-431K
User Manual
QNap TS-431K
User Manual
-
 QNap TS-431P3-2G
User Manual
QNap TS-431P3-2G
User Manual
-
QNap TS-453D-4G
User Manual
-
 QNap TS-462-2G (2.5GbE, HDMI, Gen2)
User Manual
QNap TS-462-2G (2.5GbE, HDMI, Gen2)
User Manual
-
QNap TS-462-4G
User Manual
-
QNap TS-473-4G
User Manual
-
QNap TS-653D-4G
User Manual
-
 QNap TS-864eU-4G
User Manual
QNap TS-864eU-4G
User Manual
-
 QNap TS-873AeU-4G
User Manual
QNap TS-873AeU-4G
User Manual