Prolux pv1 - Manuals

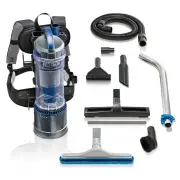
User Manual Prolux pv1


Summary
3 Table of Contents Quick Assembly ............................................................................................................................. 4 Specifications .............................................................................................................................
4 Quick Assembly To view some videos on unboxing, assembling, and using your new vacuum you can find them at the link below, or scan the QR code to go to our YouTube page to see all our videos: htps://proluxcleaners.com/pages/prolux - pet - grooming
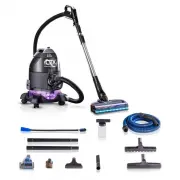
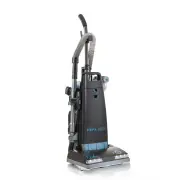
5 Specifications • Lightweight - Vacuum weighs just 8lbs • Dependable - 3-year motor and 1 year body warranty • Washable HEPA filter gives you excellent filtration • 3 Speed Motor – Eco, Standard and Boost • 9ft+ Power Cord • 6.5ft+ Long Tool Hose • Powerful – 31 CFM on Eco, 37 CFM on Standard and 4...
Prolux Vacuums Manuals
-
 Prolux 19pl10qt
User Manual
Prolux 19pl10qt
User Manual
-
 Prolux 19prolux2.0a
User Manual
Prolux 19prolux2.0a
User Manual
-
 Prolux 19prolux2.0b
User Manual
Prolux 19prolux2.0b
User Manual
-
 Prolux 19prolux2.0c
User Manual
Prolux 19prolux2.0c
User Manual
-
 Prolux 19prolux2.0d
User Manual
Prolux 19prolux2.0d
User Manual
-
 Prolux 19prolux2.0f
User Manual
Prolux 19prolux2.0f
User Manual
-
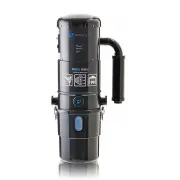 Prolux Blackcen
User Manual
Prolux Blackcen
User Manual
-
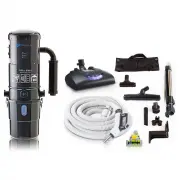 Prolux blackcen3
User Manual
Prolux blackcen3
User Manual
-
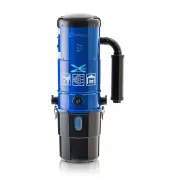 Prolux bluecen
User Manual
Prolux bluecen
User Manual
-
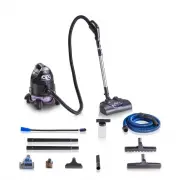
 Prolux bluecen3
User Manual
Prolux bluecen3
User Manual
-
 Prolux ctx1
User Manual
Prolux ctx1
User Manual
-
 Prolux ctx250
User Manual
Prolux ctx250
User Manual
-
 Prolux CV12000
User Manual
Prolux CV12000
User Manual
-
 Prolux pl10qtblue
User Manual
Prolux pl10qtblue
User Manual
-
 Prolux pl35-280
User Manual
Prolux pl35-280
User Manual
-
 Prolux Prolux_6000
User Manual
Prolux Prolux_6000
User Manual
-
 Prolux Prolux_7000
User Manual
Prolux Prolux_7000
User Manual
-
 Prolux prolux_8000
User Manual
Prolux prolux_8000
User Manual
-
 Prolux prolux_9000
User Manual
Prolux prolux_9000
User Manual
-
 Prolux prolux_garage
User Manual
Prolux prolux_garage
User Manual