Prolux prolux_garage - Manuals

User Manual Prolux prolux_garage


Summary
1 Contents Safety Instructions ---------------------------------------------------------------- 2-3 Included Parts -------------------------------------------------------------------- 3-4 Assembly Instructions ------------------------------------------------------------ 5 Operating Instructions ----...
2 Important Safeguards! When using an electrical appliance, always follow basic precautions, including the following: READ ALL INSTRUCTIONS BEFORE USING THIS APPLIANCE Warning: To reduce the risk of fire, electric shock, or injury: Do not use outdoors Close supervision is necessary when any appl...
3 Keep hair, loose clothing, fingers, and all parts of body away from the opening and moving parts. Save these instructions! WARNING Operate cleaning system only at voltage specified on power unit. This system is intended for residential use. WARNING To reduce the risk of electric shock, this appl...
Prolux Vacuums Manuals
-
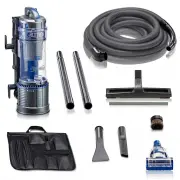
 Prolux 19pl10qt
User Manual
Prolux 19pl10qt
User Manual
-
 Prolux 19prolux2.0a
User Manual
Prolux 19prolux2.0a
User Manual
-
 Prolux 19prolux2.0b
User Manual
Prolux 19prolux2.0b
User Manual
-
 Prolux 19prolux2.0c
User Manual
Prolux 19prolux2.0c
User Manual
-
 Prolux 19prolux2.0d
User Manual
Prolux 19prolux2.0d
User Manual
-
 Prolux 19prolux2.0f
User Manual
Prolux 19prolux2.0f
User Manual
-
 Prolux Blackcen
User Manual
Prolux Blackcen
User Manual
-
 Prolux blackcen3
User Manual
Prolux blackcen3
User Manual
-
 Prolux bluecen
User Manual
Prolux bluecen
User Manual
-
 Prolux bluecen3
User Manual
Prolux bluecen3
User Manual
-
 Prolux ctx1
User Manual
Prolux ctx1
User Manual
-
 Prolux ctx250
User Manual
Prolux ctx250
User Manual
-
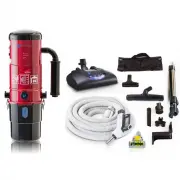 Prolux CV12000
User Manual
Prolux CV12000
User Manual
-
 Prolux pl10qtblue
User Manual
Prolux pl10qtblue
User Manual
-
 Prolux pl35-280
User Manual
Prolux pl35-280
User Manual
-
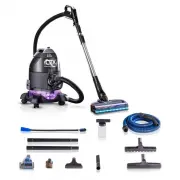
 Prolux Prolux_6000
User Manual
Prolux Prolux_6000
User Manual
-
 Prolux Prolux_7000
User Manual
Prolux Prolux_7000
User Manual
-
 Prolux prolux_8000
User Manual
Prolux prolux_8000
User Manual
-
 Prolux prolux_9000
User Manual
Prolux prolux_9000
User Manual
-
 Prolux Prolux_Terra_B
User Manual
Prolux Prolux_Terra_B
User Manual