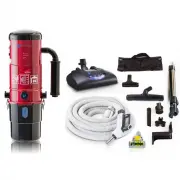
Prolux Blackcen - Manuals
User Manual Prolux Blackcen


Summary
WARRANTY IMFORMATION- Warranty Information for this product The manufacturer Prolux provides warranty of this central vacuum for a time period of 10 years on the motor and 25 years on the steel outside parts of the body, starting from the date on which the appliance is sold to the end user. The repa...
• hire a professional to install it to proper guidelines. If you have any questions you may contact the dealer you bought it from. SAVE THESE INSTRUCTIONS Congratulations on your purchase of one of the best central vacuum systems made! Central Vacuum cleaners not only improve the value of your home ...
READ ALL INSTRUCTIONS BEFORE USING THIS APPLIANCE • Do not leave appliance plugged in when working on the appliance in any way. • Turn off all controls before unplugging. • Unplug from outlet when not in use for extended period. Do not unplug cord by pulling on the cord. To unplug grasp the plug, ...
Prolux Vacuums Manuals
-
 Prolux 19pl10qt
User Manual
Prolux 19pl10qt
User Manual
-
 Prolux 19prolux2.0a
User Manual
Prolux 19prolux2.0a
User Manual
-
 Prolux 19prolux2.0b
User Manual
Prolux 19prolux2.0b
User Manual
-
 Prolux 19prolux2.0c
User Manual
Prolux 19prolux2.0c
User Manual
-
 Prolux 19prolux2.0d
User Manual
Prolux 19prolux2.0d
User Manual
-
 Prolux 19prolux2.0f
User Manual
Prolux 19prolux2.0f
User Manual
-
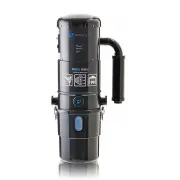
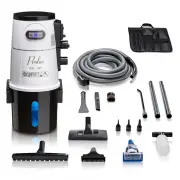
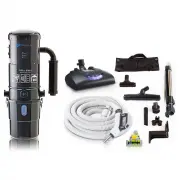 Prolux blackcen3
User Manual
Prolux blackcen3
User Manual
-
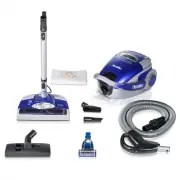
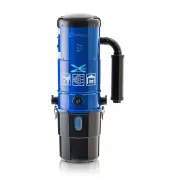 Prolux bluecen
User Manual
Prolux bluecen
User Manual
-
 Prolux bluecen3
User Manual
Prolux bluecen3
User Manual
-
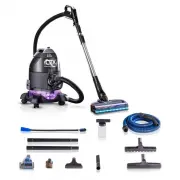
 Prolux ctx1
User Manual
Prolux ctx1
User Manual
-
 Prolux ctx250
User Manual
Prolux ctx250
User Manual
-
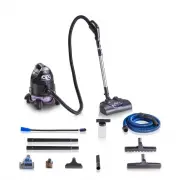
 Prolux CV12000
User Manual
Prolux CV12000
User Manual
-
 Prolux pl10qtblue
User Manual
Prolux pl10qtblue
User Manual
-
 Prolux pl35-280
User Manual
Prolux pl35-280
User Manual
-
 Prolux Prolux_6000
User Manual
Prolux Prolux_6000
User Manual
-
 Prolux Prolux_7000
User Manual
Prolux Prolux_7000
User Manual
-
 Prolux prolux_8000
User Manual
Prolux prolux_8000
User Manual
-
 Prolux prolux_9000
User Manual
Prolux prolux_9000
User Manual
-
 Prolux prolux_garage
User Manual
Prolux prolux_garage
User Manual
-
 Prolux Prolux_Terra_B
User Manual
Prolux Prolux_Terra_B
User Manual