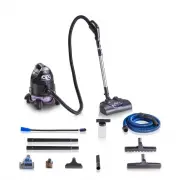
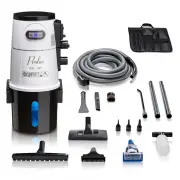
Prolux 19prolux2.0f - Manuals
User Manual Prolux 19prolux2.0f


Summary
- 2 - Table of contents Specifications 3 Safety Precautions 4 Installation 7 Mounting Your Vacuum to the Wall 7 Assembly 8 Getting To Know Your Vacuum 8 Using The Accessories & Tools 9 Maintenance Emptying The Dust/Dirt Container 11 Changing/Cleaning The Intake Vortex Filter 11 Changing/Cleaning...
- 3 - Specifications ● Powerful 1400 Watt, 12 amp motor ● Amazing 125 Cubic Feet per Minute of Airflow! ● 95 Inches of Water Lift ● Motor Bypass valve, which adds years of life to the Motor ● 5 Year motor Warranty and 3 Year body Warranty. (90 days on the motor and body if used commercially) ● 3-Sta...
- 4 - IMPORTANT SAFETY INSTRUCTIONS READ ALL INSTRUCTIONS IN THIS OPERATING MANUAL BEFORE USING THIS APPLIANCE. When using an electrical appliance, basic precautions should always be followed, including the following: Keep the operating manual for reference. Include the operating manual if you pass ...
Prolux Vacuums Manuals
-
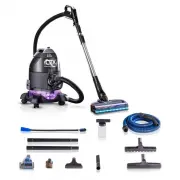
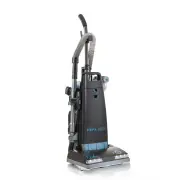
 Prolux 19pl10qt
User Manual
Prolux 19pl10qt
User Manual
-
 Prolux 19prolux2.0a
User Manual
Prolux 19prolux2.0a
User Manual
-
 Prolux 19prolux2.0b
User Manual
Prolux 19prolux2.0b
User Manual
-
 Prolux 19prolux2.0c
User Manual
Prolux 19prolux2.0c
User Manual
-
 Prolux 19prolux2.0d
User Manual
Prolux 19prolux2.0d
User Manual
-
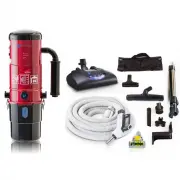
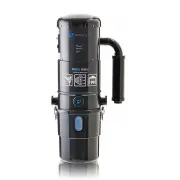 Prolux Blackcen
User Manual
Prolux Blackcen
User Manual
-
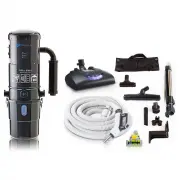 Prolux blackcen3
User Manual
Prolux blackcen3
User Manual
-
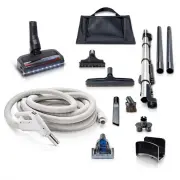
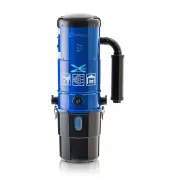 Prolux bluecen
User Manual
Prolux bluecen
User Manual
-
 Prolux bluecen3
User Manual
Prolux bluecen3
User Manual
-
 Prolux ctx1
User Manual
Prolux ctx1
User Manual
-
 Prolux ctx250
User Manual
Prolux ctx250
User Manual
-
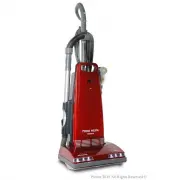
 Prolux CV12000
User Manual
Prolux CV12000
User Manual
-
 Prolux pl10qtblue
User Manual
Prolux pl10qtblue
User Manual
-
 Prolux pl35-280
User Manual
Prolux pl35-280
User Manual
-
 Prolux Prolux_6000
User Manual
Prolux Prolux_6000
User Manual
-
 Prolux Prolux_7000
User Manual
Prolux Prolux_7000
User Manual
-
 Prolux prolux_8000
User Manual
Prolux prolux_8000
User Manual
-
 Prolux prolux_9000
User Manual
Prolux prolux_9000
User Manual
-
 Prolux prolux_garage
User Manual
Prolux prolux_garage
User Manual
-
 Prolux Prolux_Terra_B
User Manual
Prolux Prolux_Terra_B
User Manual