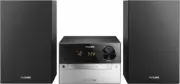
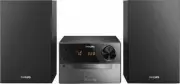
Philips MCM2300/12 - Manuals
Philips MCM2300/12 Sound System – User Manual, Quick Guide in PDF format online.
Manuals:
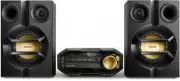
User Manual Philips MCM2300/12


Summary
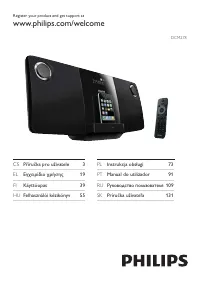
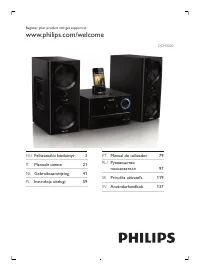
1 EN Contents 1 Important 2 Safety 2 Notice 2 2 Your Micro Music System 5 Introduction 5 What's in the box 5 Over view of the main unit 6 Over view of the remote control 7 3 Get started 8 Connect speakers 8 Connect power 8 Prepare the remote control 9 Power on 9 Set the clock 9 Select a source 10 4 ...
2 EN 1 Important Safety Read and understand all instructions before you use this micro music system. If damage is caused by failure to follow the instructions, the warranty does not apply. Risk of electric shock or fire! • Never remove the casing of the product. • Never expose the product and access...
3 EN Compliance Hereby, Gibson Innovations declares that this product is in compliance with the essential requirements and other relevant provisions of Directive 2014/53/EU. You can find the Declaration of Conformity on www.philips.com/ suppor t. This apparatus includes this label: Care of the envir...
Quick Guide Philips MCM2300/12


Philips Sound Systems Manuals
-
 Philips BTB2570
User Manual
Philips BTB2570
User Manual
-
 Philips BTM177
Manual
Philips BTM177
Manual
-
 Philips BTM2310/12
User Manual
Philips BTM2310/12
User Manual
-
Philips BTM2310/12
Quick Guide
-
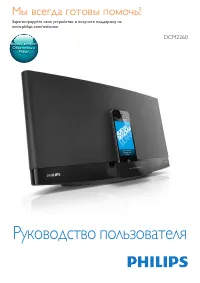 Philips DCM2260
Manual
Philips DCM2260
Manual
-
 Philips DCM278
Manual
Philips DCM278
Manual
-
 Philips DCM3020
Manual
Philips DCM3020
Manual
-
 Philips FW-C380
Manual
Philips FW-C380
Manual
-
 Philips FW-C700
Manual
Philips FW-C700
Manual
-
 Philips FW-C780
Manual
Philips FW-C780
Manual
-
 Philips FWM390
Manual
Philips FWM390
Manual
-
 Philips FWM582
Manual
Philips FWM582
Manual
-
 Philips FWM779
Manual
Philips FWM779
Manual
-
 Philips FWM799
Manual
Philips FWM799
Manual
-
 Philips FWP3200D
Manual
Philips FWP3200D
Manual
-
 Philips FW-P78
Manual
Philips FW-P78
Manual
-
 Philips FX10/12
User Manual
Philips FX10/12
User Manual
-
 Philips MC145
Manual
Philips MC145
Manual
-
 Philips MC147
Manual
Philips MC147
Manual
-
 Philips MC150
Manual
Philips MC150
Manual