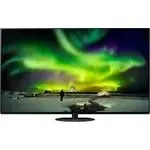
Panasonic TH-65DX700A - Manuals

User Manual Panasonic TH-65DX700A


Summary
English 2 ● For information about the trademarks, refer to [eHELP] (Support > Licence). The illustration for TH-58DX7 0 0 A is used in this manual unless otherwise mentioned. Illustrations shown may be different between models and countries. Contents Be Sure to Read Important Notice··············...
English 3 Important Notice Panasonic does not guarantee operation and performance of peripheral devices made by other manufacturers; and we disclaim any liability or damage arising from operation and/or performance from usage of such other maker’s peripheral devices. The recording and playback of co...
English 4 ● Do not expose the TV to rain or excessive moisture. This TV must not be exposed to dripping or splashing water and objects filled with liquid, such as vases, must not be placed on top of or above the TV. ● Do not insert foreign objects into the TV through the air vents. ● Do not use an u...
Panasonic TVs Manuals
-
 Panasonic 32J330E
User Manual
Panasonic 32J330E
User Manual
-
 Panasonic 55LZ1000E
User Manual
Panasonic 55LZ1000E
User Manual
-
 Panasonic TH-32D400A
User Manual
Panasonic TH-32D400A
User Manual
-
 Panasonic TH-32E400A
User Manual
Panasonic TH-32E400A
User Manual
-
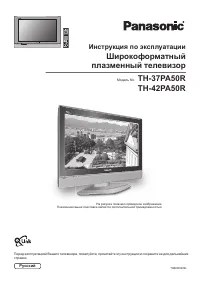 Panasonic TH-37PA50R_TH-42PA50R
User Manual
Panasonic TH-37PA50R_TH-42PA50R
User Manual
-
 Panasonic TH-40C400A
User Manual
Panasonic TH-40C400A
User Manual
-
 Panasonic TH-40D400A
User Manual
Panasonic TH-40D400A
User Manual
-
 Panasonic TH-40DS610U
User Manual
Panasonic TH-40DS610U
User Manual
-
 Panasonic TH-40E400A
User Manual
Panasonic TH-40E400A
User Manual
-
 Panasonic TH-42PWD4
Manual
Panasonic TH-42PWD4
Manual
-
 Panasonic TH-43EX600A
User Manual
Panasonic TH-43EX600A
User Manual
-
 Panasonic TH-43GX600A
User Manual
Panasonic TH-43GX600A
User Manual
-
 Panasonic TH-49D400A
User Manual
Panasonic TH-49D400A
User Manual
-
 Panasonic TH-49DX600U
User Manual
Panasonic TH-49DX600U
User Manual
-
 Panasonic TH-49EX600A
User Manual
Panasonic TH-49EX600A
User Manual
-
 Panasonic TH-49GX600A
User Manual
Panasonic TH-49GX600A
User Manual
-
 Panasonic TH-50DS610U
User Manual
Panasonic TH-50DS610U
User Manual
-
 Panasonic TH-50DX700A
User Manual
Panasonic TH-50DX700A
User Manual
-
 Panasonic TH-55CS610A
User Manual
Panasonic TH-55CS610A
User Manual
-
 Panasonic TH-55CS650A
User Manual
Panasonic TH-55CS650A
User Manual