Panasonic 55LZ1000E - User Manual
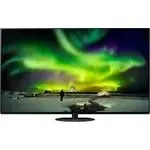
Panasonic 55LZ1000E TV – User Manual, read for free online in PDF format. We hope this helps you resolve any issues you may have. If you have further questions, please contact us through the contact form.
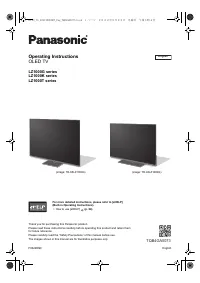
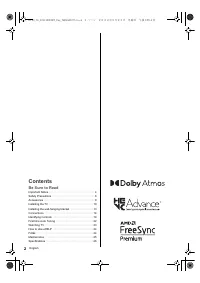
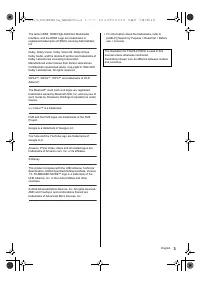

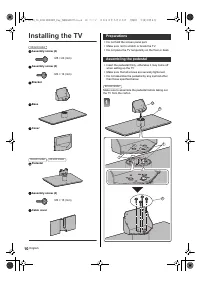
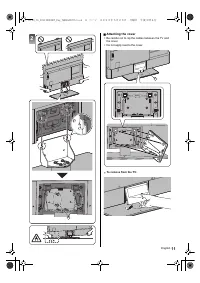
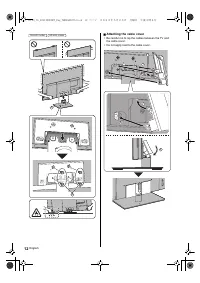
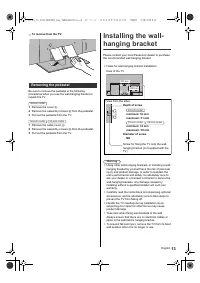
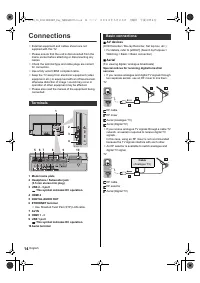

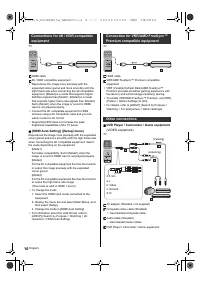

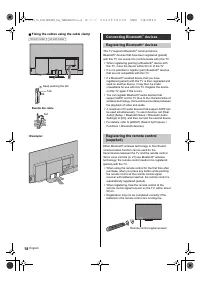
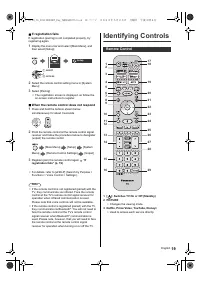

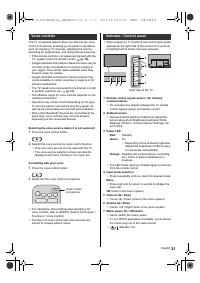
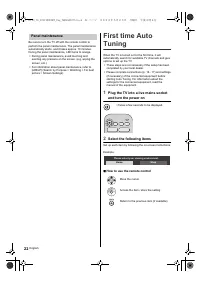
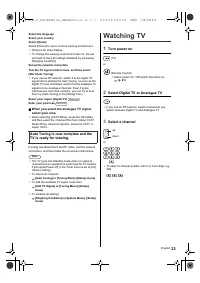
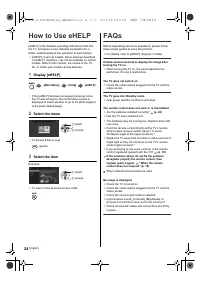
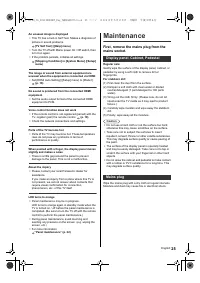
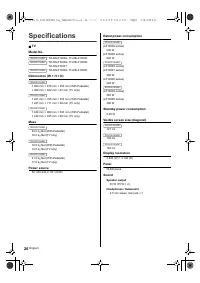
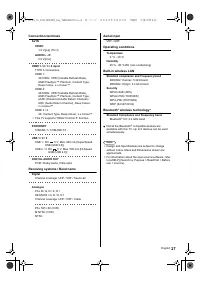
Table of Contents:
- Page 2 – Contents; Be Sure to Read
- Page 4 – Important Notice
- Page 5 – Handling of customer information
- Page 6 – Safety Precautions
- Page 9 – Accessories; Standard accessories
- Page 10 – Installing the TV; Preparations
- Page 13 – Removing the pedestal
- Page 14 – Connections; Terminals
- Page 16 – Other connections
- Page 17 – Cable arrangement
- Page 18 – Connecting Bluetooth
- Page 19 – Identifying Controls
- Page 22 – Select the following items; Panel maintenance
- Page 23 – Watching TV; Turn power on
- Page 24 – How to Use eHELP; Select the menu; FAQs
- Page 25 – Maintenance; Mains plug
- Page 26 – Specifications
- Page 28 – Customer’s Record
Operating Instructions
OLED TV
LZ1000G series
LZ1000K series
LZ1000T series
For more detailed instructions, please refer to [eHELP]
(Built-in Operating Instructions).
≥
How to use [eHELP]
(p. 24)
Thank you for purchasing this Panasonic product.
Please read these instructions carefully before operating this product and retain them
for future reference.
Please carefully read the “Safety Precautions” of this manual before use.
The images shown in this manual are for illustrative purposes only.
F0622HN0
English
TQB4GA0073
English
(image: TH-65LZ1000G)
(image: TH-48LZ1000G)
TH-48_55_65LZ1000GKT_Eng_TQB4GA0073.book 1 ページ 2022年5月23日 月曜日 午後3時4分
"Loading the manual" means you need to wait until the file loads and becomes available for online reading. Some manuals are very large, and the time they take to appear depends on your internet speed.
Summary
2 English Contents Be Sure to Read Important Notice ·················································· 4Safety Precautions ·············································· 6Accessories ························································ 9Installing the TV ·········································...
4 English Important Notice Do not display any still part of the image for a long period In such cases the still part of the image remains dimly on the screen (“image retention”). This is not considered a malfunction and is not covered by the warranty. ≥ Typical still image parts: • Still images show...
5 English Handling of customer information Certain customer information such as IP address of your device (this TV)’s network interface will be collected as soon as you connect your Panasonic-branded smart television (this TV) or other devices to the internet (excerpted from our privacy policy). We ...