Panasonic SC-PM41 - Manuals
Panasonic SC-PM41 Sound System – Manual in PDF format online.
Manuals:
Manual Panasonic SC-PM41


Summary
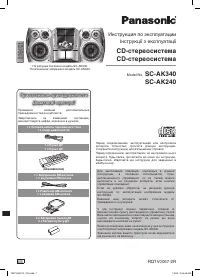
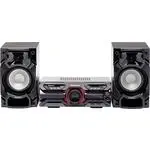
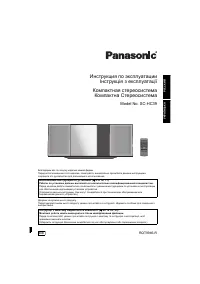
2 RQT8038 Dear customer Thank you for purchasing this product.For optimum performance and safety, please read these instructions carefully. These operating instructions are applicable to the following system. System SC-PM41 Main unit SA-PM41 Speakers SB-PM41 The model number and serial number of thi...
3 RQT8038 IMPORTANT SAFETY INSTRUCTIONS 1) Read these instructions.2) Keep these instructions.3) Heed all warnings.4) Follow all instructions.5) Do not use this apparatus near water.6) Clean only with dry cloth.7) Do not block any ventilation openings. Install in accordance with the manufacturer’s i...
4 RQT8038 2 , ()'( ,/7 Red Black White Blue Grey (+) Blue (–) Black (–) Red (+) To household AC outlet 2 Connect the FM indoor antenna. Adhesive tape FM indoor antenna Tape the antenna to a wall or column, in a position with least amount of interference. FM ANT 75 4 Connect the AC power supply cord....
Panasonic Sound Systems Manuals
-
 Panasonic SC-AK240
Manual
Panasonic SC-AK240
Manual
-
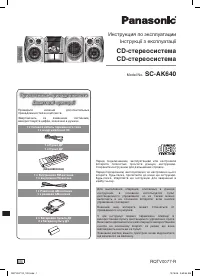
 Panasonic SC-AK340
Manual
Panasonic SC-AK340
Manual
-
 Panasonic SC-AK640
Manual
Panasonic SC-AK640
Manual
-
 Panasonic SC-AKX220GNK
User Manual
Panasonic SC-AKX220GNK
User Manual
-
 Panasonic SC-AKX320E-K
User Manual
Panasonic SC-AKX320E-K
User Manual
-
 Panasonic SC-AKX320GSK
User Manual
Panasonic SC-AKX320GSK
User Manual
-
 Panasonic SC-BMAX3GN-K
User Manual
Panasonic SC-BMAX3GN-K
User Manual
-
 Panasonic SC-CMAX5GS-K
User Manual
Panasonic SC-CMAX5GS-K
User Manual
-
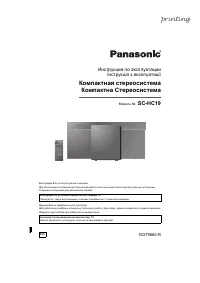 Panasonic SC-HC19
User Manual
Panasonic SC-HC19
User Manual
-
 Panasonic SC-HC295GN-K
User Manual
Panasonic SC-HC295GN-K
User Manual
-
 Panasonic SC-HC29GN-K
User Manual
Panasonic SC-HC29GN-K
User Manual
-
 Panasonic SC-HC300EG-K
User Manual
Panasonic SC-HC300EG-K
User Manual
-
 Panasonic SC-HC300EG-W
User Manual
Panasonic SC-HC300EG-W
User Manual
-
 Panasonic SC-HC302GN-K
User Manual
Panasonic SC-HC302GN-K
User Manual
-
 Panasonic SC-HC39
User Manual
Panasonic SC-HC39
User Manual
-
Panasonic SC-HC39
Manual
-
 Panasonic SC-HC397GN-S
User Manual
Panasonic SC-HC397GN-S
User Manual
-
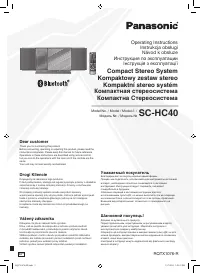 Panasonic SC-HC40
Manual
Panasonic SC-HC40
Manual
-
 Panasonic SC-MAX770GSK
User Manual
Panasonic SC-MAX770GSK
User Manual
-
 Panasonic SC-MAX9000GN
User Manual
Panasonic SC-MAX9000GN
User Manual