Panasonic SC-PM19 - Manuals
Panasonic SC-PM19 Sound System – Manual in PDF format online.
Manuals:
Manual Panasonic SC-PM19


Summary
Before use 2 RQT7364 Dear customer Thank you for purchasing this product.For optimum performance and safety, please read theseinstructions carefully. These operating instructions are applicable to the followingsystem. System SC-PM19 SC-PM193 Main unit SA-PM19 SA-PM193 Speakers SB-PM19 SB-PM193 User ...
3 RQT7364 Before use Please check and identify the suppliedaccessories.Use numbers indicated in parentheseswhen asking for replacement parts. In U.S.A. to order accessories,refer to “Accessory Purchases” onpage 27. CAUTION! THIS PRODUCT UTILIZES A LASER.U S E O F C O N T R O L S O R A D J U S T M E ...
Before use 4 RQT7364 IMPORTANT SAFETY INSTRUCTIONS Read these operating instructions carefully before using theunit. Follow the safety instructions on the unit and theapplicable safety instructions listed below. Keep theseoperating instructions handy for future reference. 1) Read these instructions....
Panasonic Sound Systems Manuals
-
 Panasonic SC-AK240
Manual
Panasonic SC-AK240
Manual
-
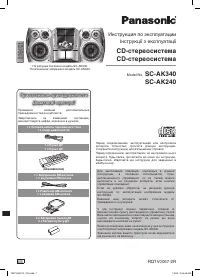
 Panasonic SC-AK340
Manual
Panasonic SC-AK340
Manual
-
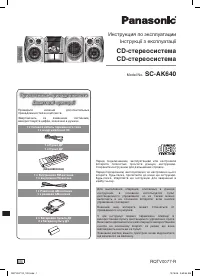 Panasonic SC-AK640
Manual
Panasonic SC-AK640
Manual
-
 Panasonic SC-AKX220GNK
User Manual
Panasonic SC-AKX220GNK
User Manual
-
 Panasonic SC-AKX320E-K
User Manual
Panasonic SC-AKX320E-K
User Manual
-
 Panasonic SC-AKX320GSK
User Manual
Panasonic SC-AKX320GSK
User Manual
-
 Panasonic SC-BMAX3GN-K
User Manual
Panasonic SC-BMAX3GN-K
User Manual
-
 Panasonic SC-CMAX5GS-K
User Manual
Panasonic SC-CMAX5GS-K
User Manual
-
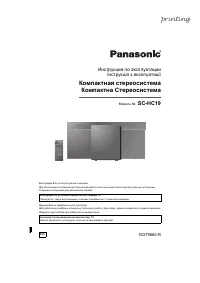 Panasonic SC-HC19
User Manual
Panasonic SC-HC19
User Manual
-
 Panasonic SC-HC295GN-K
User Manual
Panasonic SC-HC295GN-K
User Manual
-
 Panasonic SC-HC29GN-K
User Manual
Panasonic SC-HC29GN-K
User Manual
-
 Panasonic SC-HC300EG-K
User Manual
Panasonic SC-HC300EG-K
User Manual
-
 Panasonic SC-HC300EG-W
User Manual
Panasonic SC-HC300EG-W
User Manual
-
 Panasonic SC-HC302GN-K
User Manual
Panasonic SC-HC302GN-K
User Manual
-
 Panasonic SC-HC39
User Manual
Panasonic SC-HC39
User Manual
-
Panasonic SC-HC39
Manual
-
 Panasonic SC-HC397GN-S
User Manual
Panasonic SC-HC397GN-S
User Manual
-
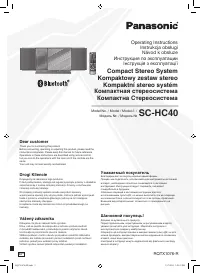 Panasonic SC-HC40
Manual
Panasonic SC-HC40
Manual
-
 Panasonic SC-MAX770GSK
User Manual
Panasonic SC-MAX770GSK
User Manual
-
 Panasonic SC-MAX9000GN
User Manual
Panasonic SC-MAX9000GN
User Manual